

Objective 6.1 – Configure Cross vCenter VMware NSX infrastructure components
- Configure NSX manager roles (Primary, Secondary, Standalone, Transit) according to a deployment
plan:- Assign Primary role to specified NSX Manager
- Assign Secondary role to specified NSX Managers
- Deploy/configure Universal Controller Cluster
- Configure Universal segment ID pools
- Create/manage Universal transport zones
Configure NSX manager roles (Primary, Secondary, Standalone, Transit) according to a deployment
plan: Assign Primary role to specified NSX Manager
In a Cross-vCenter NSX deployment, the NSX Manager can have one of four different roles:
- Primary
- Secondary
- Standalone
- Transit
The primary role can only be given to one NSX Manager. The primary manager has the controllers installed and all universal objects are created on the primary NSX Manager. The secondary NSX Manager becomes secondary when it added to the primary manager. All universal objects are read only on the secondary NSX Manager. The secondary NSX Manager cannot have it’s own controllers. Each NSX Manager can have its own local objects that are only seen by that NSX environment. The Standalone role is the default role of a newly installed NSX Manager. It is not a part of a cross-vCenter setup. The Transit role comes into play when a once primary or secondary is made standalone again but there are still universal objects that exist. In the transit role, universal objects can only be deleted, not created. Once all universal objects are deleted, the NSX Manager can become a standalone or secondary NSX Manager.
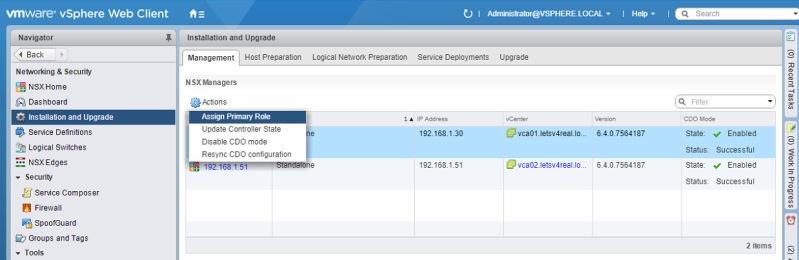
To assign the primary role to a NSX Manager, navigate to Networking & Security > Installation and Upgrade > Management. Select the the NSX Manager and click the Actions wheel and select Assign Primary Role.
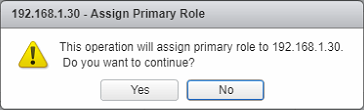
Click Yes to assign the primary role
Assign Secondary role to specified NSX Managers
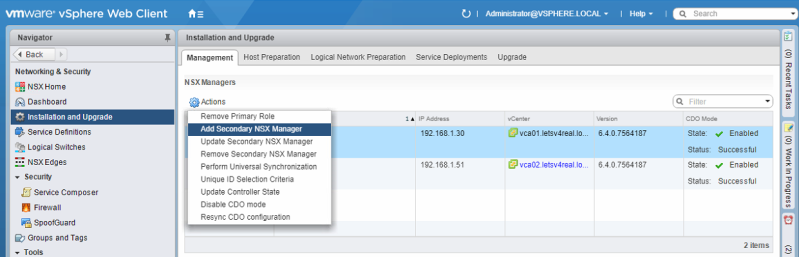
To assign the secondary role to a NSX Manager, select the primary NSX Manager and click the Actions wheel and select Add Secondary NSX Manager.
Enter in credentials for the NSX Manager. Click OK.
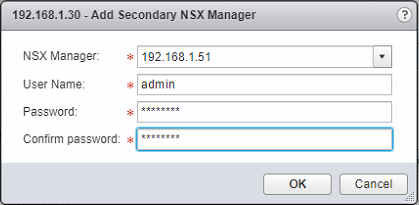
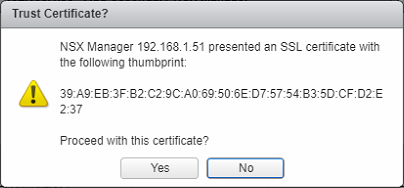
Accept the certificate by clicking Yes.
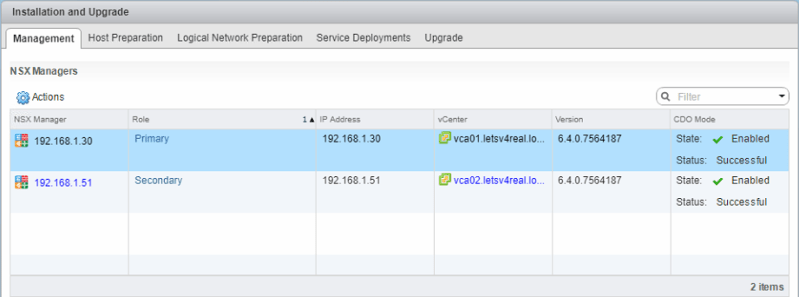
Now you see we have both a primary NSX Manager and a secondary NSX Manager.
Deploy/configure Universal Controller Cluster
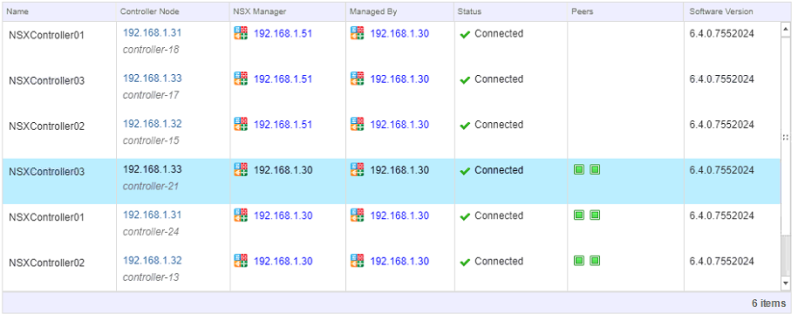
Deploying NSX Controllers for a Universal Controller Cluster is the same as deploying them for a regular cluster, except you only deploy the controllers on the primary NSX Manager instance. I’ve covered the process of deploying controllers here. Once you have deployed the Universal Controller Cluster, it should appear like this.
Configure Universal segment ID pools
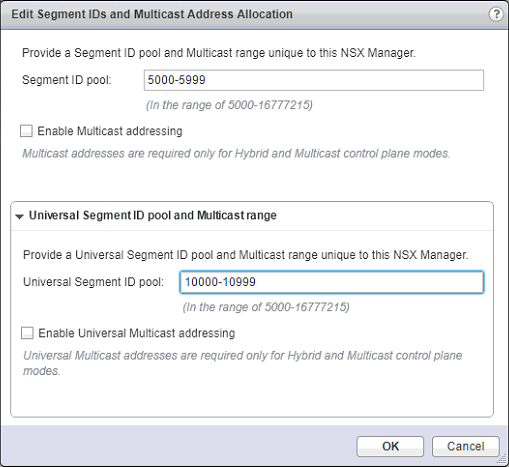
Cross-vCenter deployments uses a different segment ID pool for universal logical switches. The universal segment ID is defined on the primary vCenter and is then synchronized with all secondary NSX Managers.
Navigate to Networking & Security > Installation and Upgrade > Logical
Network Preparation. Click Segment ID > Edit.
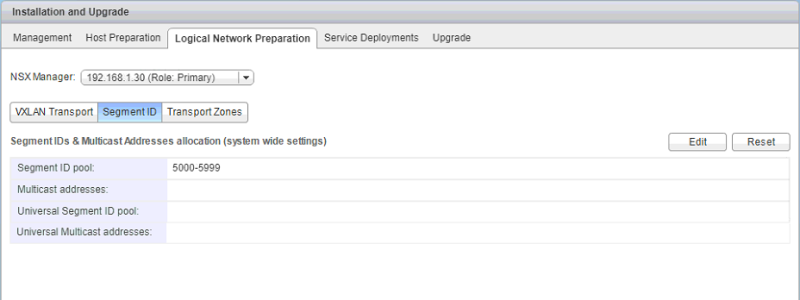
Enter a range for the universal segment ID pool. Click OK.
Create/manage Universal transport zones
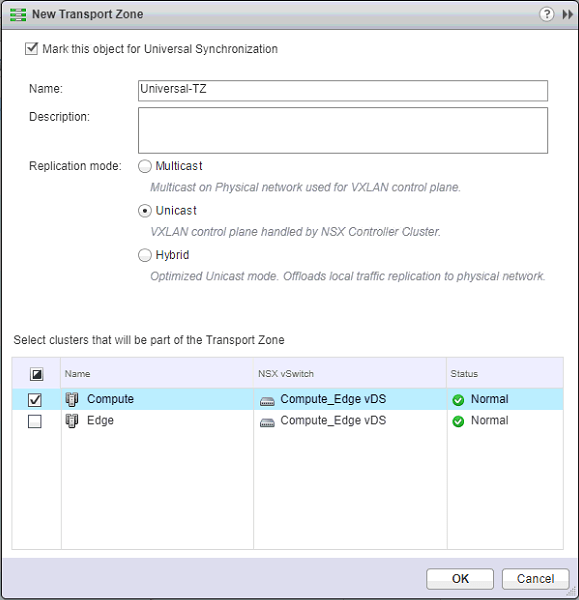
Universal transport zones control the hosts that a universal logical switch can reach. A universal transport zone is created by the primary NSX Manager and is replicated to the secondary NSX Managers. Universal transport zones can span one or more vSphere clusters across the cross-vCenter NSX environment. After creation, a universal transport zone is available on all secondary NSX Managers in the cross-vCenter NSX environment. There can be only one universal transport zone.
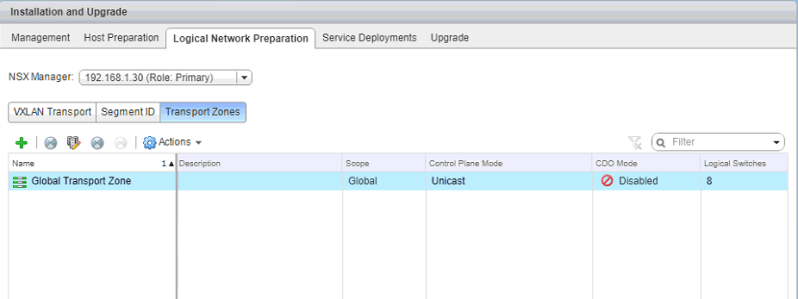
Navigate to Networking & Security > Installation and Upgrade > Logical
Network Preparation > Transport Zones. Click the green “+”.
Select Mark this object for Universal Synchronization. Enter a name for the transport zone and select your replication mode. Select the clusters to add to the transport zone. Click OK.
The universal transport zone will have a globe symbol on it to let you know that it is universal.

