
Once you’ve deployed the NSX manager appliance and you’ve setup the registration with your vCenter, its time to deploy our controllers and being our host preparations for NSX. From the Networking & Security pane click Installation > Management. At the bottom you will see the NSX Controller nodes pane. Click the green +

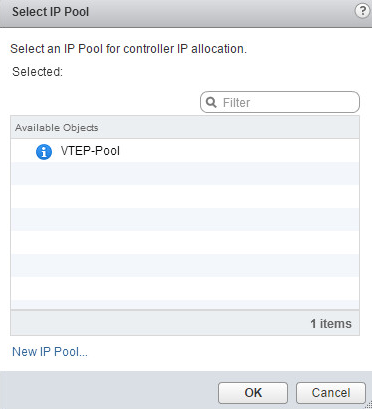
Click Select next to the IP Pool entry
Click New IP Pool…at the bottom of the window.
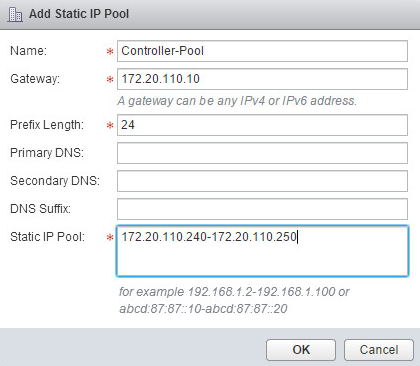
We need to create a pool of IP addresses that will be assigned to the controllers automatically when they are deployed. Fill in the appropriate information and click OK.
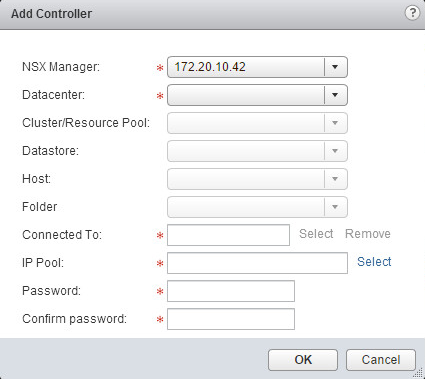
Fill in the appropriate information for adding the controller and select the newly created IP Pool. Click OK.

Wait on the controller to deploy and show Normal in the Status column. It is recommended by VMware to deploy at least 3 controllers for resiliency.

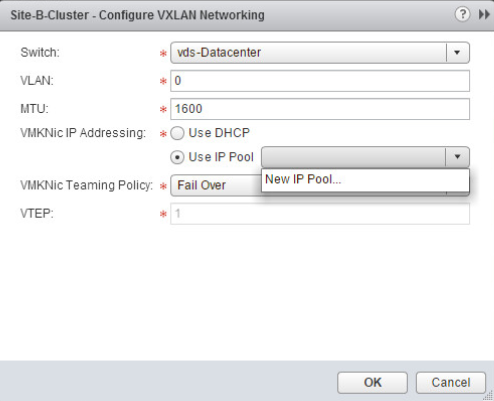
Now lets prepare the hosts for NSX by installing the VIBs and configuring VXLAN. After you’ve installed the VIBs by clicking Install under Host Preparation > Actions, give it a moment and make sure the Installation Status has a green check and the Firewall Status is Enabled. Next click Not Configured under the VXLAN column. 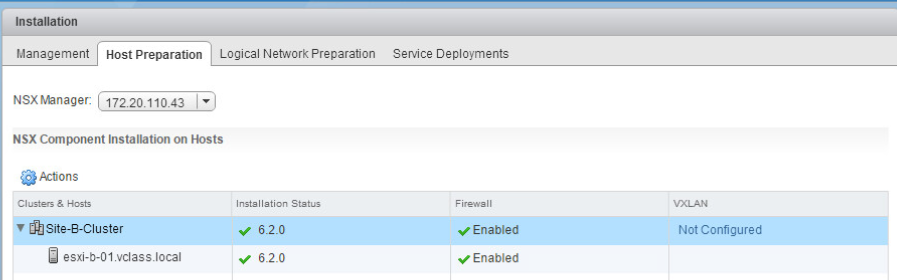
Select your vDS. Leave the MTU size at 1600. Select Use IP Pool > New IP Pool…to create a pool for the VXLAN Tunnel Endpoints (VTEPs) to use.
Enter in the appropriate information and click OK.

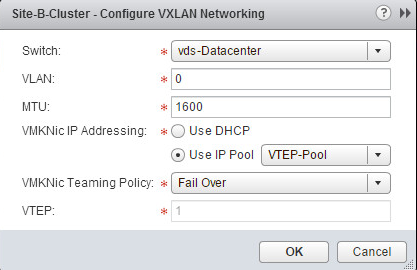
Select the newly created IP pool for VMKNic IP Addressing and click OK.
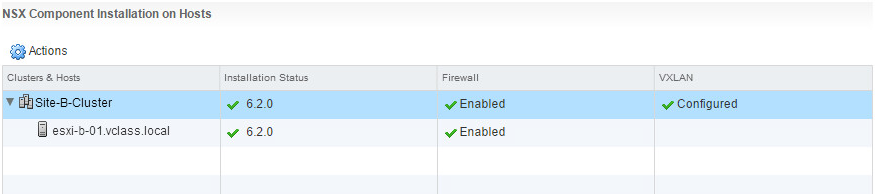
Give it a moment to configure and wait until the VXLAN status shows Configured
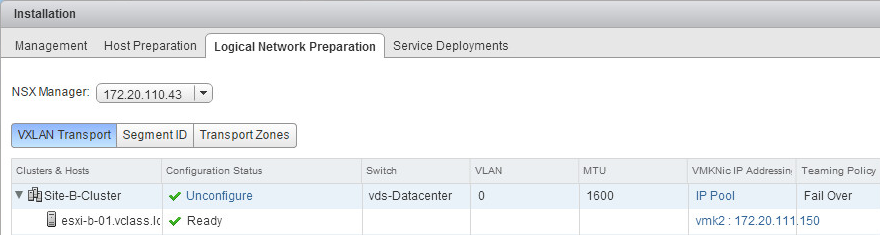
Now if we click the Logical Network Preparation tab and look under VXLAN Transport, we can see that our host has been assigned a new kernel interface and IP address for its VTEP.
Ex: ESXI-B-01 was assigned 172.20.111.150 from the VTEP-Pool IP Pool that we created.
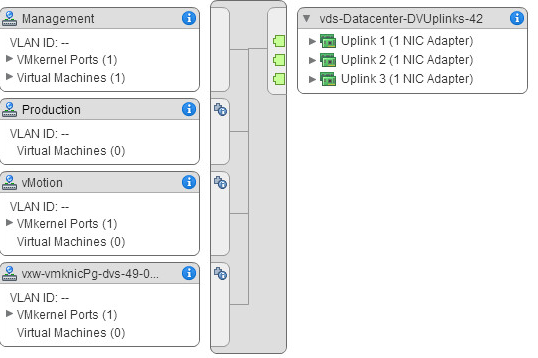
Also if we go look at the vDS, we will notice that a new port group has been created. This is what our host’s VTEP will connect to.
Next we need to create our Segment IDs. Segment IDs in NSX can be compared to VLANs on a switch. This will be what our logical switches/networks will use as they are created. Click on the Segment ID > Edit
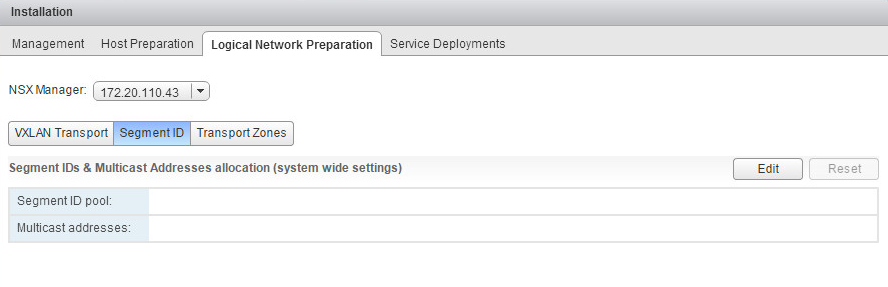
Starting with at least 5000, we can create our range of Segment IDs. This value can be changed later if we didn’t allocate enough. Also, make sure that these segments do no overlap with other Segment IDs that may be used in the same NSX deployment.

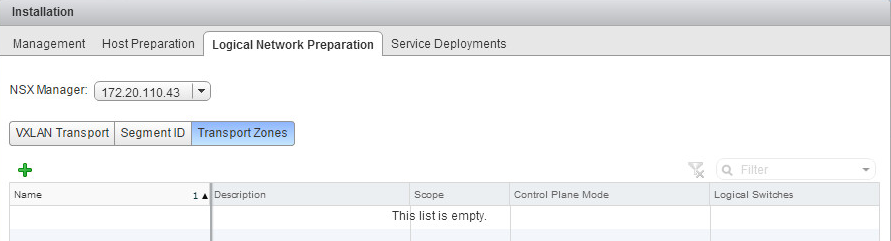
Now that we have the Segment IDs created, its time to create our Transport Zone. This is where we define what clusters will be able to communicate with each other in the NSX deployment. Click the green +.
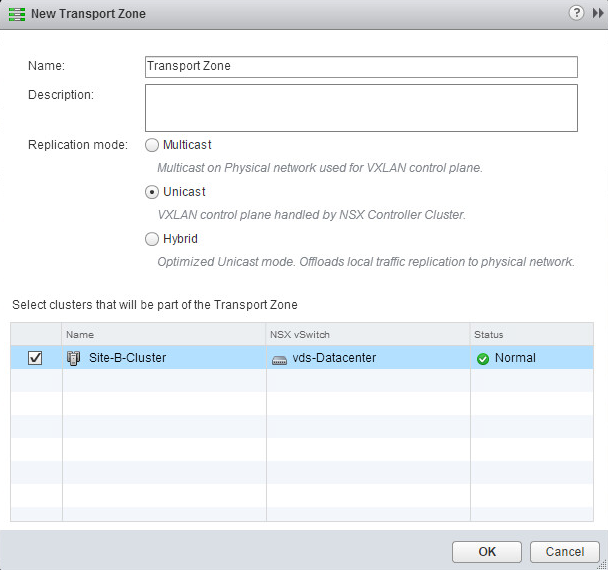
Enter a name for the Transport Zone and select your Replication mode. Unicast is the default. Select the clusters that you want to be apart of the Transport Zone. Click OK.
And that’s it. Now we have the basic setup needed to begin creating logical networks in NSX.

2 thoughts on “How to Deploy NSX Controllers and Configure Hosts for NSX”