
Continuing from where we left off with deploying NSX controllers and preparing our hosts for NSX, now its time to deploy a logical switch and add virtual machines to it. A logical switch can be looked at as a logical broadcast domain to which virtual machines can be connected to. The segment IDs that are associated with them can be looked at as VLAN tags for logical switches. Each logical switch will have its own segment ID or VXLAN Network Identifier (VNI) assigned to it from the segment ID pool that was created under the Host Preparation tab.
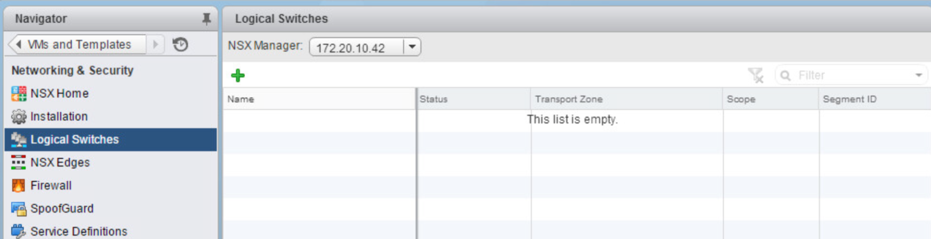
To deploy a logical switch, navigate to Networking & Security > Logical Switches and click the green + symbol.
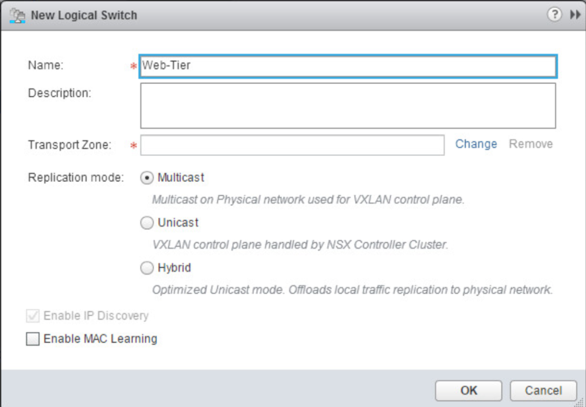
Enter a name for the logical switch. Click Change next to Transport Zone
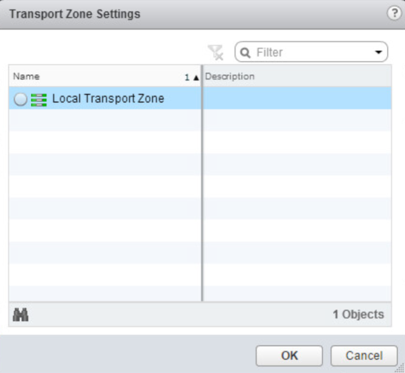
Select what Transport Zone you want the logical switch to be a part of and click OK
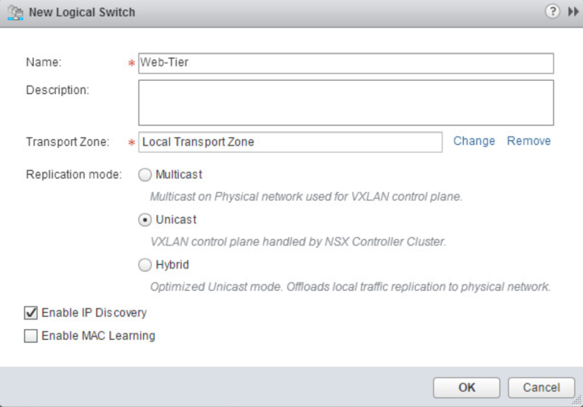
Select what Replication mode that you want the logical switch to use.
Now we notice that the logical switch has been deployed.
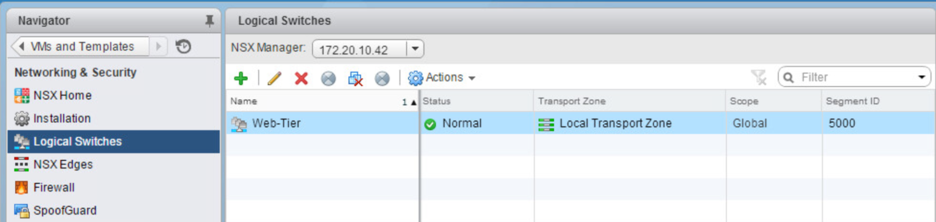
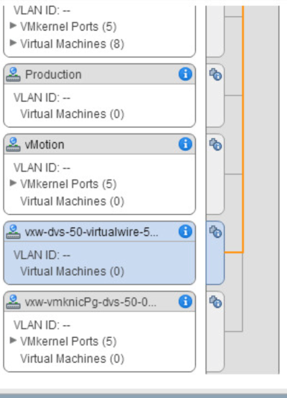
If we take a look the vDS we will see a new port group is created that is associated with the newly created logical switch.
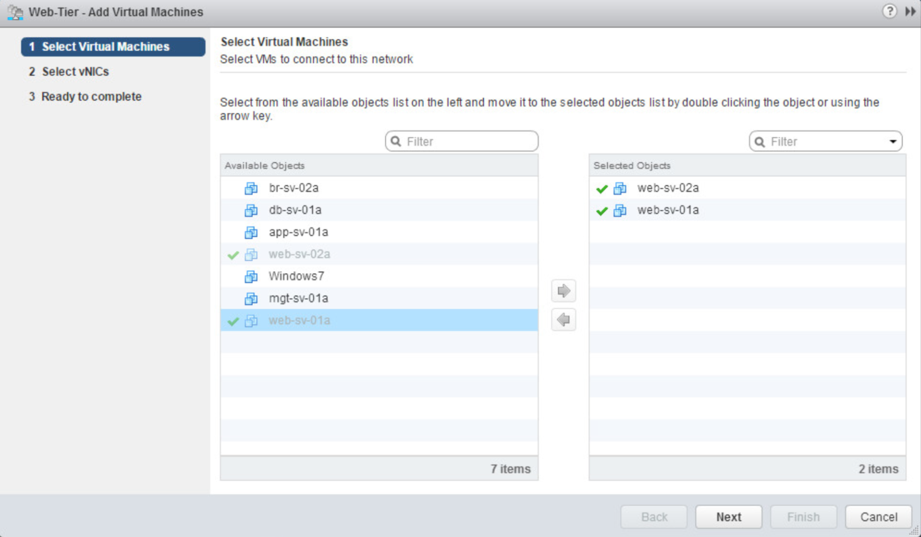
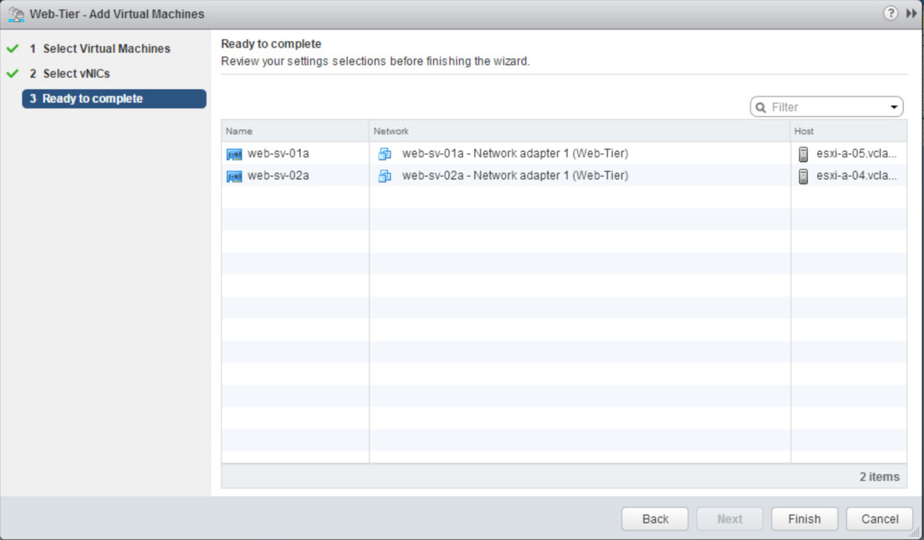
Now let’s add VMs to the logical switch. We do this by navigating to Networking & Security > Logical Switches. Right click the logical switch and click Add VM.

On the Select Virtual Machines page, select the VMs that you want to add to the logical switch and click the blue arrow to move them to the Selected Objects box.
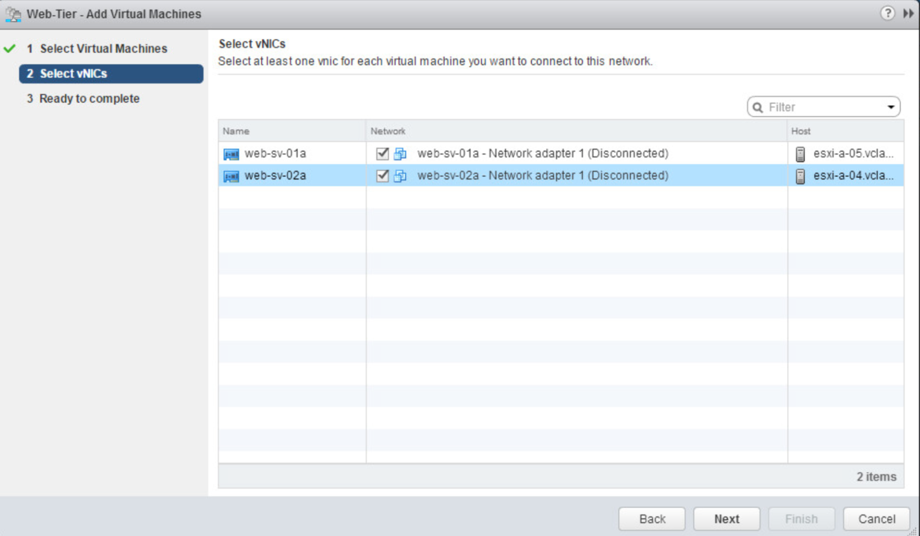
On the next page, select the vNICs on the VMs that you want to connect to the logical switch. Click Next.
Click Finish
Now we can test L2 communication between the virtual machines by doing a simple ping from one VM to the next.

That’s it! Now if you can go and create more logical switches and attach VMs to them. Keep in mind that logical switches are like VLANs, so even if two VMs have IP addresses on the same subnet but are connected to separate logical switches, they will not be able to communicate with each other. In comes the logical router…our next post will go over deploying and setting up the logical router to enable communication between logical switches.

One thought on “Deploying NSX Logical Switches”