

Objective 5.3 – Configure and Manage Role Based Access Control
Skills and Abilities
• Implement identity service support for Active Directory, NIS, and LDAP with Single Sign-On (SSO)
• Manage User rights:
- Assign roles to user accounts
- Change a user role
- Delete/disable/enable a user account
Implement identity service support for Active Directory, NIS, and LDAP with Single Sign-On (SSO)
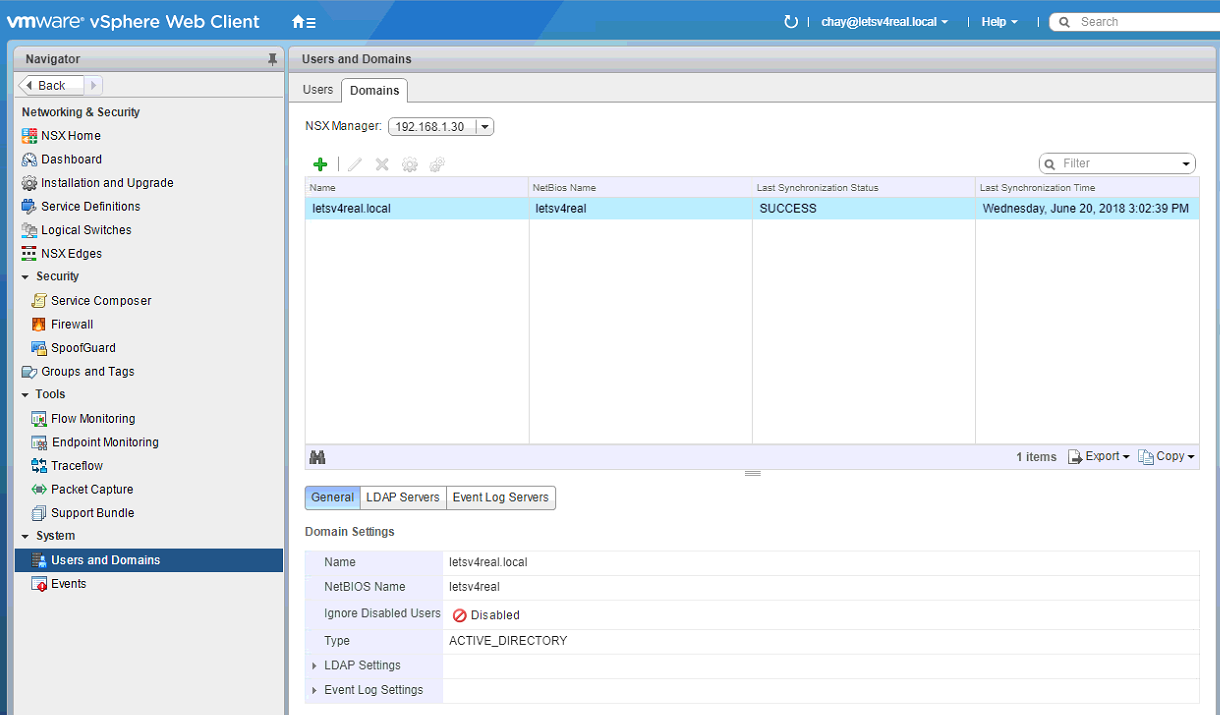
You can register a Windows domain with NSX Manager and vCenter. The NSX Manager will get the user and group info from Active Directory and that can be used to create identity based security groups and firewall rules and for activity monitoring. To register a Windows domain with NSX Manager, navigate to Networking & Security > System > Users and Domains. I’ve already configured this but in a new instance, click the green “+”.
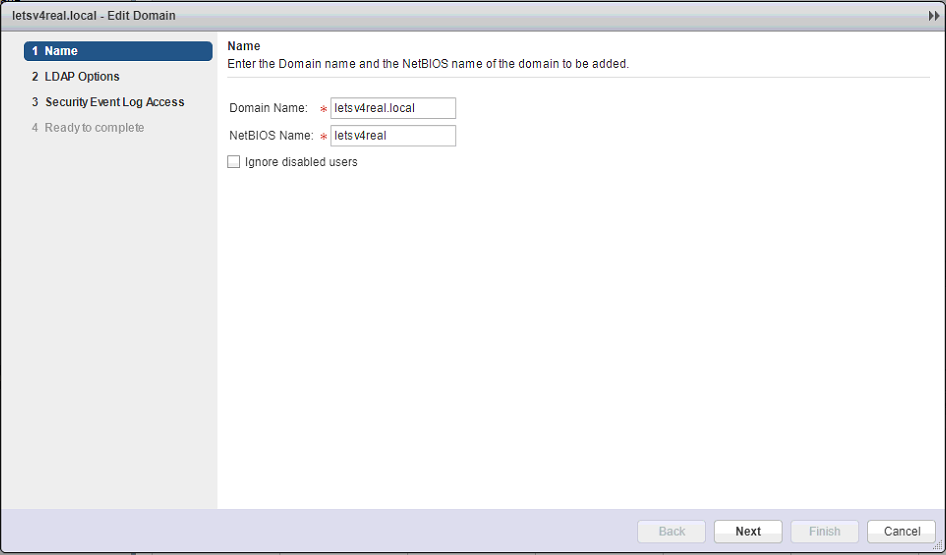
Enter in the domain name and NetBIOS name. Click Next.
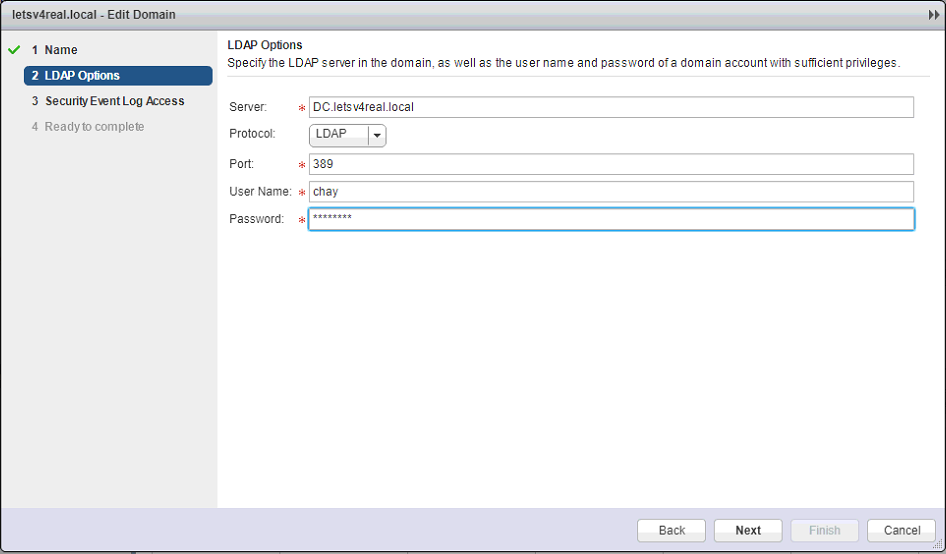
Enter in the LDAP server information. Click Next.
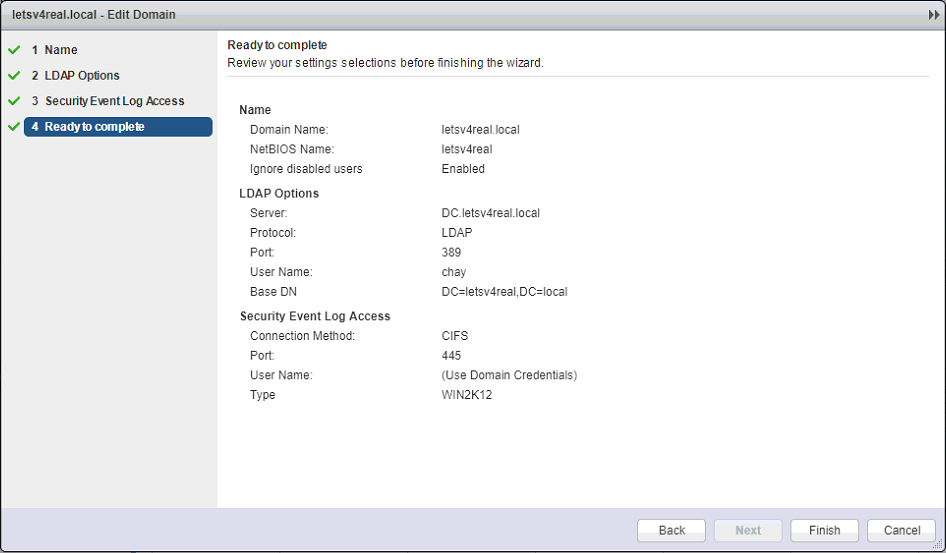
Select either CIFS or WMI for the connection to access security event logs. Click Next.

Click Finish.
Login to the NSX Manager. Click Manage vCenter Registration. Under the Lookup Service URL click Edit and enter in the info for either the vCenter or an external PSC, whichever is running your Lookup Service. In my case, I have an external PSC that is running it.

Manage User rights: Assign roles to user accounts
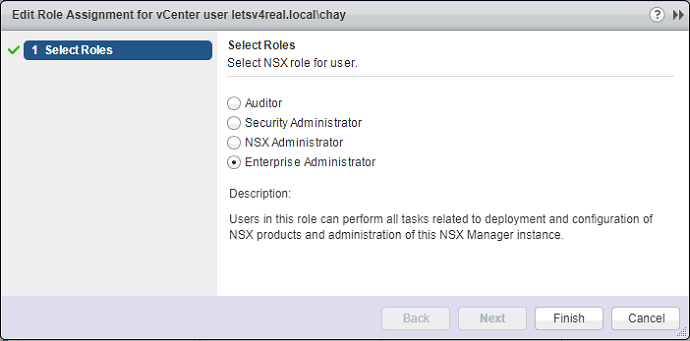
The user’s roles determines what they are allowed to do within NSX. Their are 4 potential roles that a user can be assigned:
Enterprise Administrator: Access to all NSX operations and security
NSX Administrator: Access to NSX operations only
Security Administrator: Access to NSX security only
Auditor: Read Only
To assign roles, navigate to Networking & Security > System > Users and Domains. Under the Users tab, click the green “+”.

Specify the user or group that you want to assign a role to. Click Next.

Select the role. Click Finish

Change a user role
To change a role, click Edit on a user and change the role. Click Finish
Delete/disable/enable a user account
To delete a user, select the user and click the red X. To disable a user, select the user and click the disable icon. To enable a user, you would click the green check mark.

