
![]()
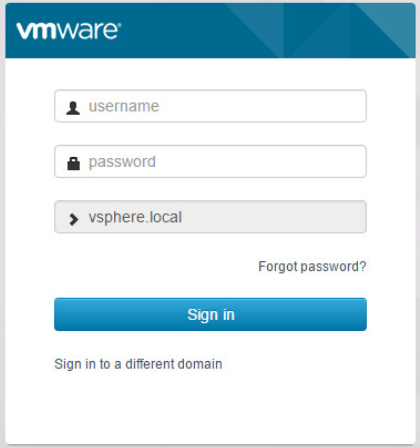
This post will be a short walkthrough on how to create a tenant in vRealize Automation 7. After you complete the initial installation of vRA, you have the default tenant that is created. The default tenant is not where we want to create and deploy any services. The default tenant should be used for creating other tenants and defining other administrators. To begin creating our first tenant we must first log into our default tenant. Navigate to https://FQDN or IP of vRA appliance/ and login with the administrator account that was created during installation
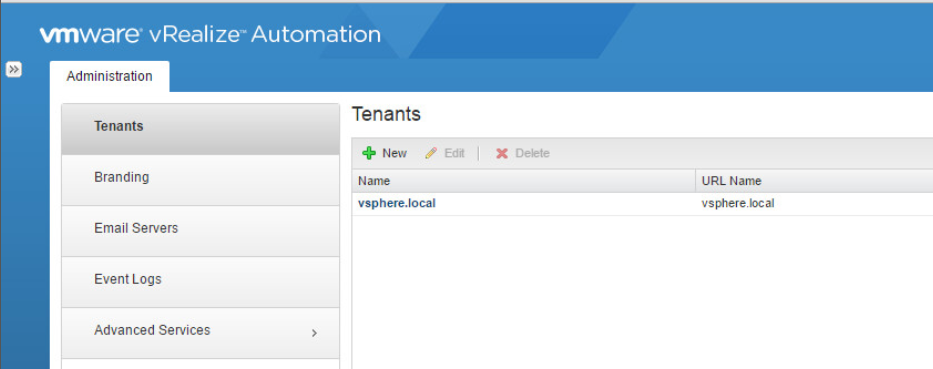
Under Administration select Tenant. Click the green + next to New
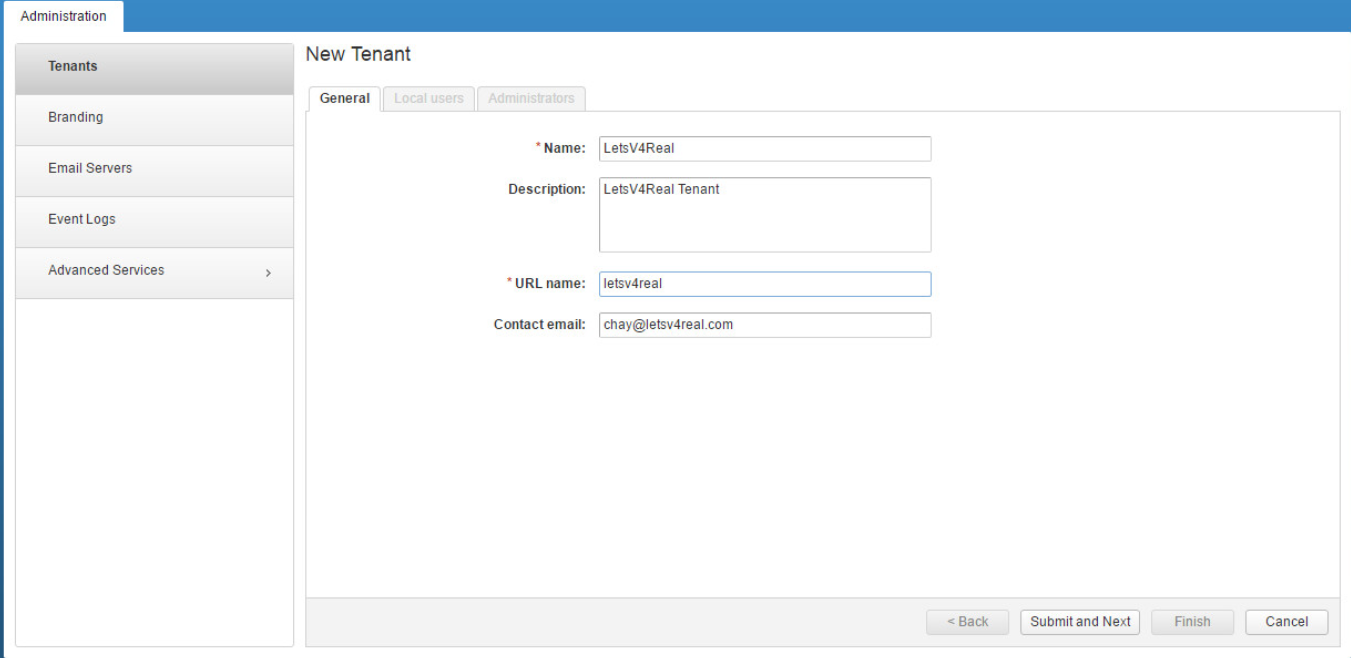
The New Tenant screen will show. Provide a name, description, and URL for the new tenant. The URL name that you provide here creates the full URL, https://FQDN or IP of vRA appliance/vcac/org/tenantURL, for your tenant administration page. Click Submit and Next.
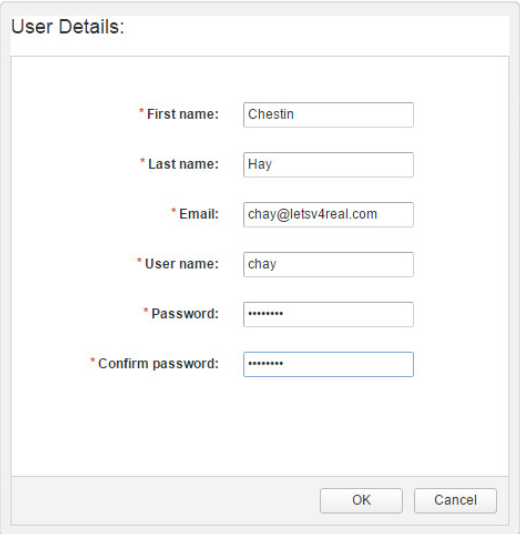
Now we need to create a local user for our tenant. Click New.

Provide all of the user details. Click OK. Click Next on the Local users tab.
Now we need to create a Tenant administrator and IaaS administrator. If we had an Identity Source setup, we could easily pull from Active Directory users and groups and assigned them to the Tenant and/or IaaS administrators group. For now, we will just use the local account that we just created.

Search for and select the user. Click Finish.

Now we are done creating our tenant. Log out of the default tenant.

Navigate to the tenant URL and login as the IaaS administrator

That’s it! Now we can begin our next step,assigning resources for our tenant to utilize.

*NOTE* If you’re feeling daring…or just want to do this using command line, check out my friend Jonathan Frappier’s blog post here.

2 thoughts on “Create a Tenant in vRealize Automation 7”