

I’ve really come to appreciate more and more the VCSA. One of the times that I really appreciate it, is when it’s time to apply patches/updates to it. This post is just a simple….and I do mean simple…look at how to update your external PSC and then your VCSA when there’s a new update from VMware.
First things first….make sure you have a good backup of your VCSA and PSC. Also I recommend taking a snapshot of your PSC and VCSA but without preserving the VM’s memory state.
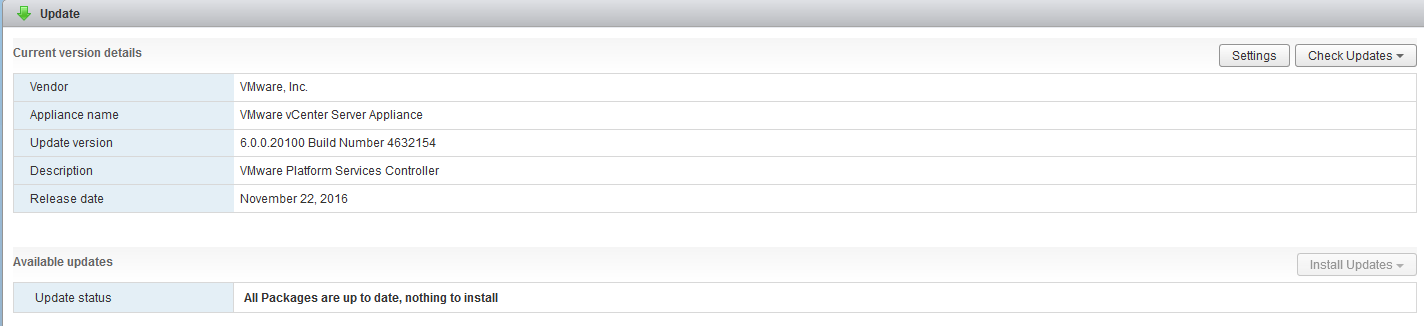
Then login into your PSC using the root account at https:// <FQDN or IP of appliance>:5480. Once logged in, go under the Update section.
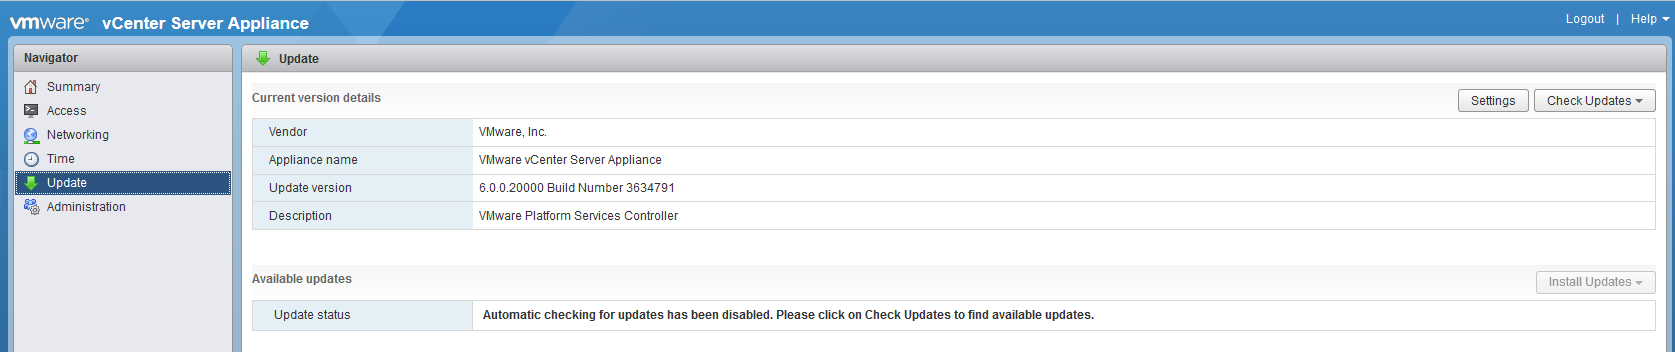
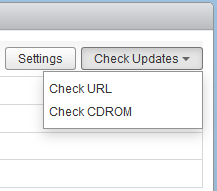
Click Check Updates, Check URL.
The appliance will then search for updates from the default repository

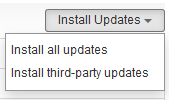
Click Install Updates, Install all updates
Accept the EULA and click Install

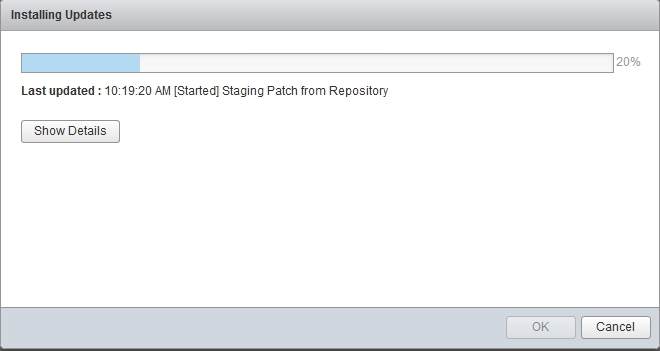
The appliance will then begin to stage the packages, run its update scripts and install the packages
Once all the packages have been installed, reboot the appliance to complete the installation

To do that, go back to the summary tab and click Reboot

Click Yes

Now when you log back in to your appliance, if you check for updates, everything should be up to date
Now that you’ve updated the PSC, continue doing the same thing to each VCSA that you have attached to the PSC. Remember, take a snapshot of each before beginning your update, just to cover yourself. And like a good admin, once you see that everything updated properly, go back and remove all the snapshots 🙂 And that’s it! It’s just that simple to update your PSC and VCSAs
