
In this blog post, I will go through the steps that it takes to create transport zones within NSX-T. Before we get started with the creation of the transports zone, let’s explain what transport zones are
Transport Zone Overview
Transport zones control which hosts and, essentially, which VMs can participate in a particular network by limiting what logical switches that a host can see. A transport zone can span multiple host clusters and a NSX-T environment can contain one or more transport zones but a logical switch can only belong to one transport zone. Since logical switches are limited to a transport zone, VMs in different transport zones cannot be on the same L2 network. NSX-T introduces the concept of the NSX Managed Virtual Distributed Switch (N-VDS, previously called the hostswitch). The N-VDS is what allows physical to virtual packet flow and it does this by binding logical router uplinks and downlinks to physical NICs. Each time you create a transport zone, you must provide a name for the N-VDS that will be associated with it as well as the traffic type that will take place.
Types of Transport Zones
There are two different types of Transport zones, Overlay and VLAN:
- Overlay Transport Zones
- Used by both the host transport nodes and NSX Edges
- A N-VDS will be installed on the host or NSX Edge after it has been added to the overlay transport zone
- VLAN Transport Zones
- Used by the NSX Edge and host transport nodes for its VLAN uplinks
- A N-VDS will be installed on the NSX Edge when it is added to the VLAN transport zone
Creating Transport Zones
From your browser, log in to the NSX Manager with an admin account
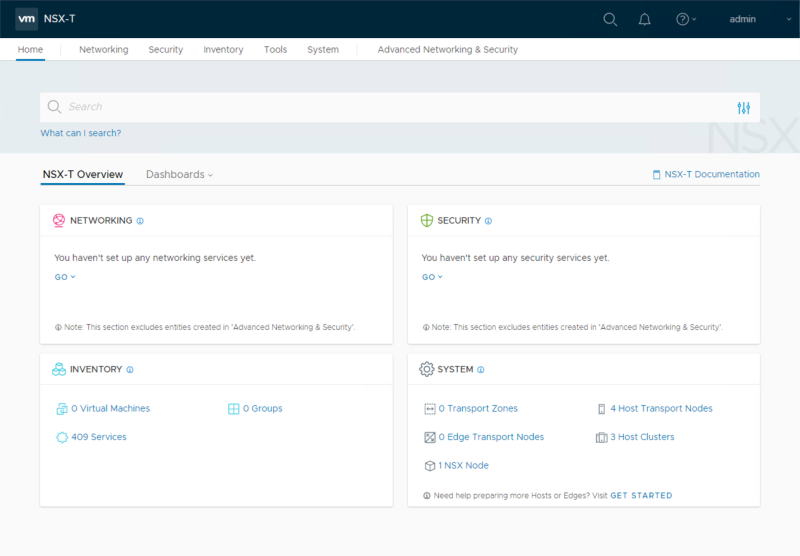
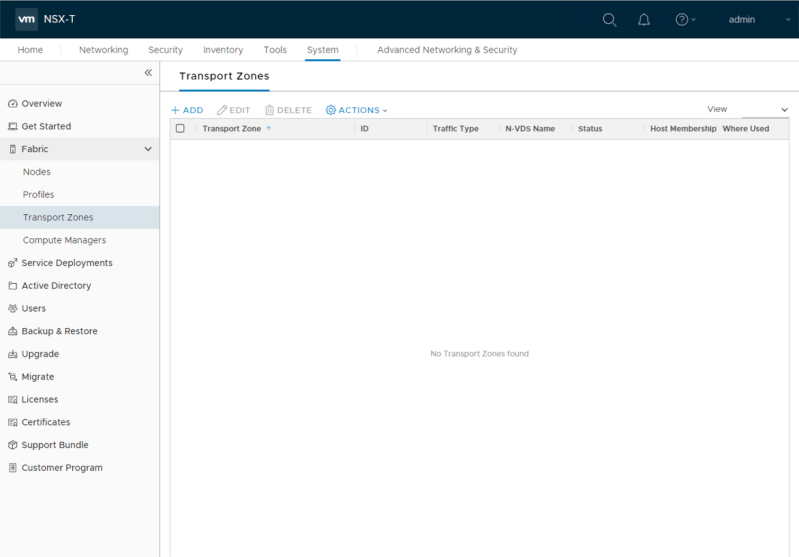
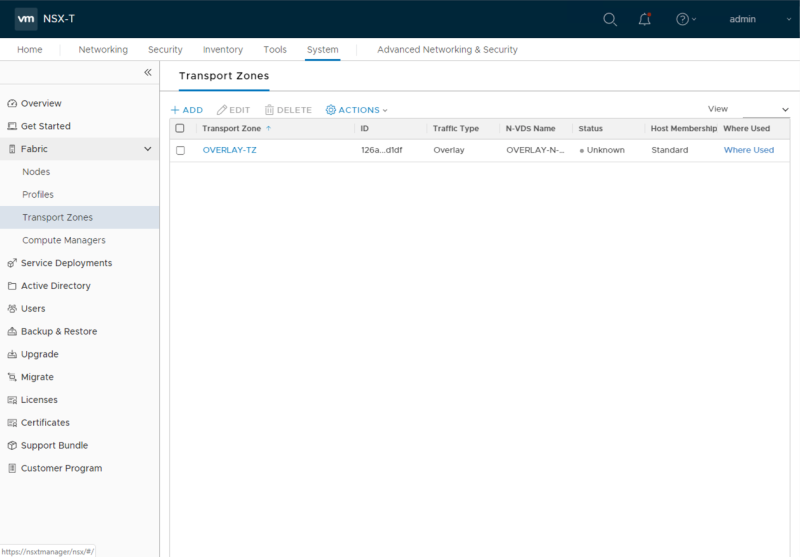
From the Home screen, navigate to System > Fabric > Transport Zones.
Under Transport Zones, click Add.
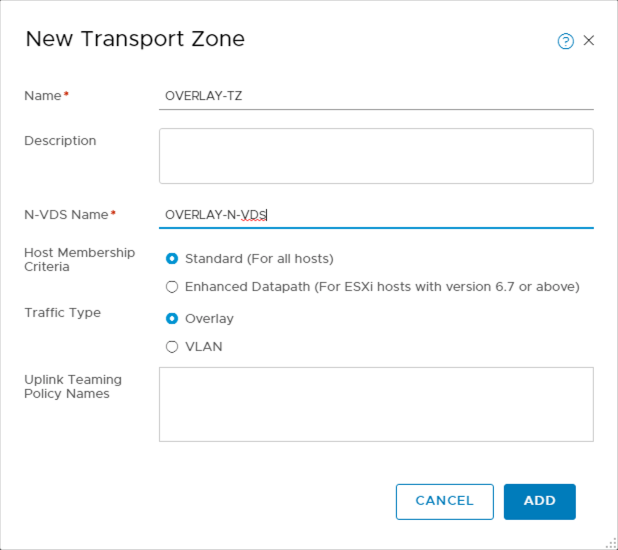
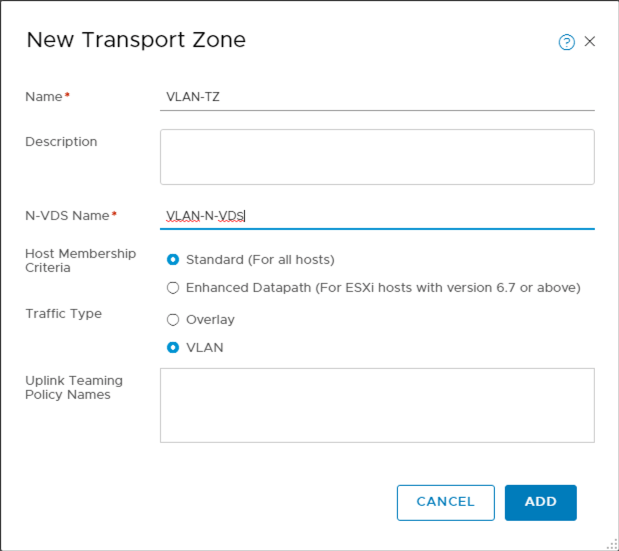
Enter in the follow details in the New Transport Zone menu:
- Name: <Name for the Transport Zone>
- Description: <Optional>
- N-VDS Name: <Name for the N-VDS>
- Host Membership Criteria: <Select Standard or Enhanced Datapath>
- Traffic Type: <Select Overlay or VLAN>
- Uplink Teaming Policy Names: <Optional>
Click Add.
Now we see the newly created overlay transport zone. Let’s also create another transport zone for VLAN traffic. To do so, click Add.
Enter in the follow details in the New Transport Zone menu:
- Name: <Name for the Transport Zone>
- Description: <Optional>
- N-VDS Name: <Name for the N-VDS>
- Host Membership Criteria: <Select Standard or Enhanced Datapath>
- Traffic Type: <Select Overlay or VLAN>
- Uplink Teaming Policy Names: <Optional>
Click Add.
We have our two transport zones created, one for overlay traffic and one for VLAN traffic.
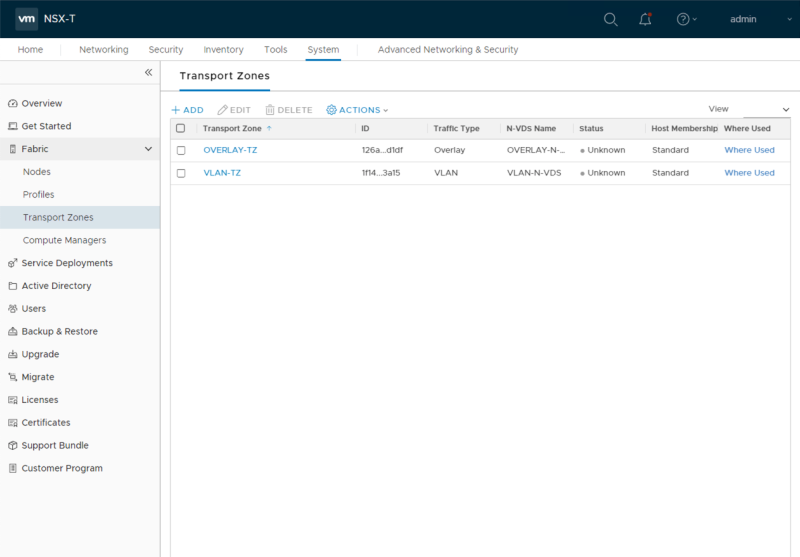
Now that the transport zones are created, we may begin to add host transport nodes and edge transport nodes to them.
