

Objective 3.2 – Configure and Manage Logical Virtual Private Networks (VPNs)
- Configure IPSec VPN service to enable site to site communication
- Configure SSL VPN service to allow remote users to access private networks
- Configure L2 VPN service to stretch multiple logical networks across geographical sites
Configure IPSec VPN service to enable site to site communication
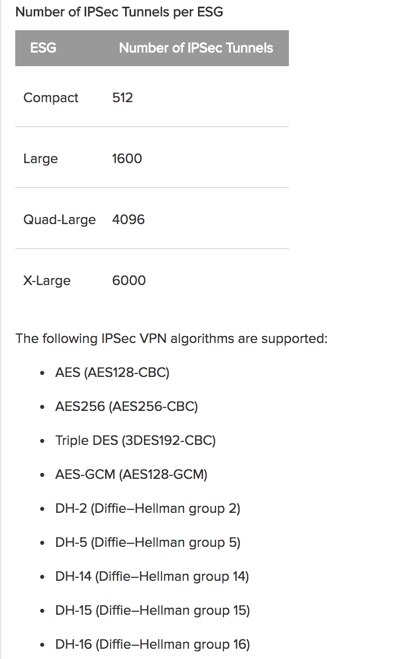
NSX edge supports site to site IPSec VPN to remote sites. You can configure multiple internal networks to connect to through the VPN tunnel. Subnets and internal networks behind the NSX edge must not have overlapping addresses. The size of the edge device determines the number of tunnels that are supported. The number of tunnels needed can be found out by using a simple equation of : “local subnets x peer subnets = number of tunnels needed”. Below is a chart taken from the NSX Administrator’s Guide outlining the number of IPSec tunnels that a edge device can handle depending on the size and also the supported algorithms.
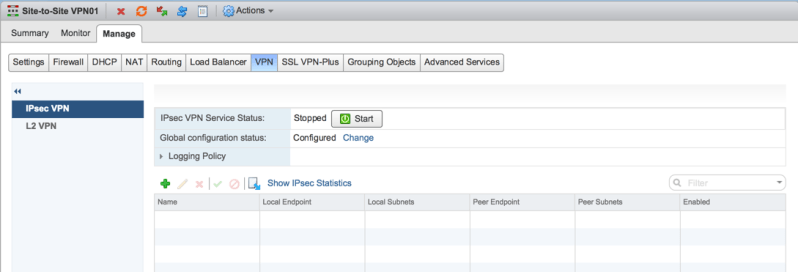
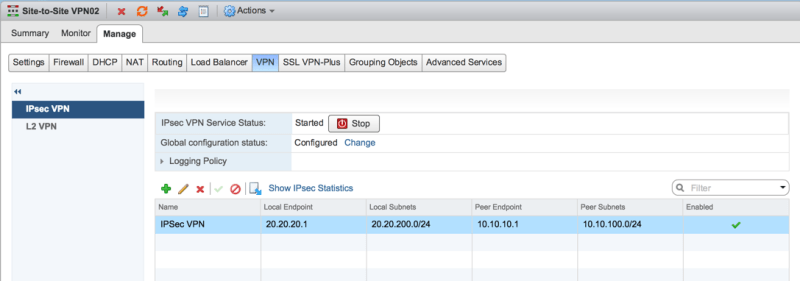
To configure the IPSec VPN, first navigate to Networking & Security > NSX Edges > Double click your NSX edge > Manage > VPN > IPSec VPN. Click Change beside Global configuration status.
*Note* Mine already says Configured because I entered the PSK ahead of time
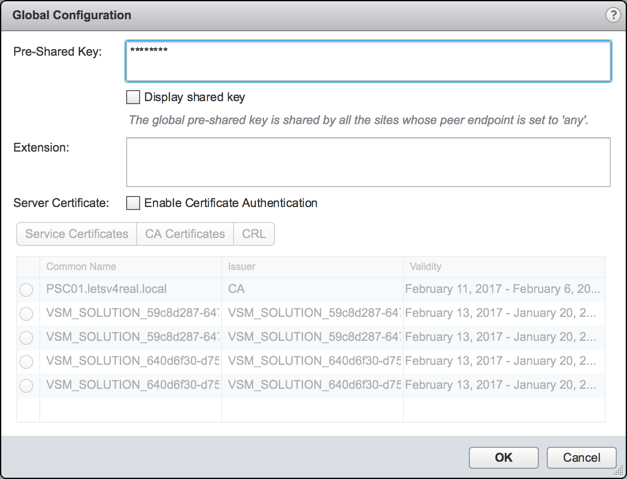
Enter in the Pre-Shared Key. Optionally, you can select a certificate to be used for VPN authentication. Click OK.
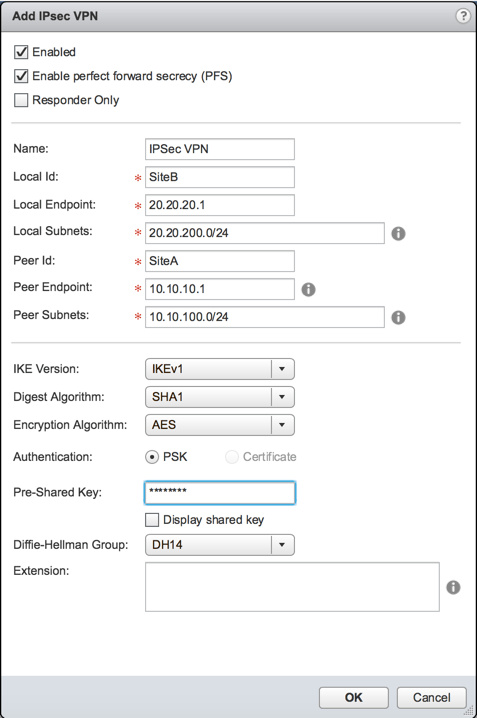
Click the green + to add a new IPSec VPN. Enter in the VPN information. Click OK.

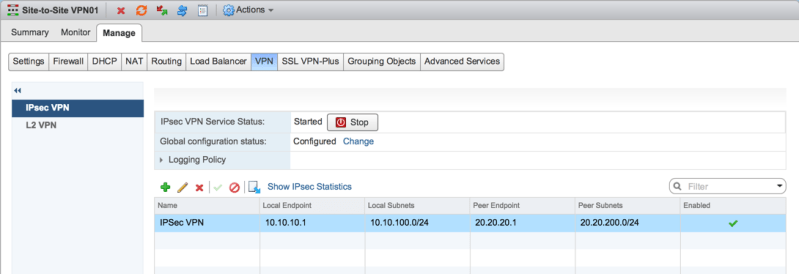
Click Start on the IPSec VPN Service. And Publish your changes. Next, move on to the remote site and repeat the process.
Enter in the VPN info for the remote site. Click OK.
Start the IPSec VPN service. Enter in the PSK and select the proper certificate under the Global configuration status. Publish your changes.
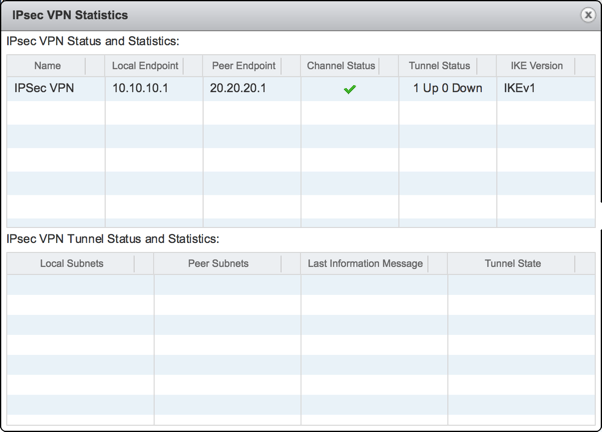
Now if you click Show IPSec Statistics, you will see that the VPN tunnel is up.
To test connectivity, I went to the console of one of my VMs that is at SiteA and did a ping and trace route to the VM at SiteB.

*Note* Since I don’t have a true SiteA and SiteB, I mimicked this by having two ESGs connected to a DLR and letting the DLR simulate being a internet router.
Configure SSL VPN service to allow remote users to access private networks
With SSL VPN-Plus, you can connect to private networks behind a NSX edge gateway. A user can then access applications and servers on the private network. Since this is a SSL VPN, a user can access the private networks by use of a web browser or a client that is installed on the local machine. Below is a diagram taken from the NSX Admin Guide of the clients connect to the private network and also the support operating systems for the SSL VPN client:

In network access mode, a remote user installs a client on their machine. After the install, the user is able to access the assigned private networks. The SSL VPN requires that port 443 is accessible from the external networks and the SSL VPN client requires the NSX edge IP and port 443 to be reachable from the client system.
To configure network access SSL VPN-Plus:
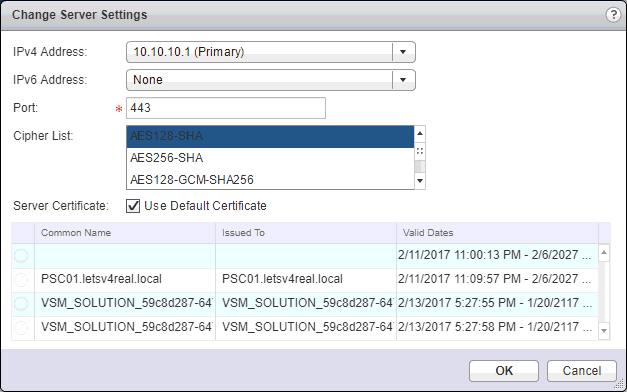
Navigate to Networking & Security > NSX Edges > Double click the NSX edge > Manage > SSL VPN-Plus > Server Settings. Click Change
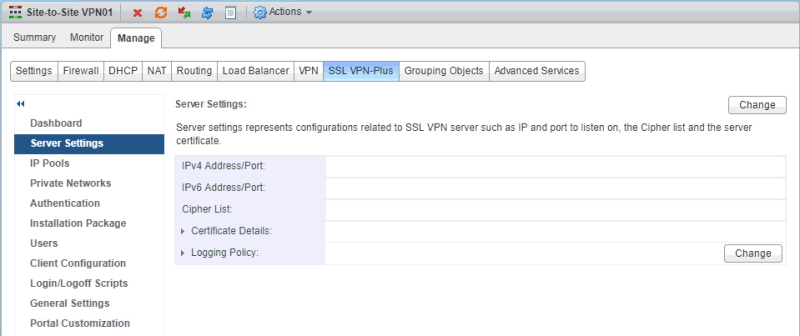
Select the appropriate information. Click OK.
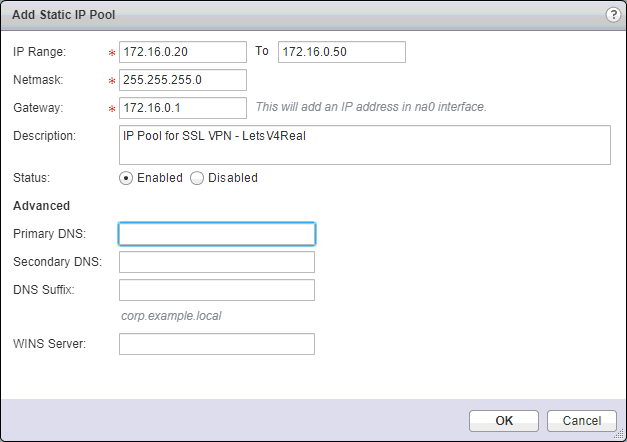
Next we need to add an IP Pool. A IP Pool is a range of virtual IP addresses that are assigned to remote users with they connect to the VPN. Under IP Pools click the green +.
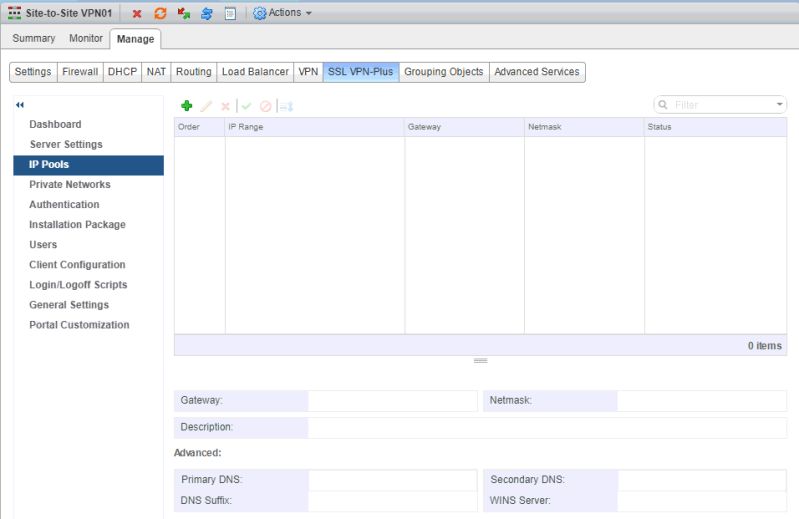
Enter in the needed information. Click OK.
Now we want to add the private networks that we want the remote users to access. Under Private Networks click the green +

Type the private network IP address.

Explanation of options:
The Send Traffic Over Tunnel options, specifies whether you want to send private network and internet traffic over the VPN tunnel or to bypass the tunnel and sent traffic directly to the private server/network. If you select Send Traffic Over Tunnel, select Enable TCP Optimization. From the NSX Admin Guide:
Conventional full-access SSL VPNs tunnel sends TCP/IP data in a second TCP/IP stack for
encryption over the internet. This results in application layer data being encapsulated twice in two separate TCP streams. When packet loss occurs (which happens even under optimal internet conditions), a performance degradation effect called TCP-over-TCP meltdown occurs. In essence, two TCP instruments are correcting a single packet of IP data, undermining network throughput and causing connection timeouts. TCP Optimization eliminates this TCP-over-TCP problem, ensuring optimal performance.
When optimization is enabled, specify the port numbers for which traffic should be optimized. Traffic for the remaining ports for that specific network will not be optimized. If no ports numbers are specified, traffic for all ports is optimized.
When TCP traffic is optimized, the TCP connection is opened by the SSL VPN server on behalf of the client. Because the TCP connection is opened by the SSLVPN server, the first automatically generated rule is applied, which allows all connections opened from the Edge to get passed. Traffic that is not optimized will be evaluated by the regular Edge firewall rules. The default rule is allow any any.
Click OK.
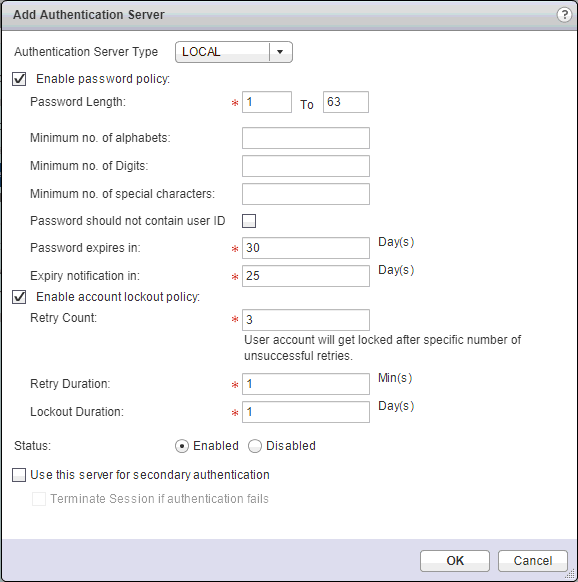
Under Authentication is where you decide how the users will authenticate to the VPN tunnel. SSL VPN supports local, AD, LDAP, Radius, or RSA authentication types. The maximum time to authenticate over SSL VPN is 3 minutes. This is because non-authentication timeout is 3 minutes and is not something that you can configure. So in a situation where AD authentication timeout is set to more than 3 minutes or there are multiple authentication servers in chain authorization and the time take for the user authentication is more than 3 minutes, you will not be authenticated. Click the green +
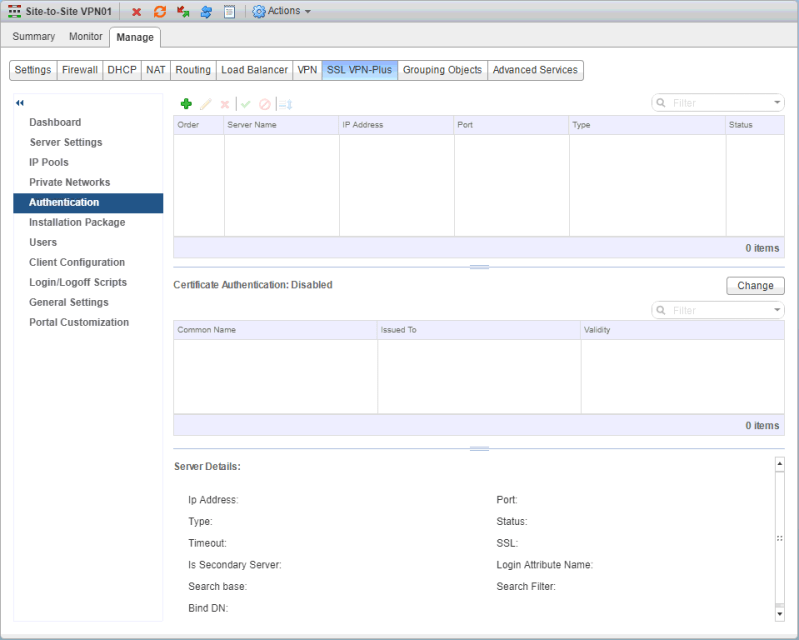
For this lab situation, I chose local authentication. Configure the parameters as needed. Click OK.
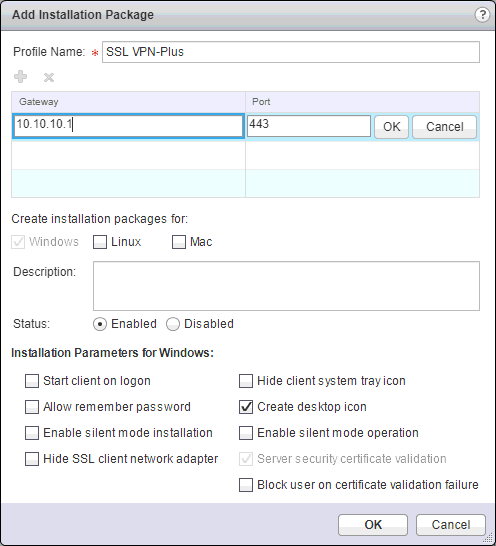
Next we need to create a installation package for the SSL VPN client for the remote user. Under Installation Package click the green +

First we want to type in a profile name. In the Gateway section, enter in the IP or FQDN of the public IP address of the NSX Edge. Enter in the port number that you specified in the Server Settings section earlier. Click OK.
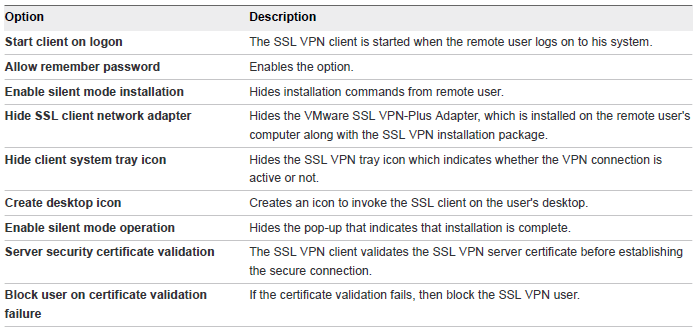
From the NSX Admin Guide, here are a list of the what each Installation Parameter means:
Next, since we are using local authentication, we want to add a remote user to the local database. Click OK.

Now we need to enable the SSL VPN server. Simple navigate to Dashboard and click Start next to Service.
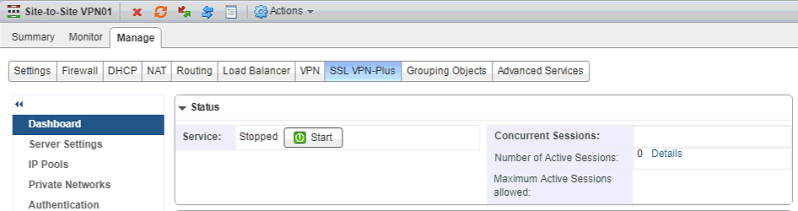
And click Yes to start the service
Now in order to test things out, I’m going to go over to a VM that I have on a different network and navigate to the external IP of my NSX edge and login there. Enter in the credentials for a created user. Click Login.
Click the VPN profile name to download the VPN client
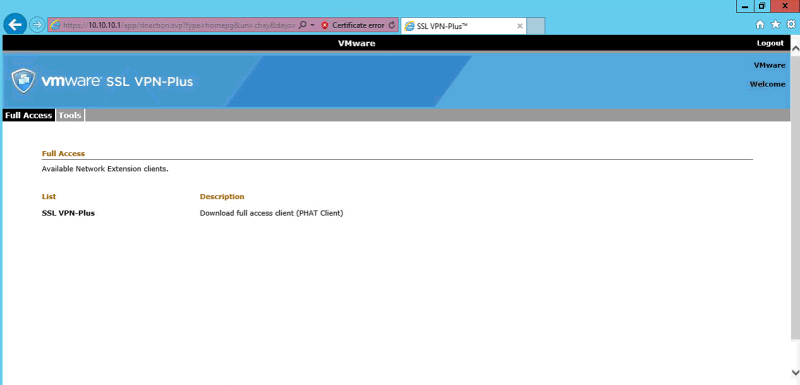
Click the hyperlink to being the download. Once downloaded, double click the Installer.exe file.

Click Yes to continue

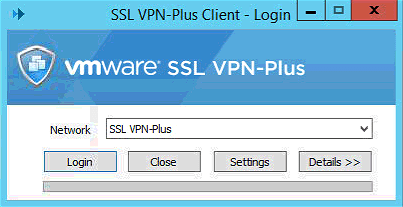
The client should pull up automatically but if not, look on the desktop and double click it to run it. The VPN profile should be selected. Click Login.
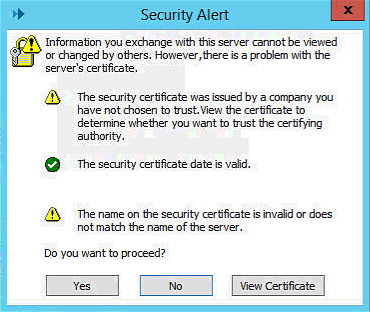
Accept the security alert
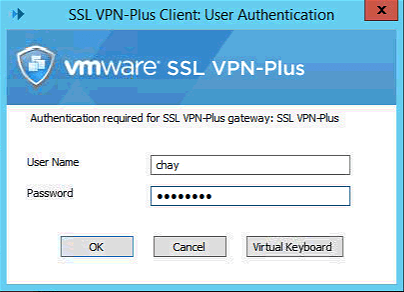
Enter in the creds for one of the VPN users you created. Click OK.
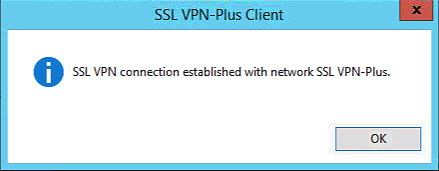
Now the VPN connection has been established. You can also check the system tray to see the VPN icon with the status as connected.

Now we see that we can communicate with a VM on private network that we allowed on our VPN.

Configure L2 VPN service to stretch multiple logical networks across geographical sites
Using NSX Edge, you can create a L2 VPN that can stretch multiple logical networks, whether VLAN or VXLAN, across geographical sites. With L2 VPN, a VM can remain on the same subnet when moved between sites and their IP addresses do not have to change. To configure a L2 VPN, you configure a L2 VPN server (destination Edge) and an L2 VPN client (source Edge). Then you enable L2 VPN services on both. But before we can create the L2 VPN, we must create a trunk port on our NSX edge.
First we need to create a portgroup on the vDS for the NSX edge to connect it’s trunk port to:
Navigate to your vDS and create your portgroup

On the teaming and failover configs for the portgroup, make sure only one uplink it set to active and the others are set to standby. This is done to prevent routing loops.
Now navigate back to the NSX edge that you will create the VPN on. Go to Manage > Settings > Interfaces and create a new interface. Make sure you select the Type as Trunk and connect it to the portgroup that was just created 
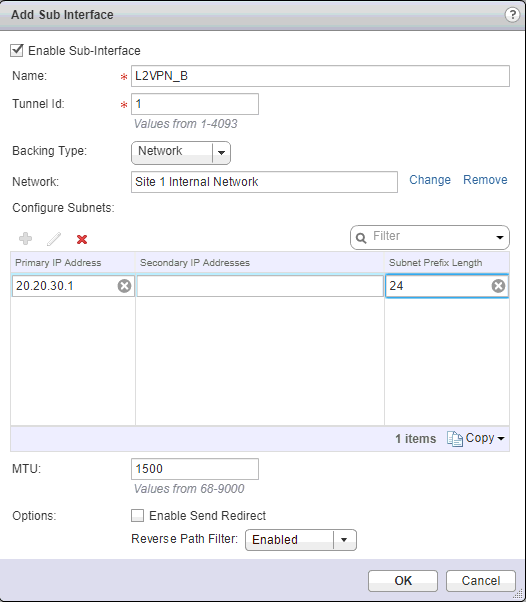
Now click the green + under Sub Interfaces. Enter a name and Tunnel ID. The Tunnel ID will need to be the same for both sites. For Backing Type, Network is for VLAN or VXLAN and VLAN is only for VLAN. I selected Network since I’m going from VXLAN to VXLAN. Select the backend network that you want to allow across the VPN. Enter a primary IP address for the sub interface. Click OK.
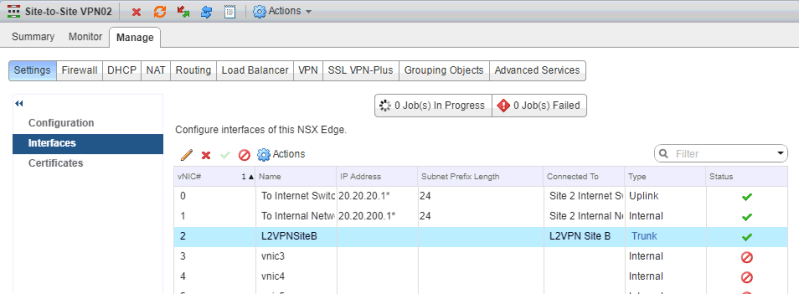
Now we see the Trunk interface is created.
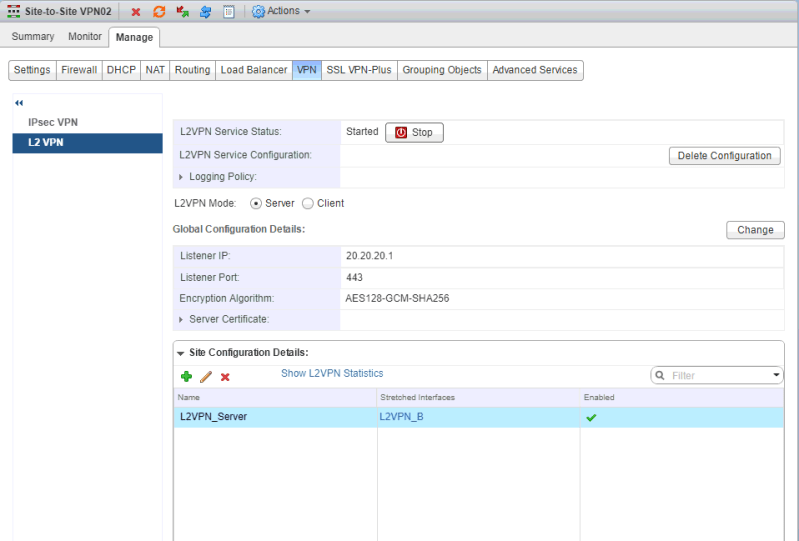
Now under Manage > VPN > L2 VPN, make sure the L2VPN mode is set to Server. Click Change.

Select the external interface, port number, and encryption method. Under certificate details, you can use a system generated, self signed, or cert that you added. Once you have everything selected, click OK.

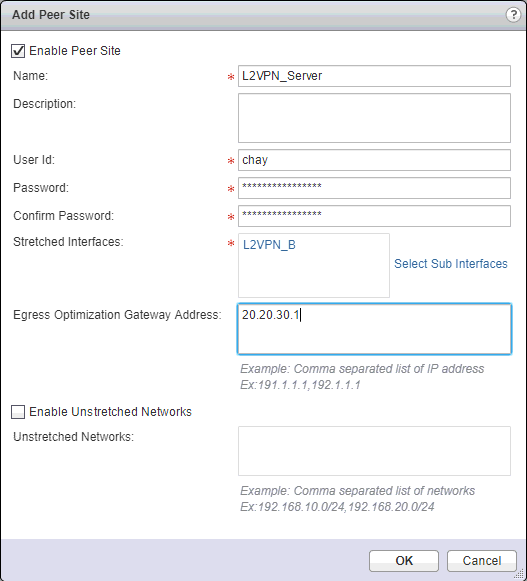
Under Site Configuration Details, click the green +. Enter in a name, user ID and password, and select the sub interface. For Egress Optimization Gateway Address, if the default gateway for virtual machines is the same across the two sites, type the gateway IP addresses of the sub interfaces or the IP addresses to which traffic should not flow over the tunnel. In my case, I entered the IP of the sub interface. Click OK.
Now go and start the L2VPN Service and Publish Changes on the edge.
Now at our other site, on the edge device doing the L2 VPN, I also create a subinterface

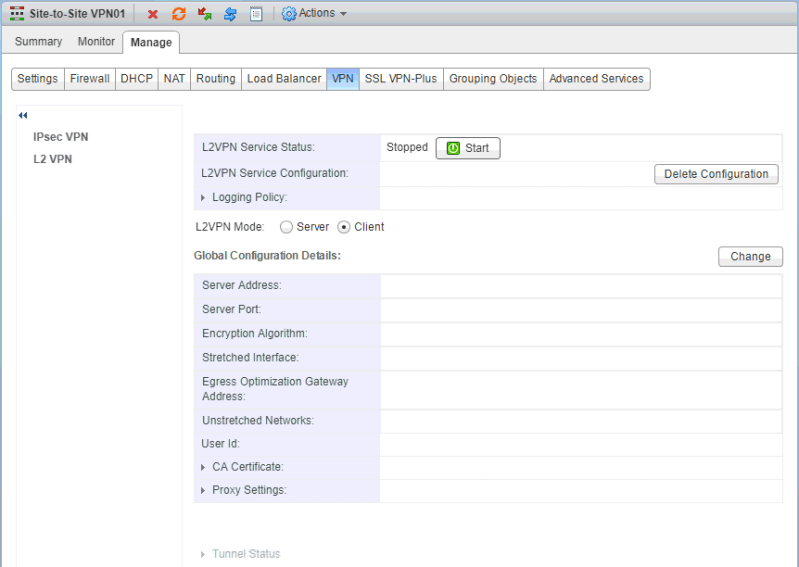
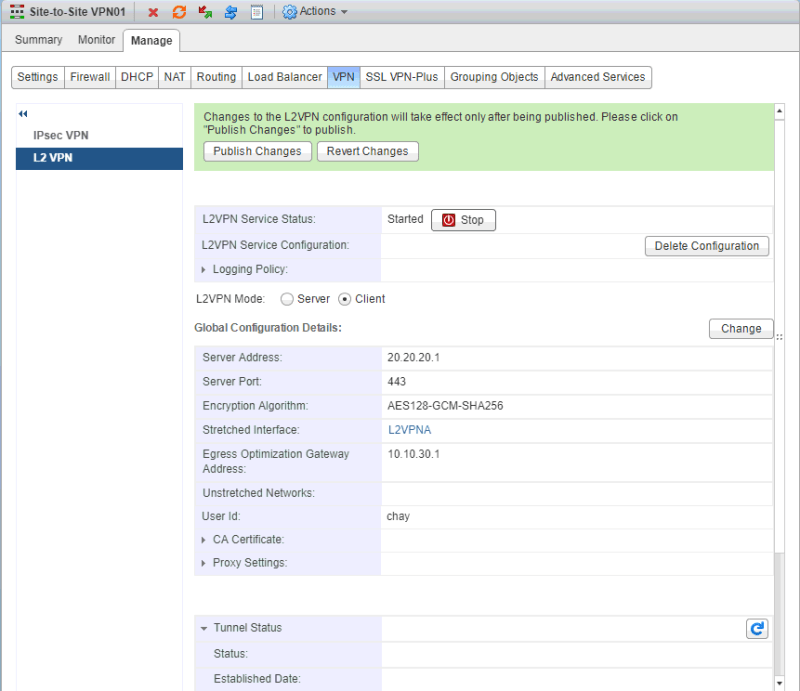
Under Manage > VPN > L2 VPN, make sure the L2VPN mode is set to Client. Click Change.
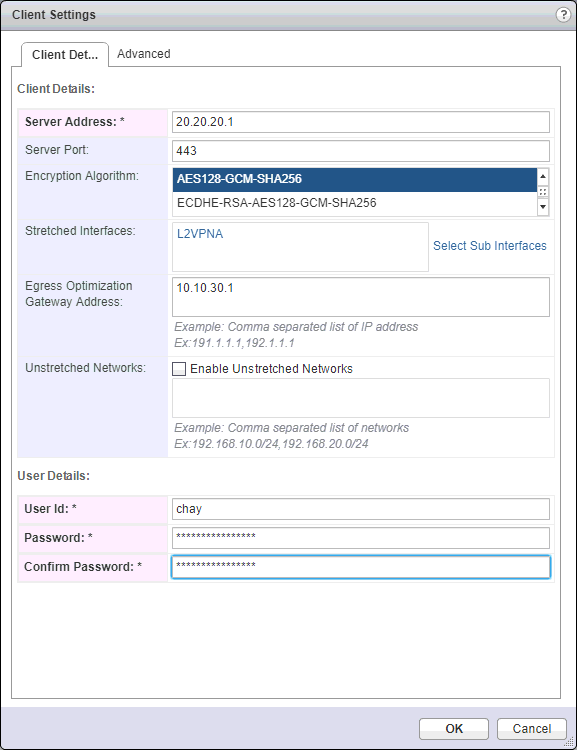
Now we need to configure the client settings. For Server Address, enter in the IP address of the remote VPN server that was just configured. Make sure you select the same encryption algorithm here that you configured on the other site. In Stretched Interface, select the sub interface to be stretched to the server. For Egress Optimization Gateway Address, put in the IP address of the sub interface or the IP address of traffic that should not flow over the tunnel. In the User Details section, enter in the creds that you created on the server side configuration. Click OK.
Now start the L2 VPN service and publish changes
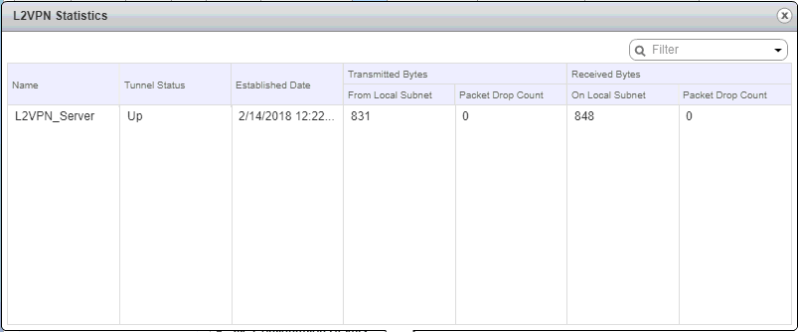
Now, when I go back on the L2 VPN server side and check the L2VPN Statistics, the tunnel status is UP
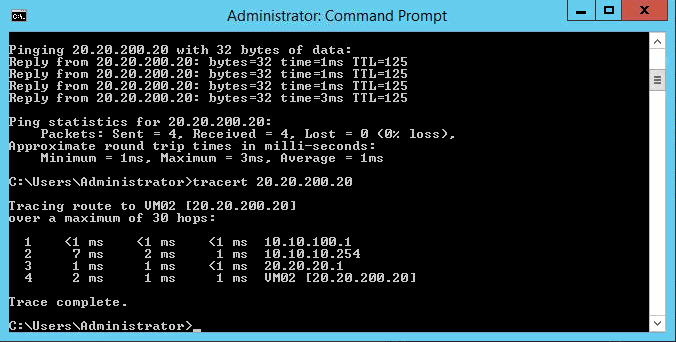
To test my connection between the two sites, I jump on to a VM on Site A (VM01) and run a ping and tracert to a VM on Site B (VM02) and both are successful.
And that’s all there is to it. Whew! That was a long objective!
