

In this blog post, I will cover section 1 objective 1.1 of the VCAP6-NV Deploy exam.
Objective 1.1 – Deploy VMware NSX Infrastructure components
- Deploy the NSX Manager virtual appliance
- Integrate the NSX Manager with vCenter Server
- Configure Single Sign On
- Specify a Syslog Server
- Implement and Configure NSX Controllers
- Exclude virtual machines from firewall protection according to a deployment plan
Deploy the NSX Manager virtual appliance
First things first, after downloading the NSX OVA file, right click on the cluster you want to deploy the appliance in and click Deploy OVF Template. Browse to and select the NSX OVA file and click Next.

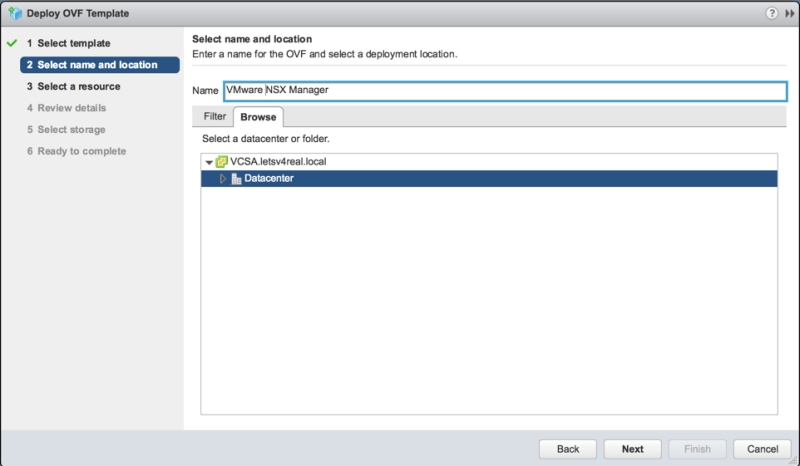
Enter a name for the VM and location. Click Next.
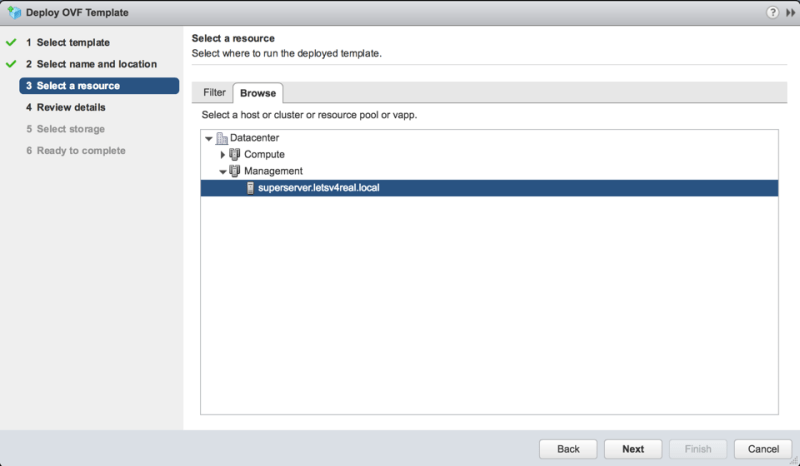
Select a host to deploy to. Click Next.
Click Next

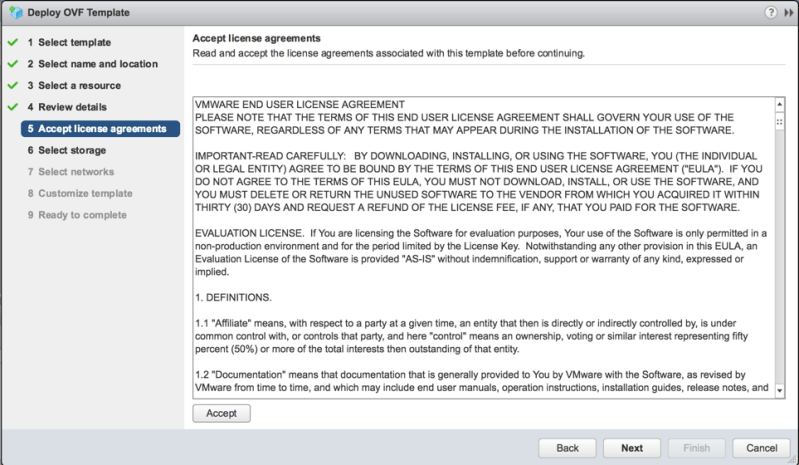
Accept the EULA. Click Next.
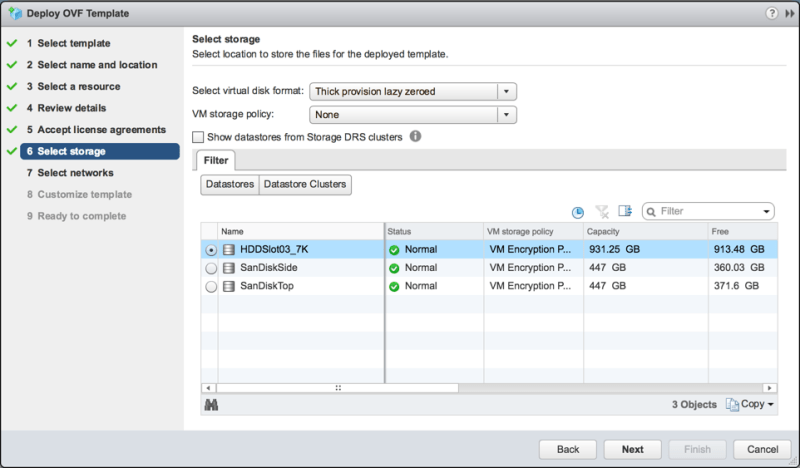
Select a storage location. Click Next.
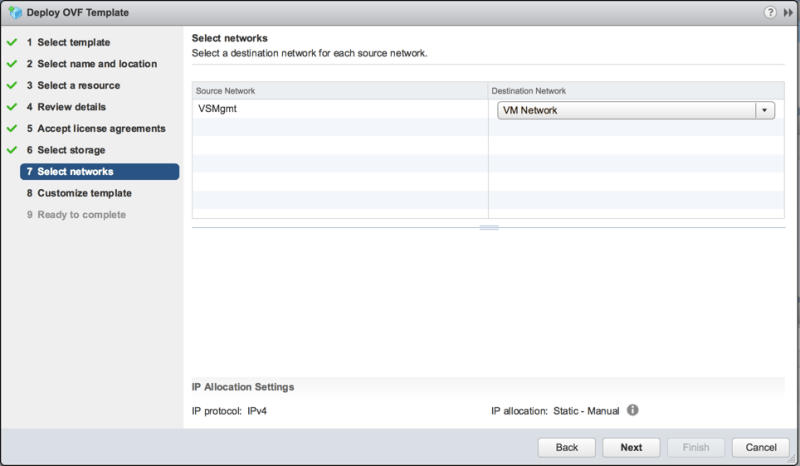
Select a network to connect the vNic to. Click Next.
On the customize template page, provide DNS, IP address, Hostname. etc. Click Next.

Review your settings. Click Finish.

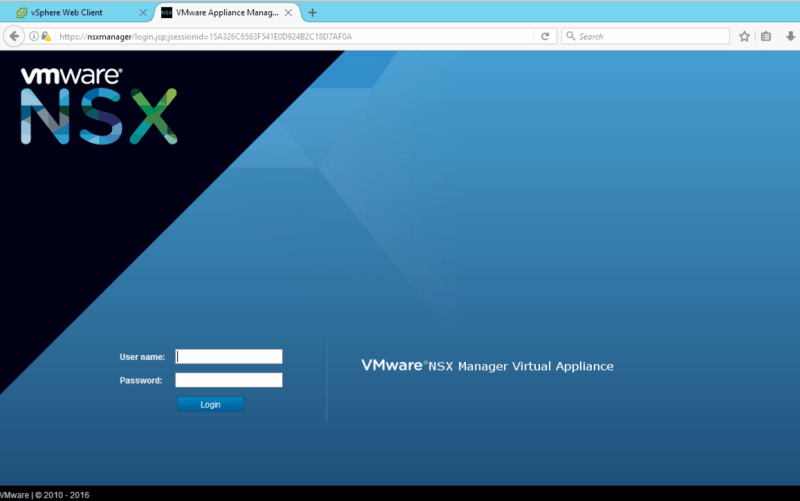
Open a internet browser and browse to the IP address or FQDN that you configured for the NSX Manager. Enter the admin username and password. Click Login.
Integrate the NSX Manager with vCenter Server
Now we want to begin making our registration with the vCenter server. To begin, click Manage Appliance Settings

Configure Single Sign On
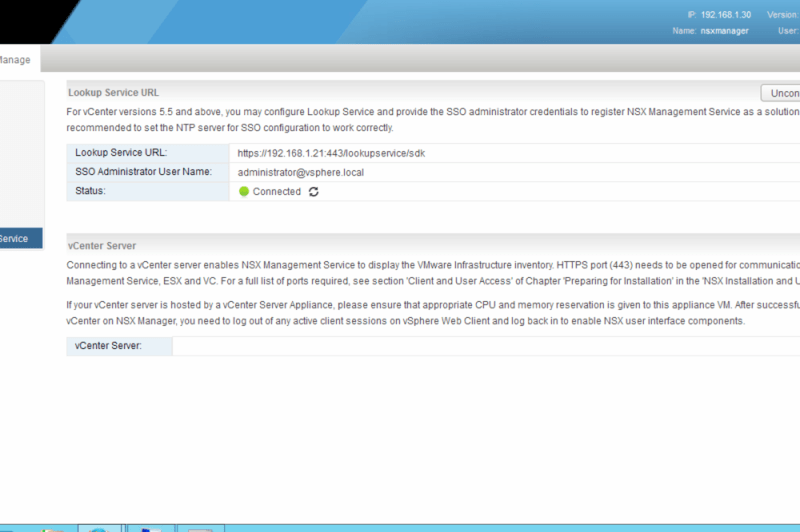
Under the Manage tab, click NSX Management Service. Click Edit by Lookup Service URL.
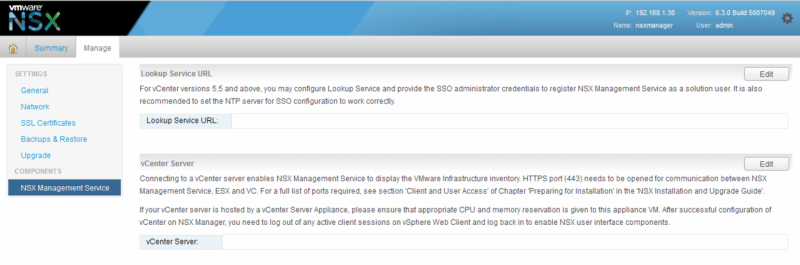
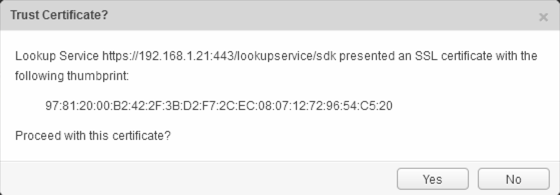
Here we will enter in the IP or FQDN of our vCenter service if you are running a vCenter with a embedded database. If you are running a vCenter with a External PSC then you will need to enter the IP of FQDN of the external PSC. Also, provide the SSO administrator username and password. Click Ok.

Accept the certificate by click Yes
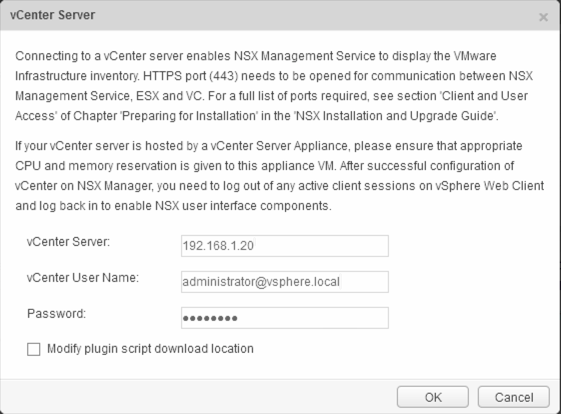
Now let’s register with our vCenter server. Click Edit by vCenter Server.
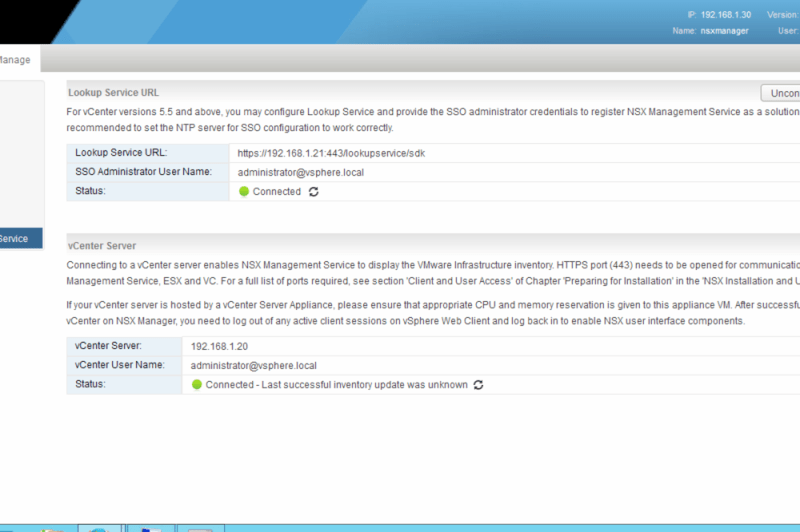
Enter the IP or FQDN of the vCenter server and the vCenter administrator username and password. Click OK.
Accept the certificate by clicking Yes

Once the Lookup service and vCenter server registration is complete, we will be able to see the Networking & Security icon on the vCenter home page. Log off of the NSX Manager.
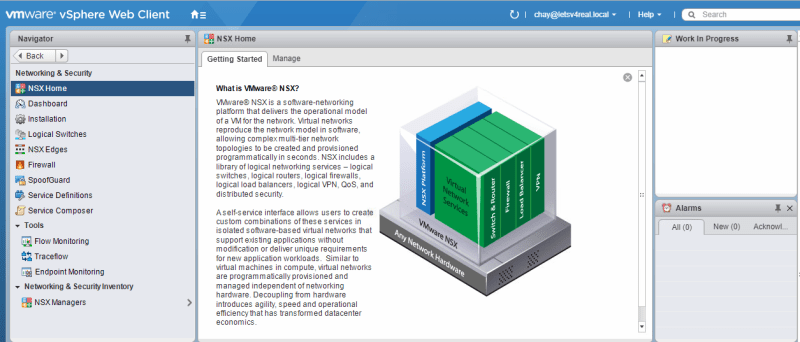
Log into the vCenter server and notice the new Networking & Security icon.

Specify a Syslog Server
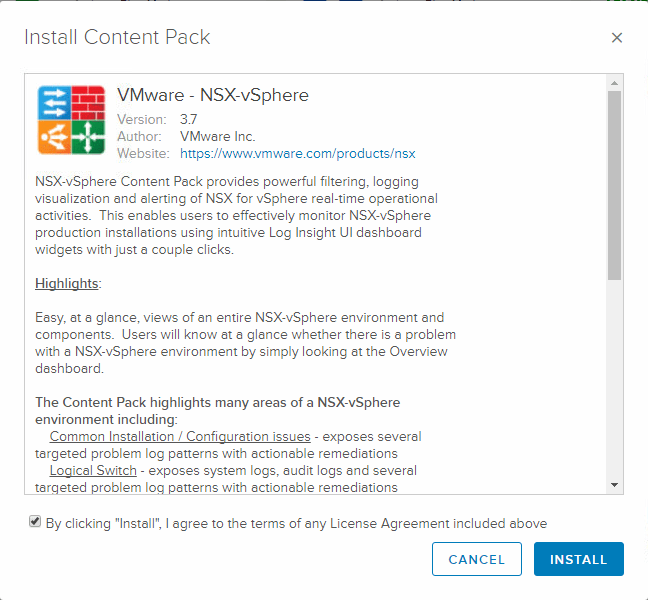
Since I will be using vRealize Log Insight as my syslog server, I first need to prep it and install the NSX content pack. I log into my log insight appliance and under content packs I find the NSX content pack and install it.
Now navigate back to the NSX manager and click Manage Appliance Settings > Manage > Settings > General and click Edit next to Syslog Server
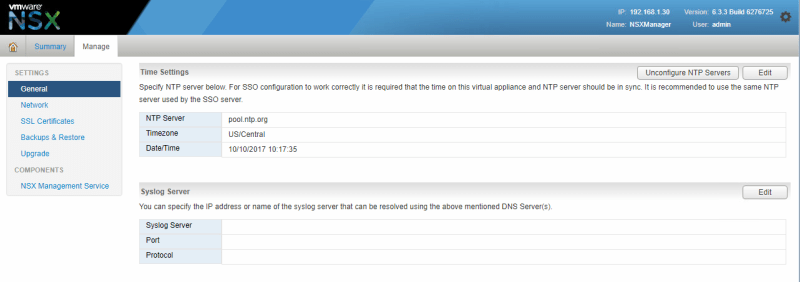
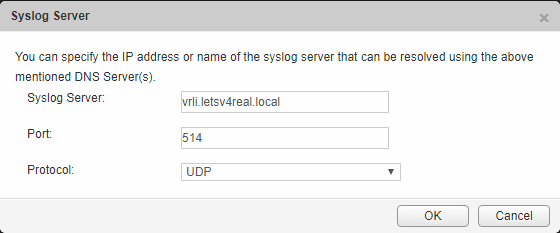
Enter in the information for your Syslog server and click OK.
Implement and Configure NSX Controllers
*This portion comes from another lab setup that I had, just in case you’re wondering about the IP addresses…the concept is the same*
Once you’ve deployed the NSX manager appliance and you’ve setup the registration with your vCenter, its time to deploy our controllers for NSX. From the Networking & Security pane click Installation > Management. At the bottom you will see the NSX Controller nodes pane. Click the green +

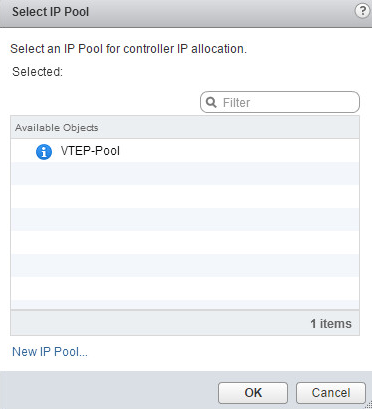
Click Select next to the IP Pool entry
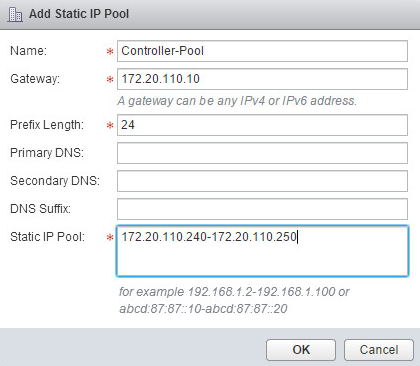
Click New IP Pool…at the bottom of the window.
We need to create a pool of IP addresses that will be assigned to the controllers automatically when they are deployed. Fill in the appropriate information and click OK.
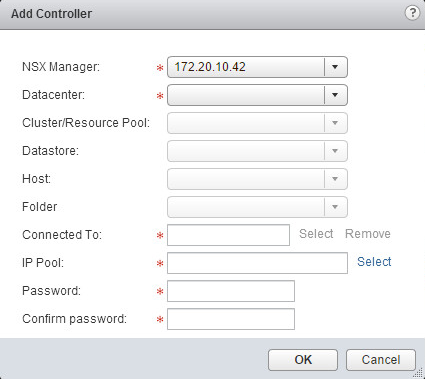
Fill in the appropriate information for adding the controller and select the newly created IP Pool. Click OK.

Wait on the controller to deploy and show Normal in the Status column. You will need to deploy 3 controllers. Do not try to deploy any subsequent controllers until the first controller is fully deployed and status is showing normal.

Exclude virtual machines from firewall protection
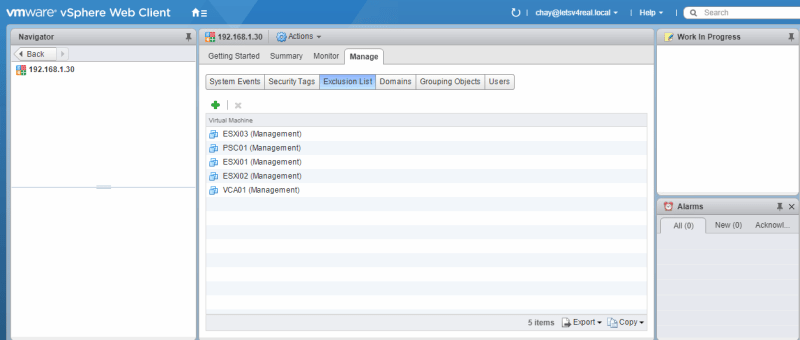
Navigate to Networking & Security > NSX Managers and select the NSX manager
Under Manage > Exclusion List is where you want to place VMs that you want to exclude from firewall protection. Click the green +
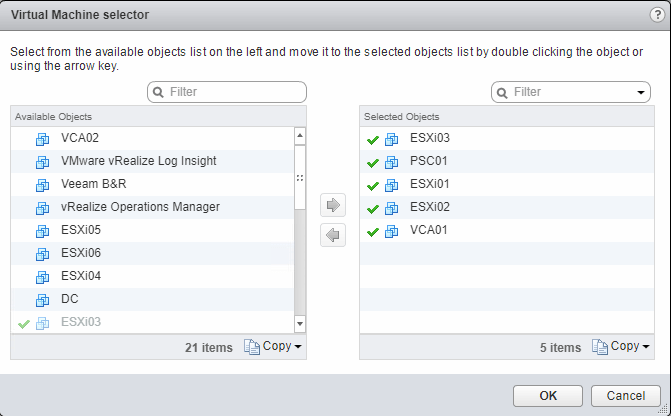
Select the VMs that you want to exclude. Click OK.

One thought on “Road to VCAP6-NV: Objective 1.1 – Deploy VMware NSX Infrastructure components”