
![]()
There are few things in IT that are worse than needing to recover some data and realizing that you don’t have a proper backup of it. Well, good thing for me, this only happened in my home lab and not at my day job. I suffered a power outage during some recent bad weather and one of my management VMs, the VM that had everything that I use to manage my home lab, decided it wasn’t going to come back up. Oh how I wish I had a backup of that VM so that I didn’t have to spend hours getting it back to where it was before the crash. So, I decided I needed to get something in place so that this wouldn’t happen again. Veeam…to the rescue! I’ve used Veeam before at my previous job as our primary backup tool but it never hit me to try it in my lab because I also remember the cost! And for a small home lab it just wasn’t feasible. But then I realized that Veeam gives a NFR license to vExperts…..say no more! In this blog I will go through the install for Veeam Backup & Replication 9.5.
Before we get started, here’s a quick rundown of the system requirements for the backup and replication server:
Hardware
- Microsoft Windows Server 2012R2
- Microsoft Windows Server 2012
- Microsoft Windows Server 2008 R2 SP1
- Microsoft Windows Server 2008 SP2
- Microsoft Windows 10
- Microsoft Windows 8.x
- Microsoft Windows 7 SP1
- Microsoft SQL Server 2014/2012/2008R2/2008/2005 (SQL 2012 Express is included)
- System Center Virtual Machine Manager 2012R2/2012/2008R2 Admin UI (optional, to be able to register SCVMM server with Backup & Replication infrastructure)
- Microsoft .NET Framework 4.5.2 (included in the setup)
- Windows Installer 4.5 (included in the setup)
- Microsoft PowerShell 2.0 or later (optional)
- Firefox, Google Chrome, Microsoft Edge or Microsoft Internet Explorer 10.0 or later
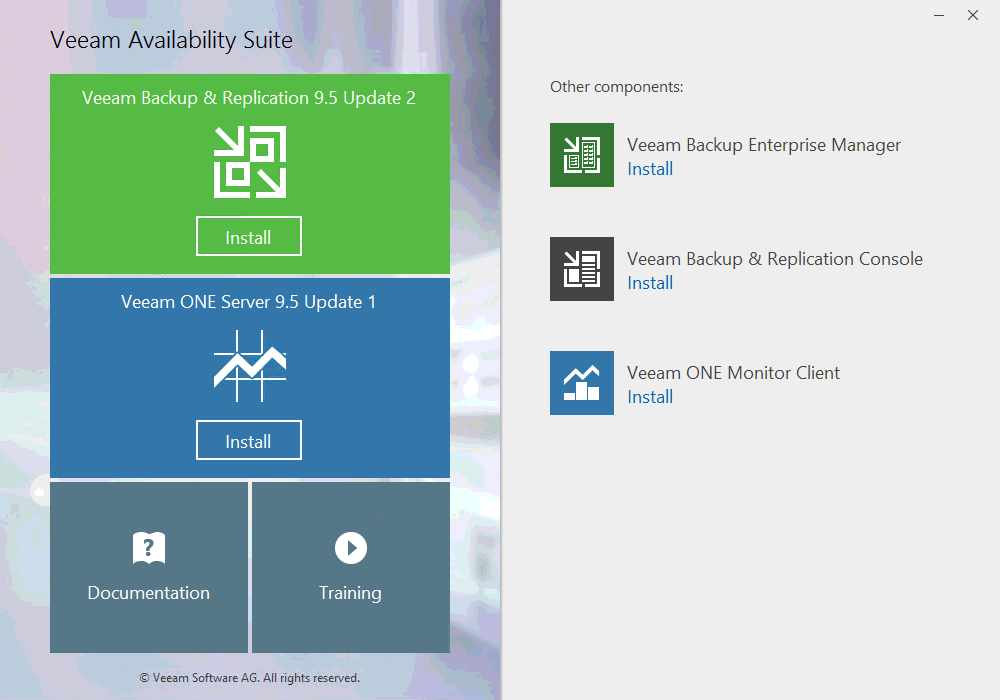
Once you have the software downloaded the software and placed it on the server you want to install it on, double click setup and click Install under Veeam Backup & Replication 9.5 Update 2.
Accept the EULA and click Next.

When you sign up for the NFR license, Veeam will email you a license file. You will need that file in order to activate the NFR version. If not, it will continue the install in Free Edition mode. Browse to your license file, select it and click Next.

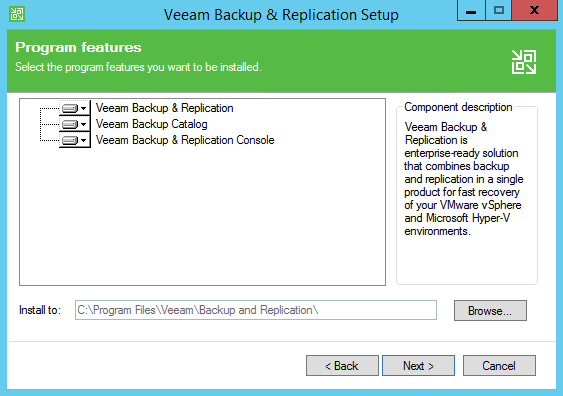
Select the components that you want to install. Click Next.
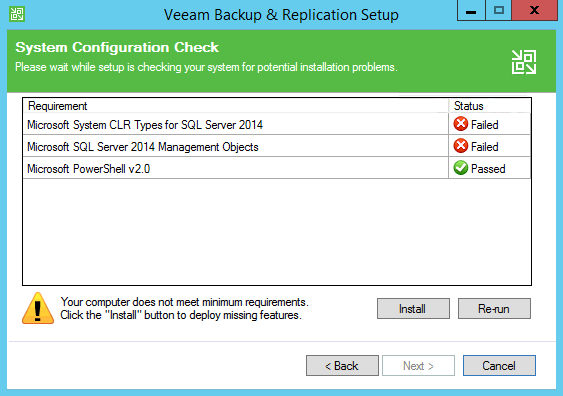
At this point in the install, the software will check to make sure you have all prerequisites installed. If any of the components are missing, the setup will install the missing components. You can click Install on each of the components that you are missing.
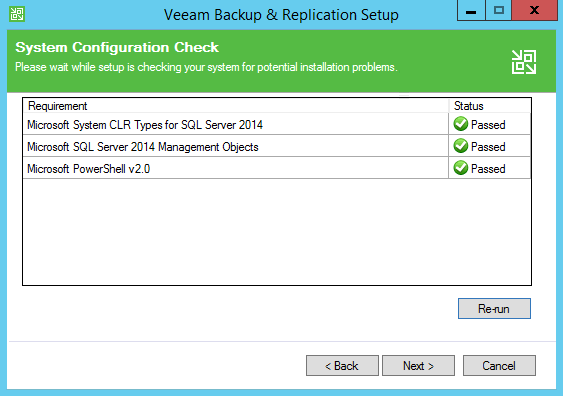
Once all the needed components are installed, proceed with the Veeam installation by clicking Next.
Verify your configuration settings and if you are satisfied, click Install.

Click Finish.

The first time that you open the Veeam Backup & Replication Console, the components will need to be updated. You will be presented with this screen on your first login. Click Apply to begin the component upgrade.
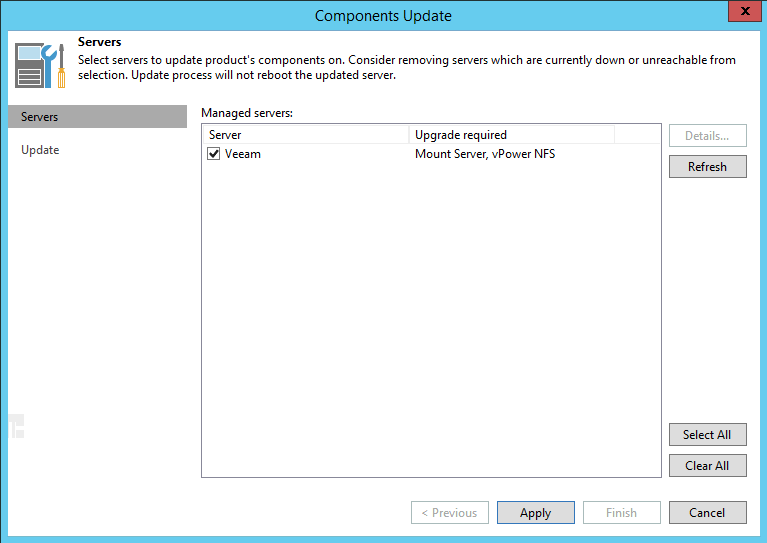
Once all components are updated, click finish.

And that’s all there is to it. Now that Veeam is installed, you can begin creating backup of your important VMs.
