

Objective 4.2 – Configure and Manage Service Composer
Skills and Abilities
- Create/configure Service Composer according to a deployment plan:
- Configure Security Groups
- Configure Security Policies
- Configure Activity Monitoring for a Security Policy
- Create/edit/delete Security Tags
- Configure Network Introspection
- Configure Guest Introspection
Create/configure Service Composer according to a deployment plan
Service Composer is an orchestration tool used to provision security services to applications and servers in a virtual environment. Through the use of a combination of security groups and security policies, service composer can cut down the number of DFW rules that you need to create in a virtual environment. Security groups are used to define the assets that you wish to protect. Security groups can be built by using static memberships, dynamic memberships or a combination of both to define your assets. Security groups can be built using a number of parameters such as clusters, security tags, port groups, IP sets, MAC sets and a number of other groupings. Security policies list the services and rules that are assigned to the members of the security group. You map security policies to security groups. If you have a VM that is a member of more than one security group, then the services that are applied to it depend on the precedence of the security policy.
Configure Security Groups
Security groups are a way to define objects that you want to group together to protect. They can be statically defined or defined dynamically. Security groups can be defined using some of the following vCenter objects:
- Clusters, port groups, resource pools
- Security tags, IP Sets, MAC Sets, other security groups
- Active Directory groups – If the NSX Manager is registered with Active Directory
- VMs, vNICs, Logical Switch
Group objects together can make the application of firewall rules that much easier and cut down on the amount of rules that need to be generated in NSX
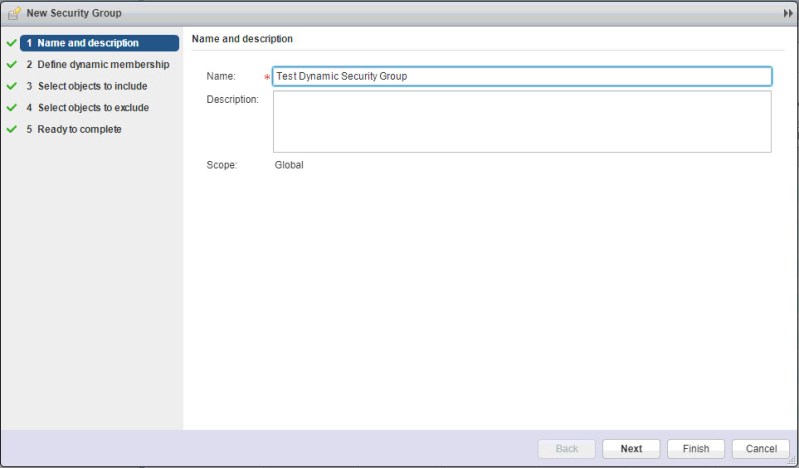
To create a security group, navigate to Networking & Security > Service Composer > Security Groups. Click the “New Security Group” icon.

Enter a name for the security group. Click Next.
Here, we define any dynamic memberships. Since I want anything that is connected to my Tenant A logical switch to be included, I will select that. Click OK.
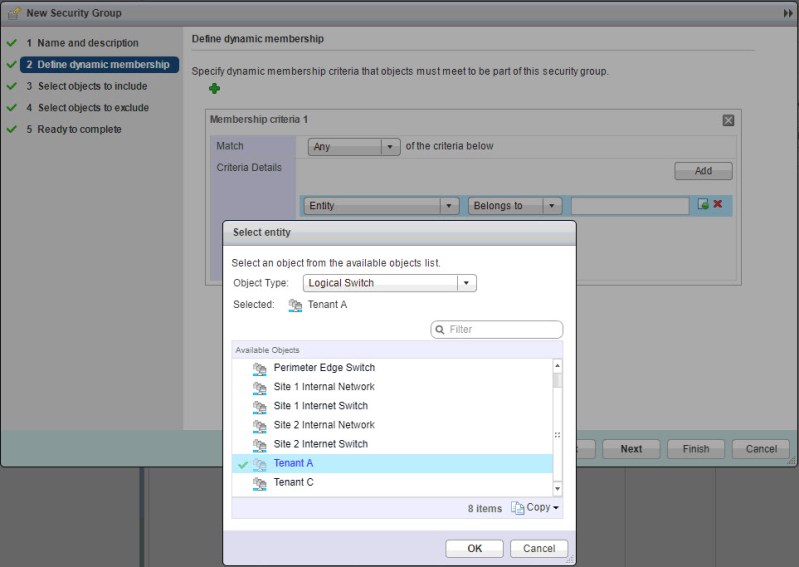
Click Next

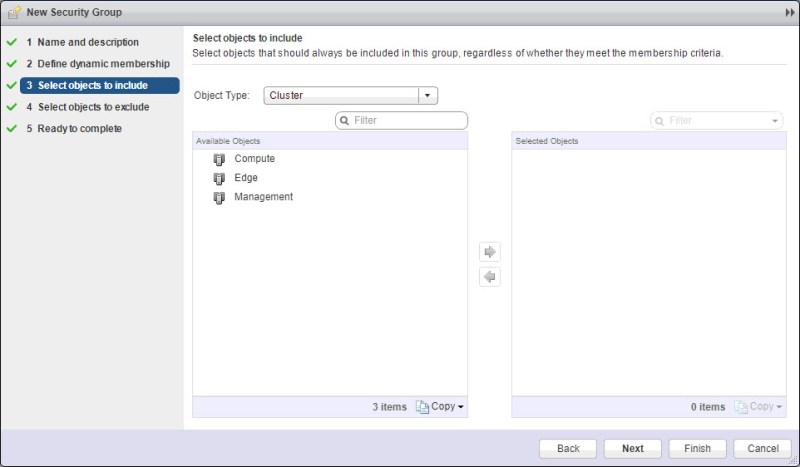
You can also select static objects to include in your security group. While dynamic memberships can change, these static ones won’t. Click Next.
You can also select objects to statically exclude from a security group. Click Next.

Click Finish.
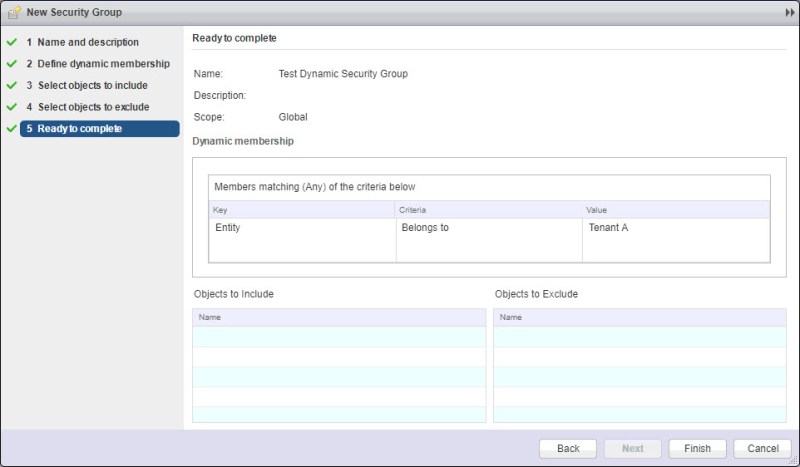
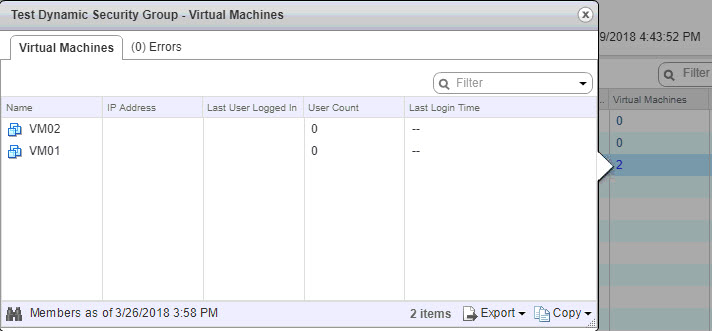
Now we see the new security group has been created.

Since I created a dynamic security group, we see the two VMs that were connected ahead of time to the Tenant A switch are included in my newly created security group.
Configure Security Policies
A security policy can be a set of firewall rules and guest/network introspection services that are applied to a security group. You assign weights to security policies in order to determine which policy is applied first. By default, the newest policy is assigned the highest weight so that is falls at the top of the list.
To create a security policy, click the Create Security Policy icon
Enter in a name for the security policy and you can define a weight for the policy. Click Next.

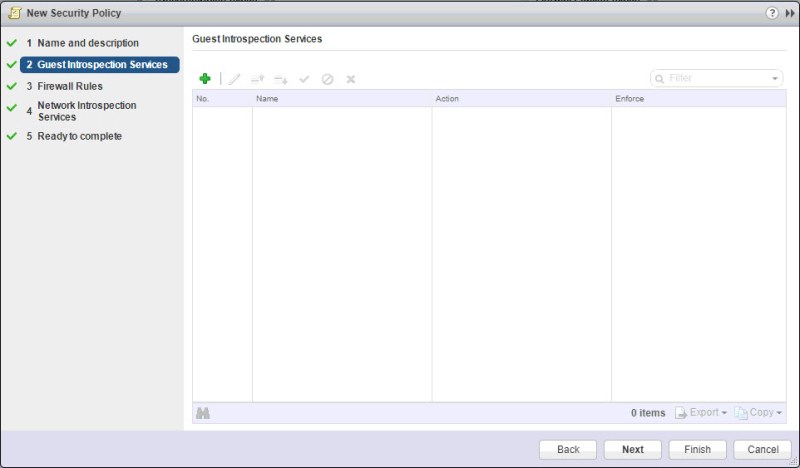
You can add Guest Introspection. I’m not going to at this point. Click Next to move on to the firewall rules section where I will create a rule that will be applied to our security group later.
Under the Firewall Rules section, click the green + to add a new rule
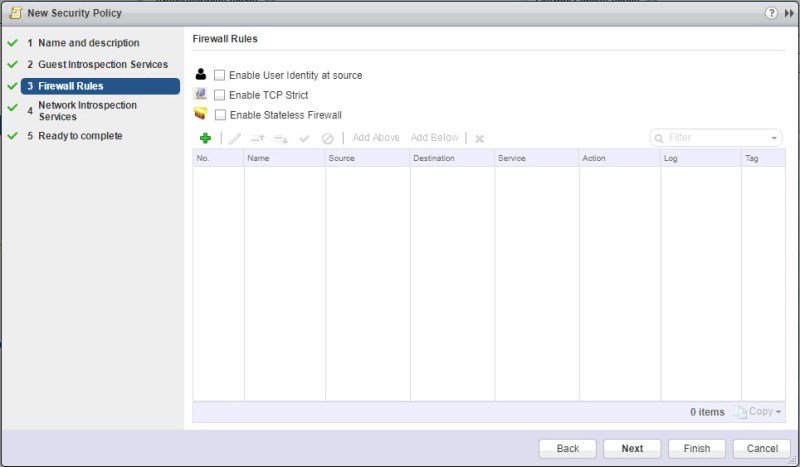
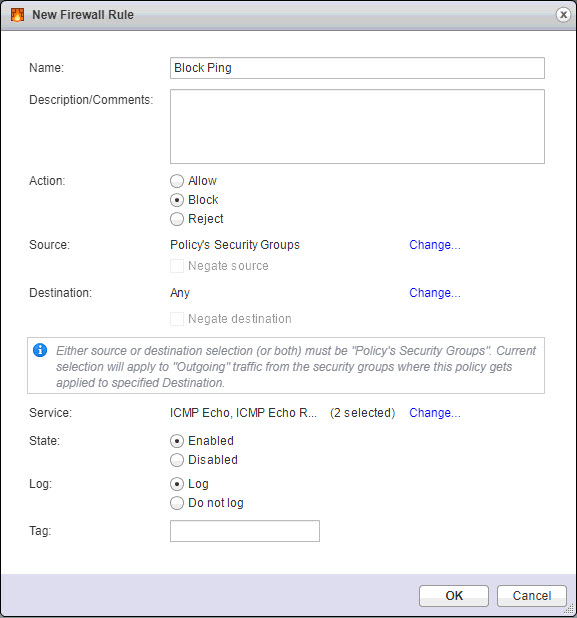
I’m going to create a simple rule to block ping. So I will leave the source and destination as they are. One thing to keep in mind, either the source or the destination or both has to be set to “Policy’s Security Groups” when applying the policy. To add the proper services for ping, click Change next to Service.

Select the services. Click OK.

Now that we have the rule setup, click OK.
Click Next.

We could also all Network Introspection Services to the security policy. At this time we will not. Click Next.
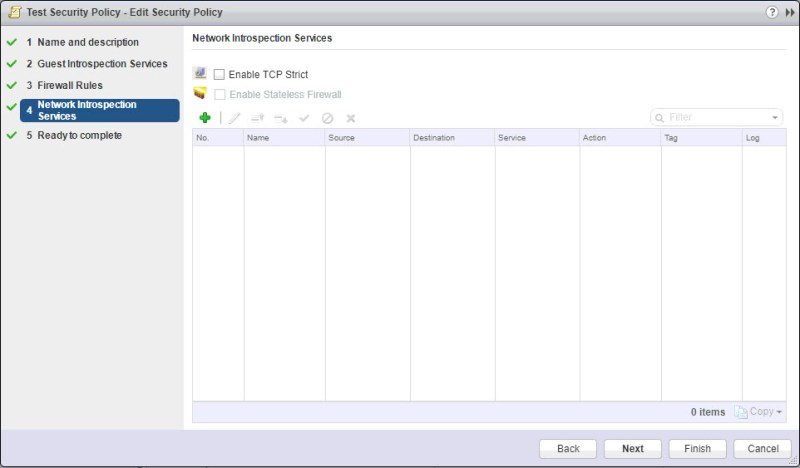
Click Finish.

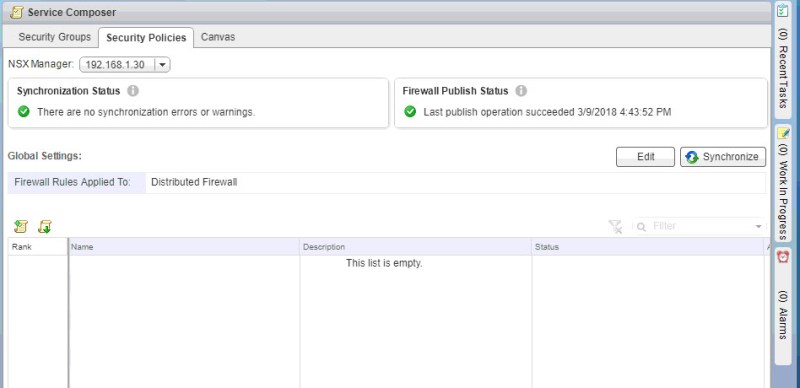
Now we have our newly created Security Policy. The only thing left to do is to apply it to a security group.

Under the Canvas tab, locate the Security Group that was created earlier. Click the Apply Security Policy Icon.
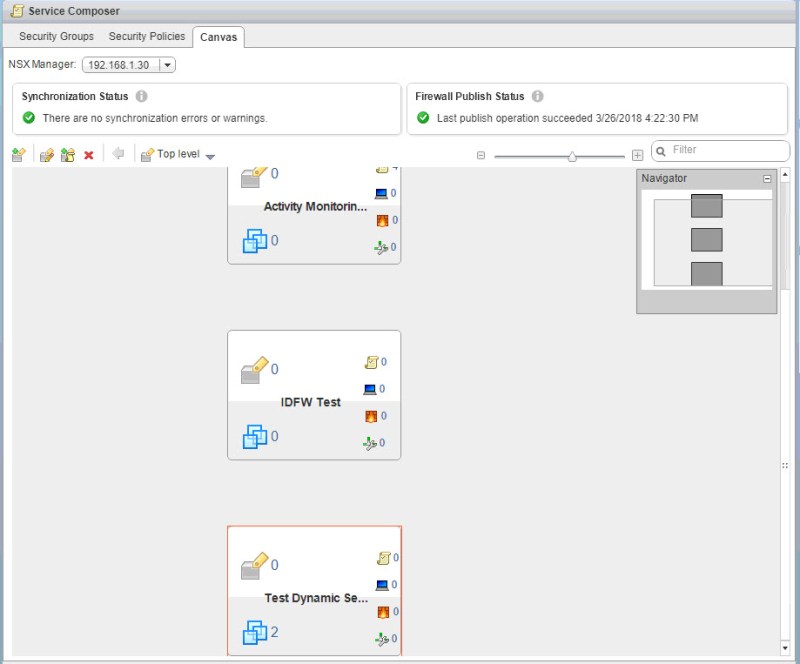
Select the Security Policy. Click OK.

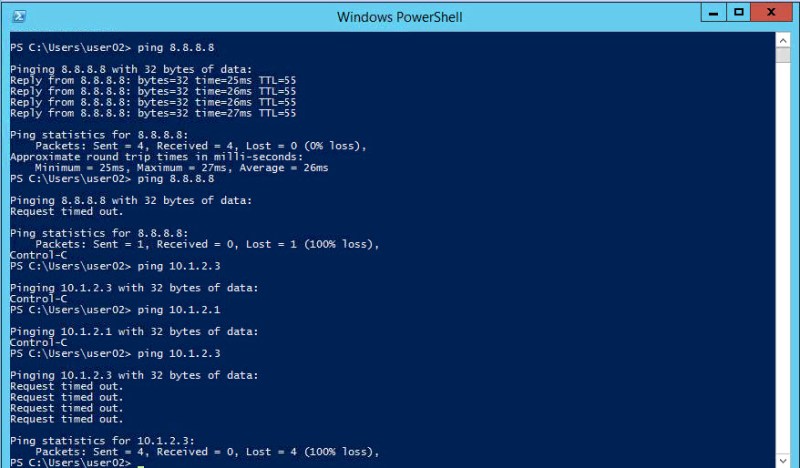
Now I jump on to VM01 and test pinging. As you can see, I can’t ping inside or outside of the logical switch that. I was able to prior to applying the security policy.
Configure Activity Monitoring for a Security Policy
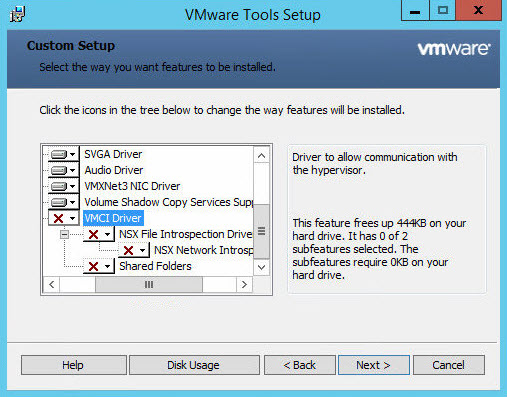
As of NSX 6.3, Activity Monitoring has been deprecated. VMware recommends using Endpoint Monitoring. So in this section I will be going over configuring endpoint monitoring. Endpoint monitoring enables you to be able to map specific processes inside the guest OS to the network connections the processes are using. In order to use Endpoint Monitoring, you must first have Guest Introspection services deployed in your environment and have the complete install of VMware tools installed on your VMs.
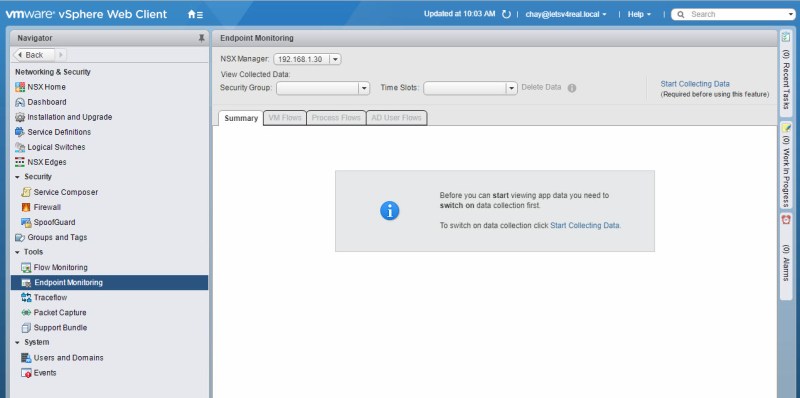
Once that is done, navigate to Networking & Security > Tools > Endpoint Monitoring. Click Start Collecting Data.
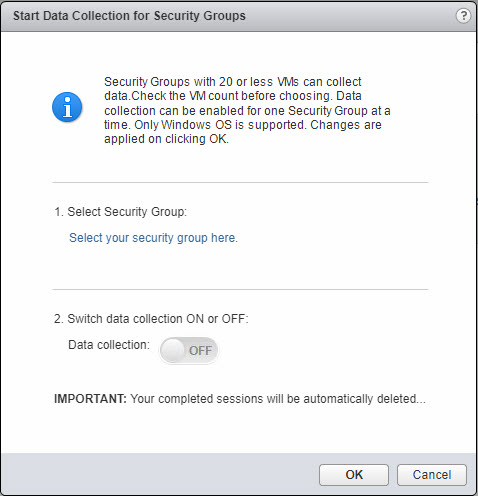
Click Select you security group here
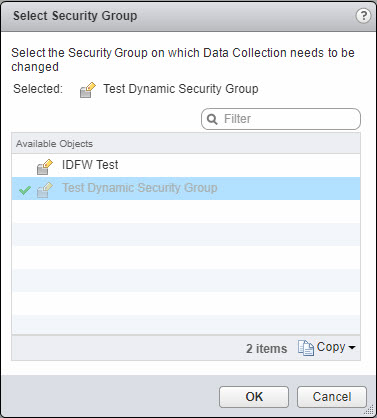
Select the Security Group you want to perform data collection on. Click OK.
Switch data collection on. Click OK.

Now we see that data collection is enabled. It can take some time for actual data to start appearing in the different sections, so give it some time.

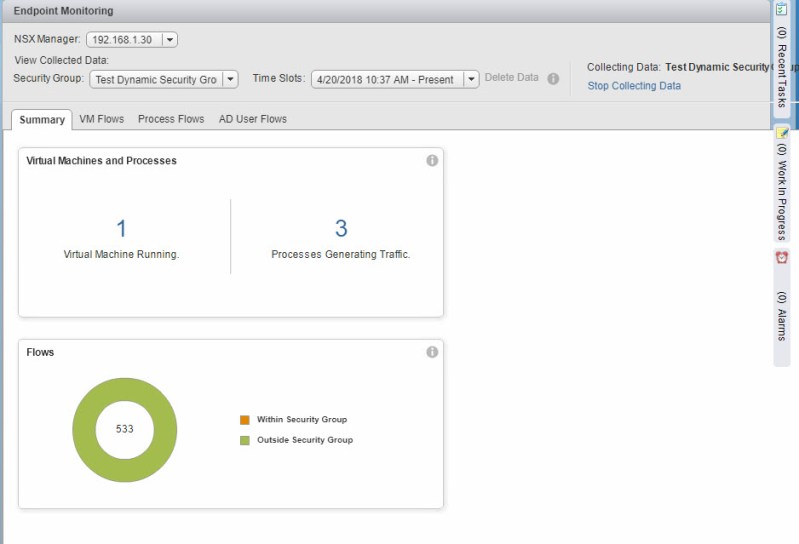
Below are a few screenshots of the various views and information that it provides. The summary gives us a overview of the number of VMs running and how many processes are generating traffic on those VMs.
Under the VM Flows tab you can see various other traffic flows between a member in my security group and other devices.
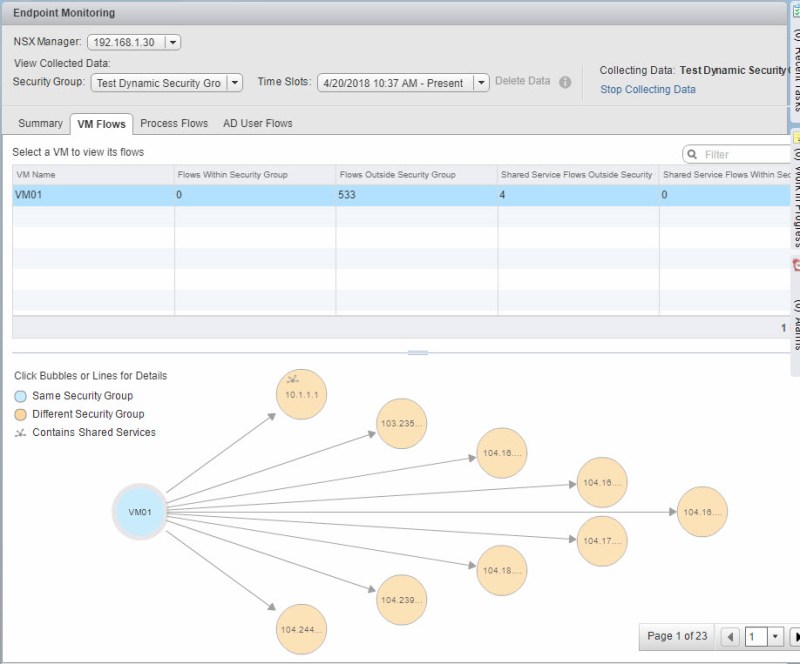
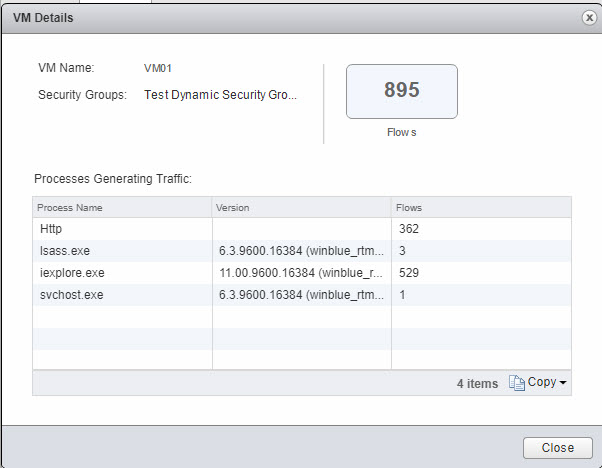
If you click the bubble of the VM in the chart, you will see a list of the processes that are generating traffic
If you click on the lines between the VM and another devices, you will see what traffic is happening between those two devices

Create/edit/delete Security Tags
Security tags are labels that can be associated with a VM to identify workloads or for grouping purposes. Adding and removing security tags can be done dynamically based off certain criteria. You can also create static or dynamic security groups based off security tags.
To create a security tag navigate to Networking & Security > Security > Groups and Tags. Click the new security tag icon.

Enter in a name for the security tag

If you want to assign the tag to a VM, simple right click the tag and click Assign Security Tag…

Select the VM you want to assign the tag too and click OK.

As seen in the third screenshot, you can also edit the tag or delete it.
Configure Network Introspection/Configure Guest Introspection
Guest Introspection offloads antivirus and anti-malware agent processing to a dedicated virtual appliance. It continuously updates antivirus signatures to give protection to the virtual machines on the host. Any new virtual machines are will come up and already have the latest virus definitions since their is no agent to install on the virtual machine for this.
Installation was partially covered in the endpoint monitoring section. It involves doing a complete install of the VMware tools on the VMs and deploying the Guest Introspection appliances on all the hosts in a cluster.
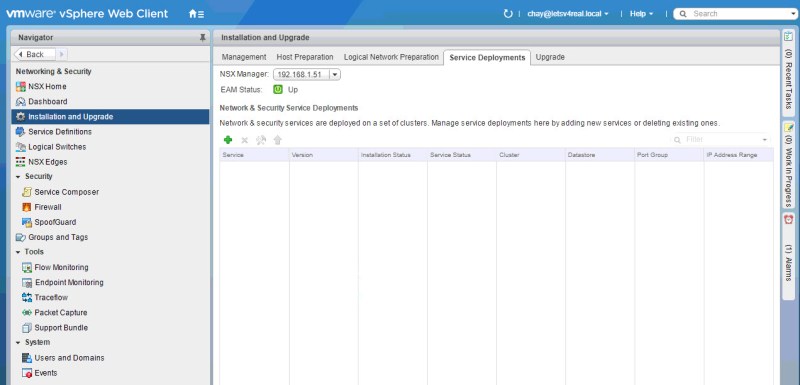
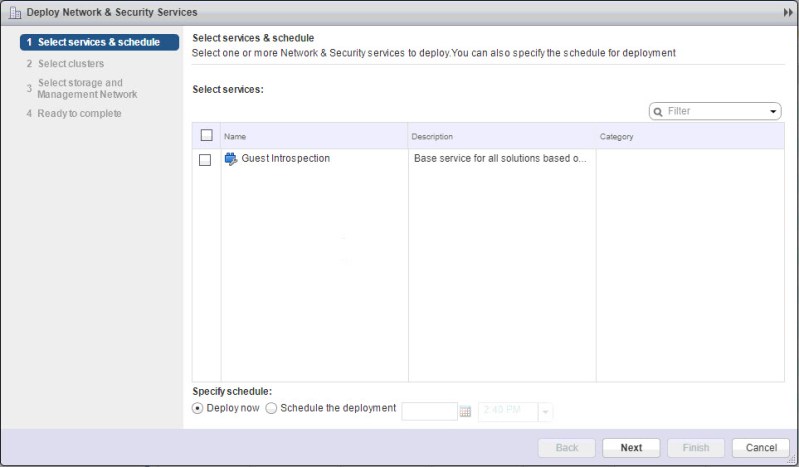
To deploy Guest Introspection, navigate to Networking & Security > Installation and Upgrade > Service Deployments. Click the green +.
Select Guest Introspection. Click Next.
Select the cluster you want to deploy it in. Click Next.

Select the datastore and network that you want to deploy the appliances on. For IP assignment, you can allow it to grab an IP address from DHCP or you can use a IP Pool. I will use a IP Pool that I created. Click Change to go to the list of IP Pools.

Select the IP Pool. Click OK.

Click Finish.

Now we can see that Guest Introspection services are up and running.

I can go to my cluster and verify this by the two appliances that are located there, one for each host.

Once you have Guest Introspection in place and a full VMware tools install on your VMs, you will be able to take advantage of the services it provides.
