

Configure Security Groups
Security Groups are a way to define objects that you want to group together to protect. They can be statically defined or defined dynamically. Security Groups can be defined using some of the following objects:
- Clusters, port groups, resource pools
- Security tags, IP Sets, MAC Sets, other security groups
- Active Directory groups – If the NSX Manager is registered with Active Directory
- VMs, vNICs, Logical Switch
Grouping objects together can make the application of firewall rules that much easier and cut down on the amount of rules that need to be generated in NSX
To create a security group, navigate to Networking & Security > Service Composer > Security Groups. Click the “New Security Group” icon.

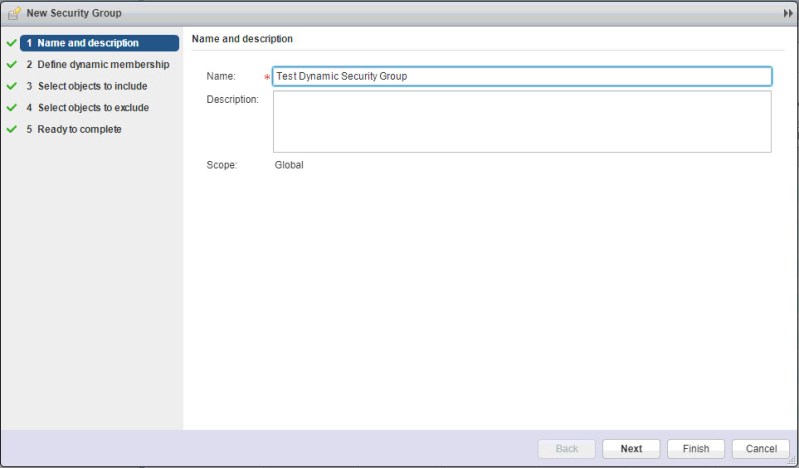
Enter a name for the security group. Click Next.
Here, we define any dynamic memberships. Since I want anything that is connected to my Tenant A logical switch to be included, I will select that. Click OK.
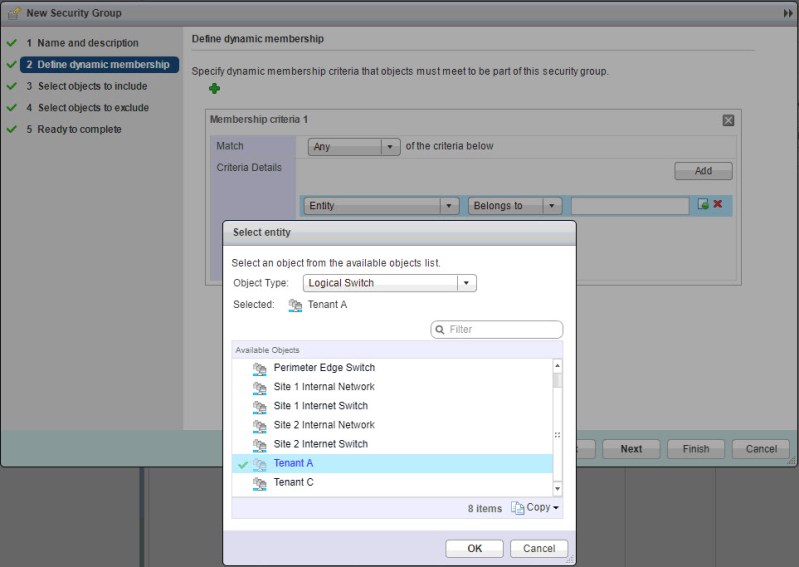
Click Next

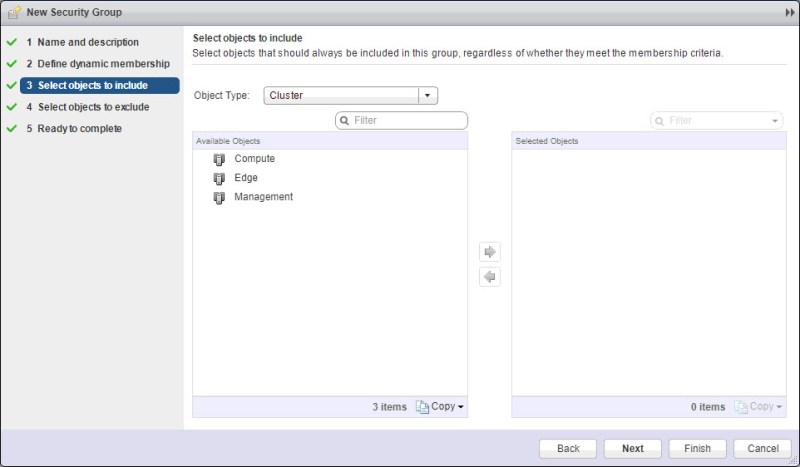
You can also select static objects to include in your security group. Where dynamic memberships can change, these won’t. Click Next.
You can also select objects to statically exclude from a security group. Click Next.

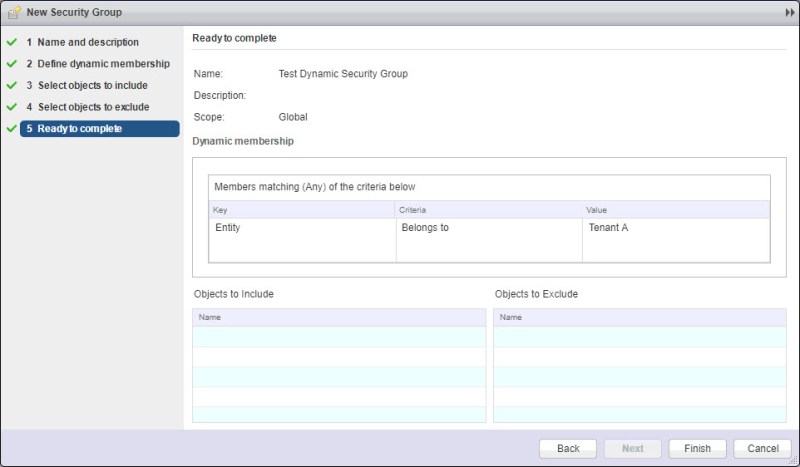
Click Finish.
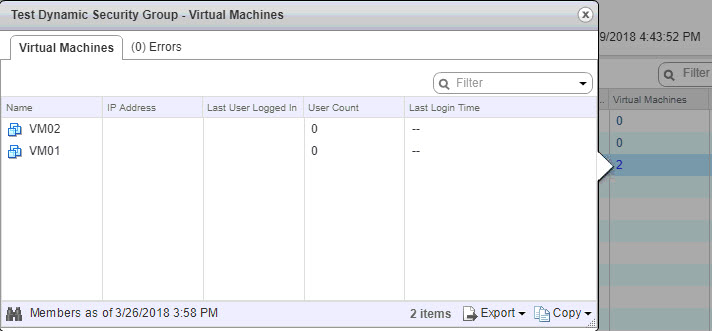
Now we see the new security group has been created.

Since I created a dynamic security group, we see the two VMs that were connected ahead of time to the Tenant A switch are included in my newly created security group.
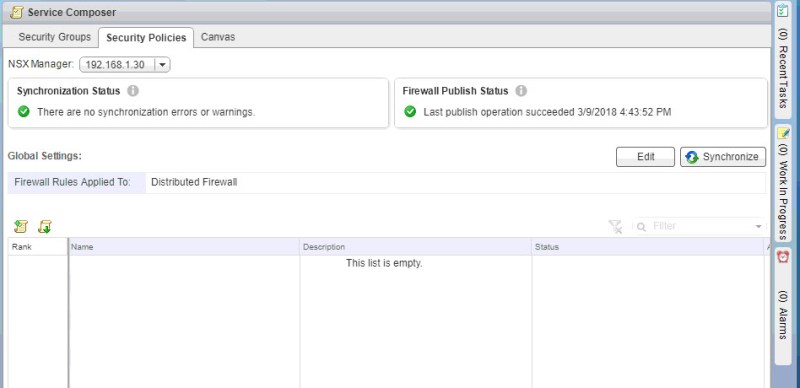
Configure Security Policies
A security policy can be a set of firewall rules and guest/network introspection services that are applied to a security group. You assign weights to security policies in order to determine which policy is applied first. By default, the newest policy is assigned the highest weight so that is falls at the top of the list.
To create a security policy, click the Create Security Policy icon
Enter in a name for the security policy and you can define a weight for the policy. Click Next.

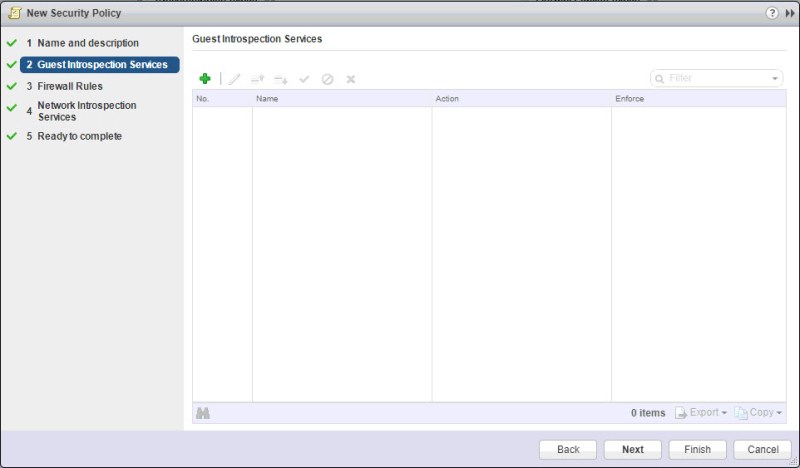
You can add Guest Introspection. I’m not going to at this point. Click Next to move on to the firewall rules section where I will create a rule that will be applied to our security group later.
Under the Firewall Rules section, click the green + to add a new rule
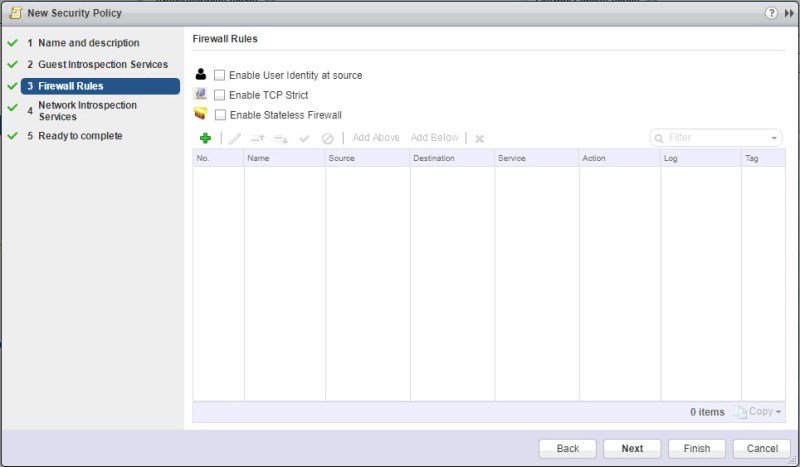
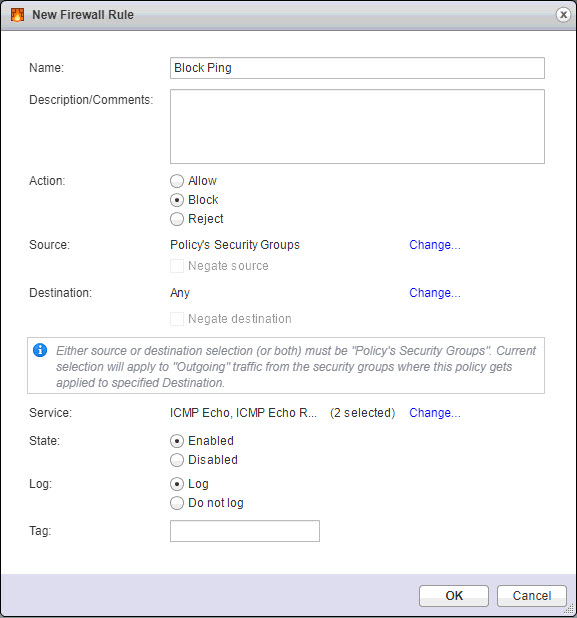
I’m going to create a simple rule to block ping. So I will leave the source and destination as they are. One thing to keep in mind, either the source or the destination or both has to be set to “Policy’s Security Groups” when applying the policy. To add the proper services for ping, click Change next to Service.

Select the services. Click OK.

Now that we have the rule setup, click OK.
Click Next.

We could also all Network Introspection Services to the security policy. At this time we will not. Click Next.
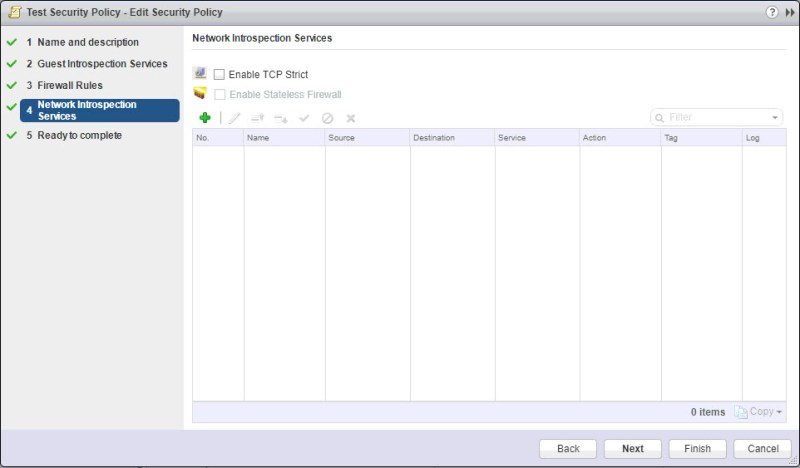
Click Finish.

Now we have our newly created Security Policy. The only thing left to do is to apply it to a security group.

Under the Canvas tab, locate the Security Group that was created earlier. Click the Apply Security Policy Icon.
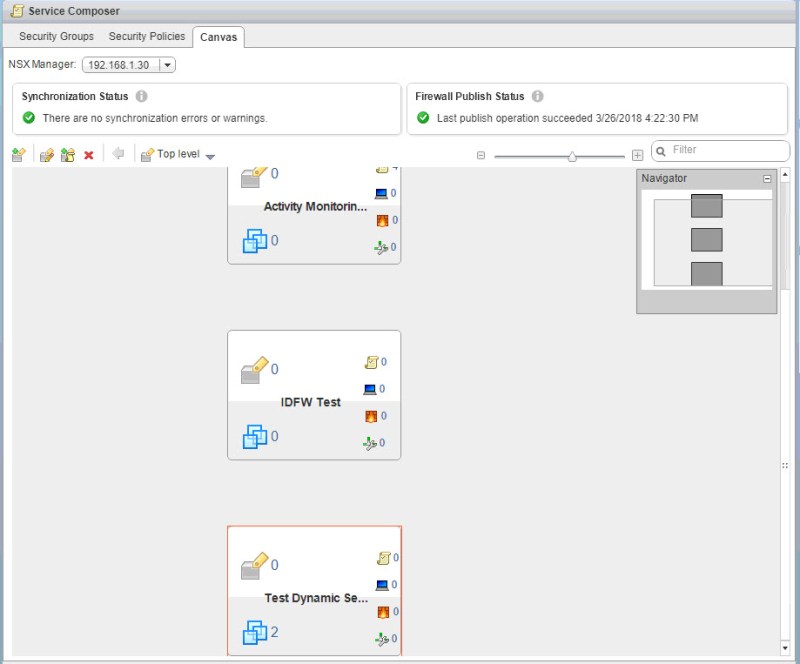
Select the Security Policy. Click OK.

Now I jump on to VM01 and do a few test pings. As you can see, I can’t ping inside or outside of the logical switch. I was able to do so prior to applying the security policy.
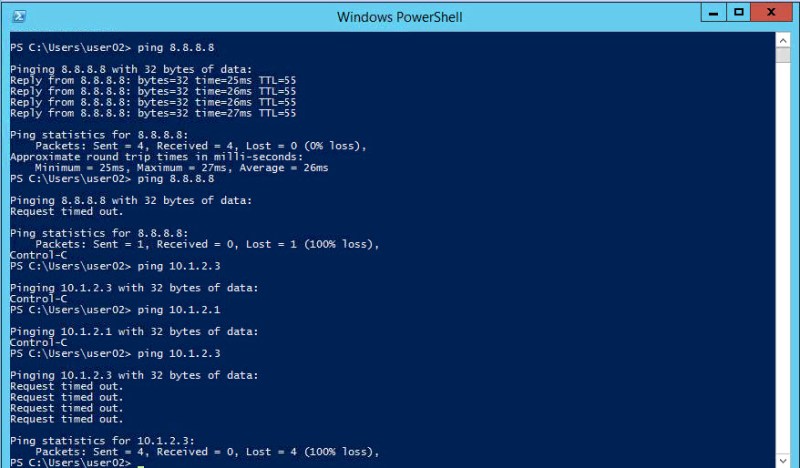
And it’s that simple. By combining the use of Security Groups and Security Policies, it can greatly reduce administrative overhead and the amount of firewall rules that need to be created, keeping things nice and neat in your NSX environment.
