
NSX Edge provides network address translation (NAT) service to assign a public address to a computer within a private network. The NSX edge supports using source NAT (SNAT) and destination NAT (DNAT). SNAT is used for translating a internal IP address to a public external address. Since external IP addresses have no knowledge of internal IP addresses, NAT is needed for communication. DNAT allows access from outside/external networks to internal private networks. NAT is important for providing access to services within your private network and for providing the ability to access services that are external to your network. For ex: In order for a machine on your private network to be able to access the internet, NAT is need. In this blog post, I’ll show you how to configure source NAT (SNAT) on a NSX edge device to do just that.
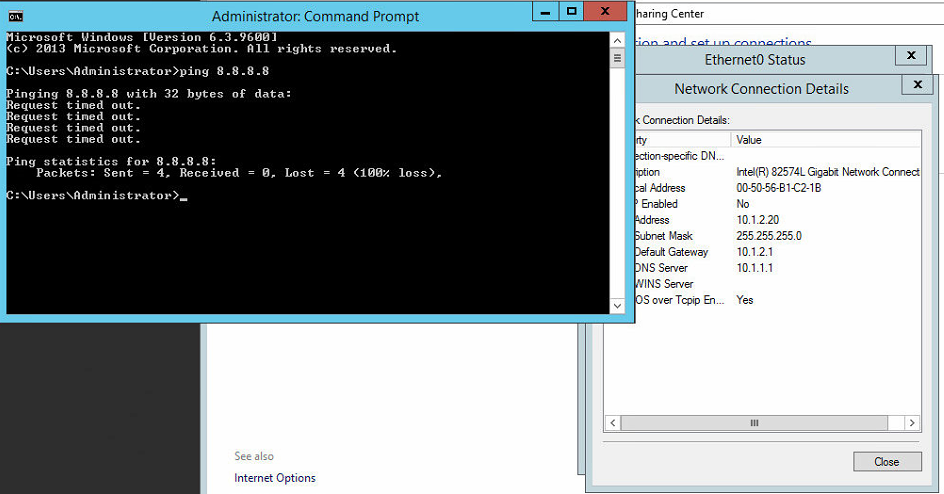
In our example, we will have a VM (VM01) with a IP address of 10.1.2.20 that is attached to a NSX logical switch (Tenant A). In order for this VM to access the internet, we will translate it’s IP to an IP that is internet accessible. Right now, as you can see, we cannot access the outside world. We test this by pinging Google’s public DNS (8.8.8.8).
Let’s get started with changing this and making the VM accessible to the internet.
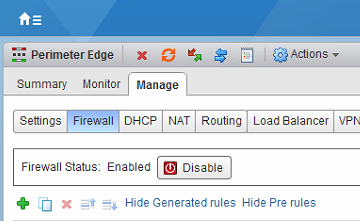
As mentioned, NAT translates one IP address into another. So, our first step is to have a IP address that we can use to translate to. Our first step is to make sure the firewall services are enabled on our NSX edge. Without that, we cannot configure NAT.
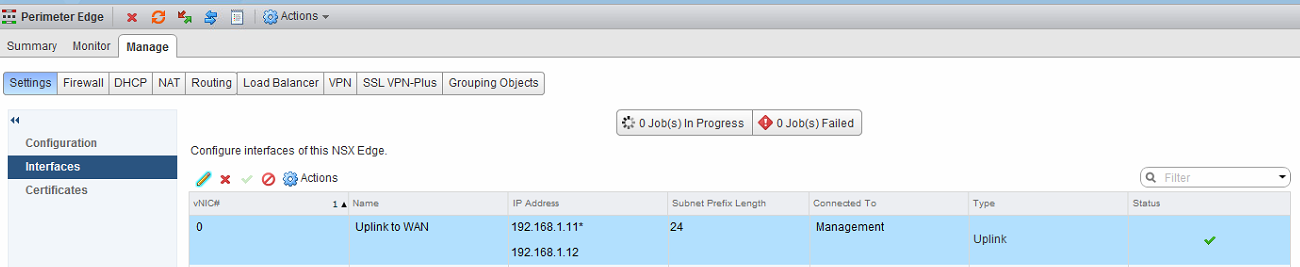
Next, we can either translate to the external IP of the NSX edge or we can add a secondary IP address to the external interface and use that for our translation. We will add a secondary IP. Navigate to Manage > Settings >Interfaces of the NSX Edge. Edit the external interface and add a secondary IP address from the same subnet as the primary IP address. In our case we will use 192.168.1.12. Click OK.
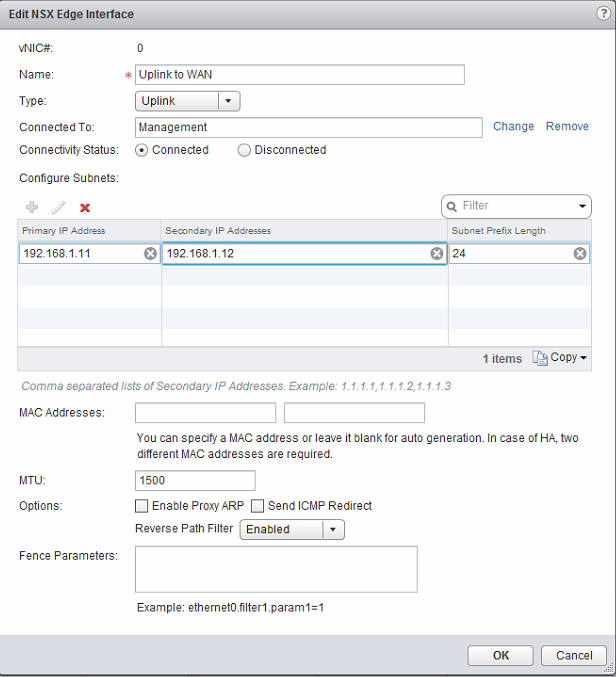
Now we should see a second IP address appear for our external interface. The primary address is identified by a asterisk beside it.
Navigate to the NAT tab for the NSX edge. Click the green “+” and select Add SNAT Rule. Select your protocol that you want to allow. In our case, we will choose any. Enter in the original IP/range that you are translating. In this case, we want all VMs on the 10.1.2.0/24 network to be able to access the outside network. For the translated source IP/range, enter in the secondary IP address that we set on the NSX edge. Click OK.

Publish Changes

Now, our VM should be able to access the outside world. Again, let’s try to ping Google’s public DNS (8.8.8.8).

Now we see we are getting replies when before we were not. That’s it! It’s that simple to configure SNAT on the NSX Edge.
