
I wanted to create this post because like me, many people just don’t have all the necessary equipment to create a full blown lab to play around and test things in. Also, I like the ability to be portable and I think its safe to say that a server isn’t the most portable thing in the world. In comes the powerful laptop. At my disposal is a Mid 2015 MacBook Pro with a 2.5 GHz Intel Core i7 with 16GB of DDR3 RAM and a 512GB SSD. I’m storing all my VMs on an external SanDisk 480GB SSD external drive. With this, combined with VMware Fusion 8, I am going to show you how to create a vSphere 6 environment. We will also create shared storage so that we can test features like HA and svMotion. Let’s get started.
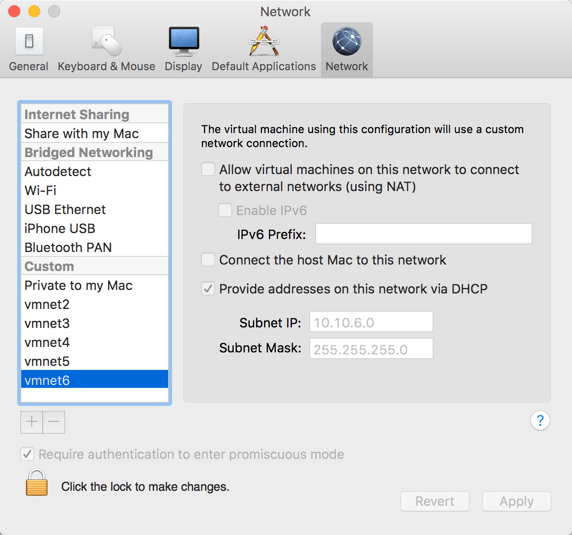
The first thing we want to do is create our different networks for the different vSphere features that we want to use. We will create 5 different subnets for our network, one for each feature.
10.10.2.0 – Management Network
10.10.3.0 – iSCSI/Storage Network
10.10.4.0 – Fault Tolerance Network
10.10.5.0 – vMotion Network
10.10.6.0 – VM Network

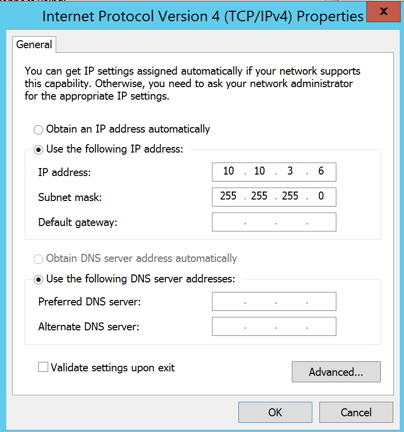
Our network settings for each of our networks should appear like this

 Once we have our networks created, we will create our two ESXi hosts. We are going to add a total of seven NICs to each of our hosts. Two for management, two for iSCSI storage, one for Fault Tolerance, one for vMotion, and one for the VM Network. Let’s get started…
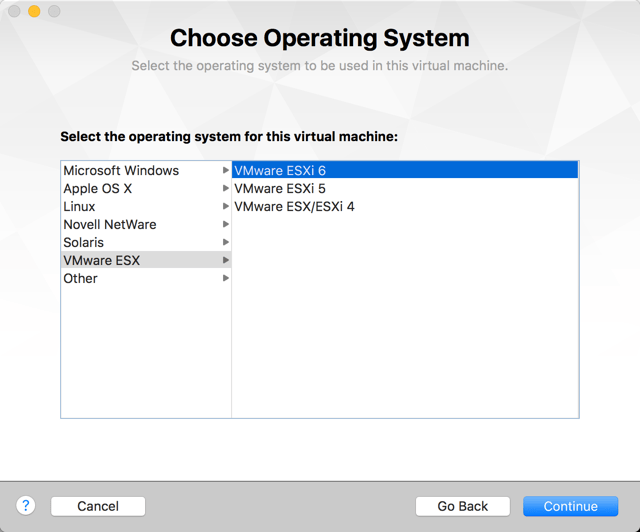
First lets create a blank VM
Select VMware ESX > VMware ESXi 6 and click Continue
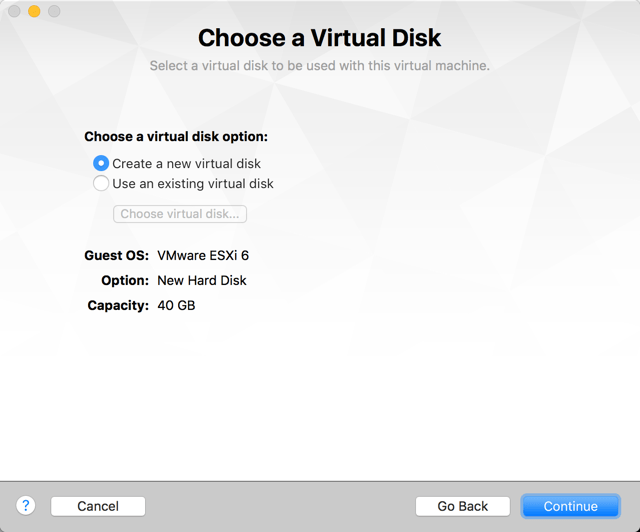
At the Virtual Disk page click Continue
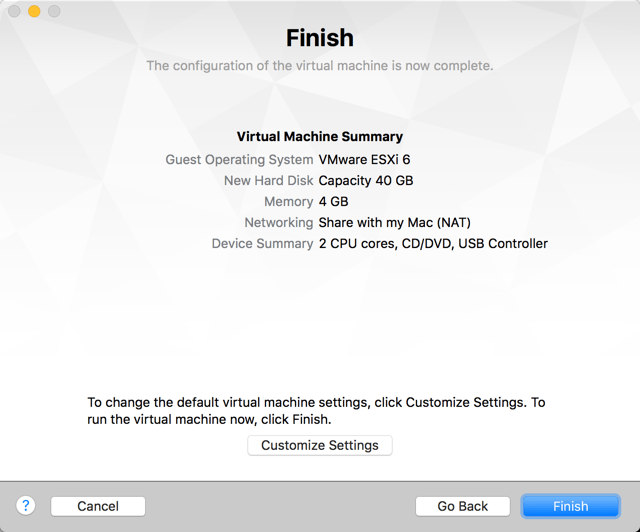
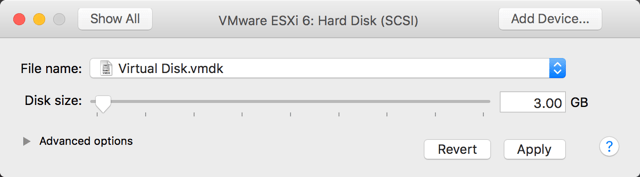
Since we are trying to conserve disk space, we are going to reduce the size of the hard disk from 40GB to 3GB because ESXi is such a small install. Click Customize Settings
Select Hard Disk

Change the disk size to 3GB
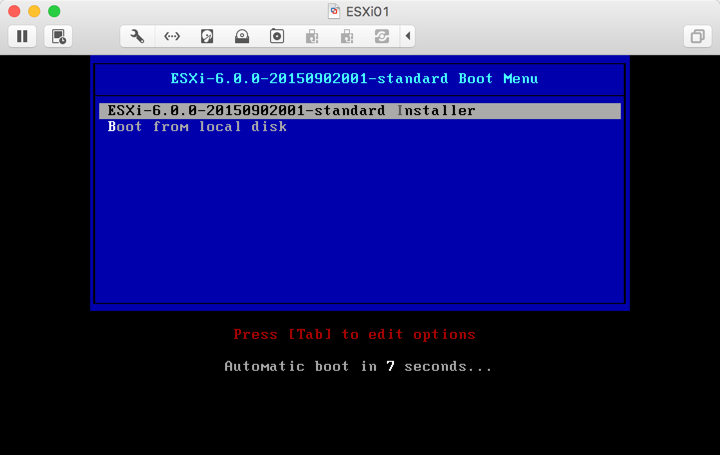
Start the VM and lets attach our ESXi 6 ISO and connect the CD/DVD Drive
Boot to the installer

Press Enter to continue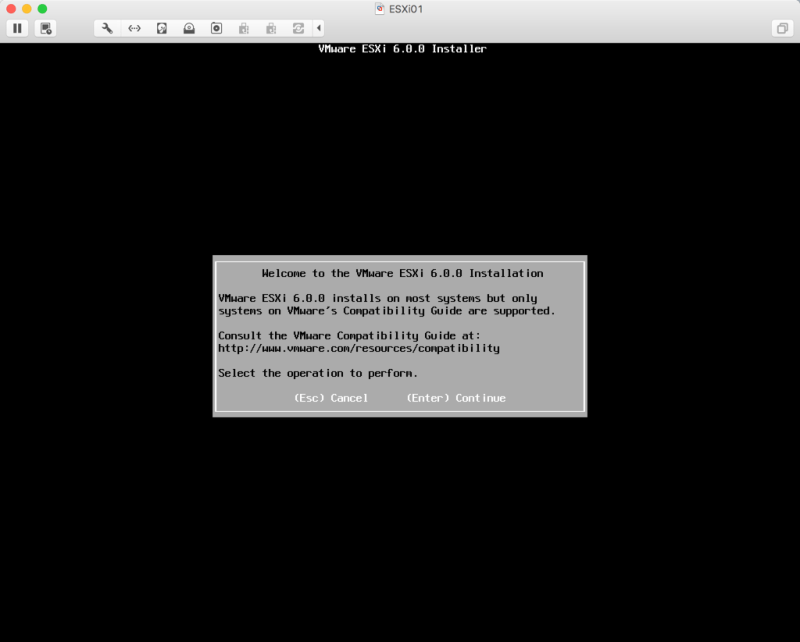
Press F11 to accept the EULA and continue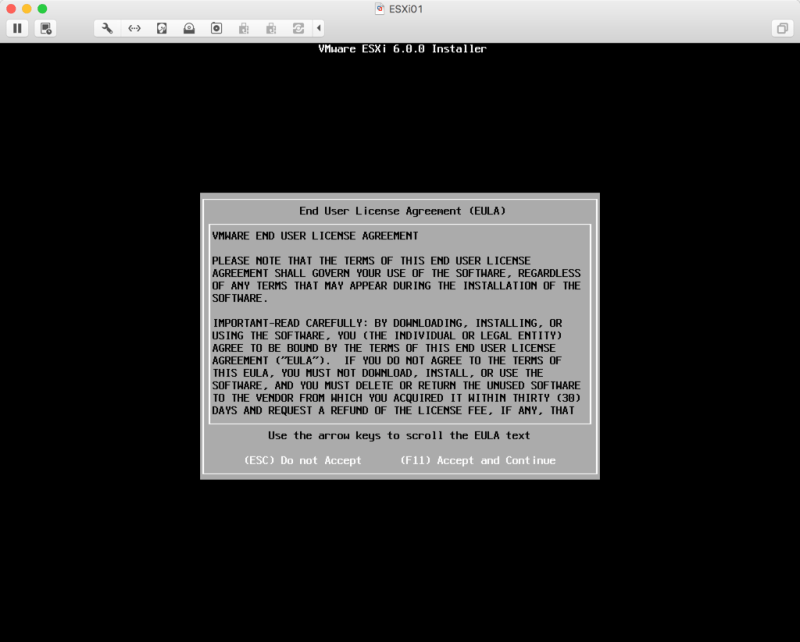
Select the disk that you want to install ESXi on…in this case we only have the one 3GB disk that we resized. Press Enter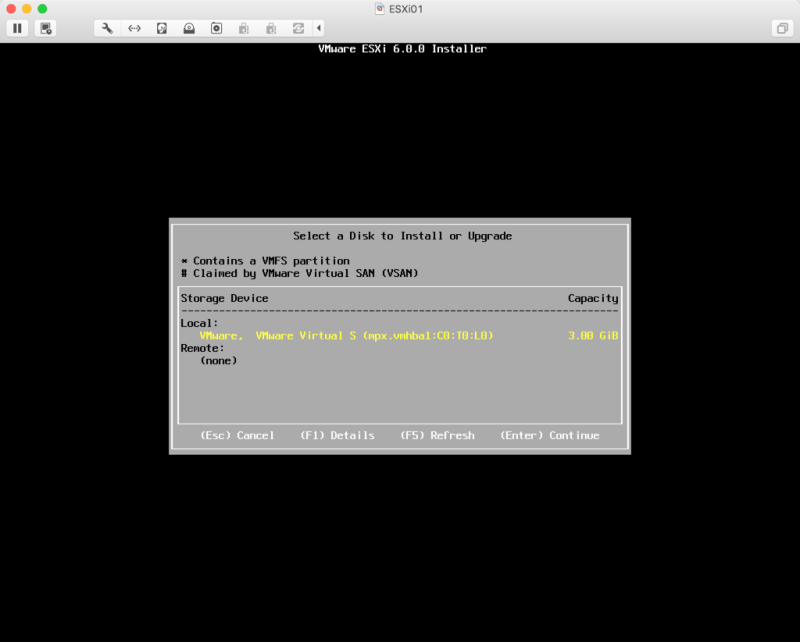
Select your preferred language and press Enter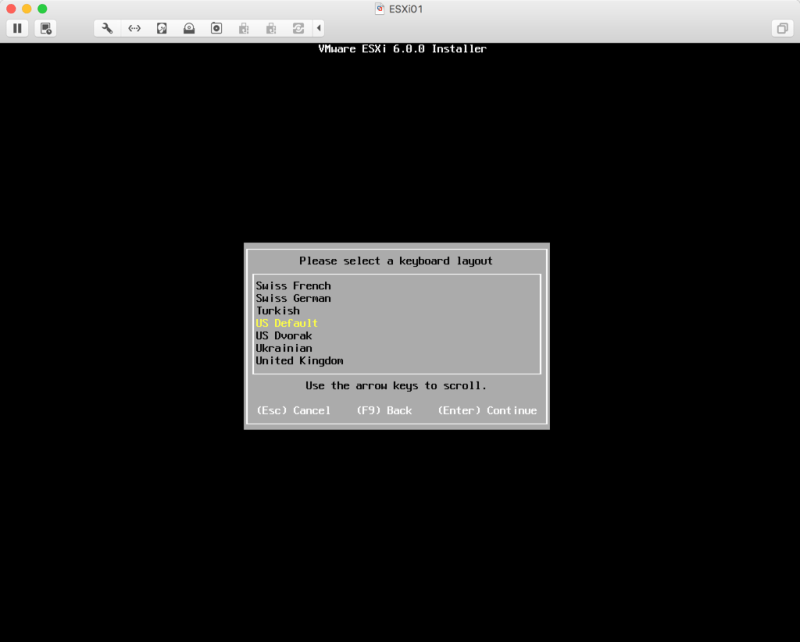
Create a root password . Write this password down because we are going to need it later when we start configuring the host. Press Enter.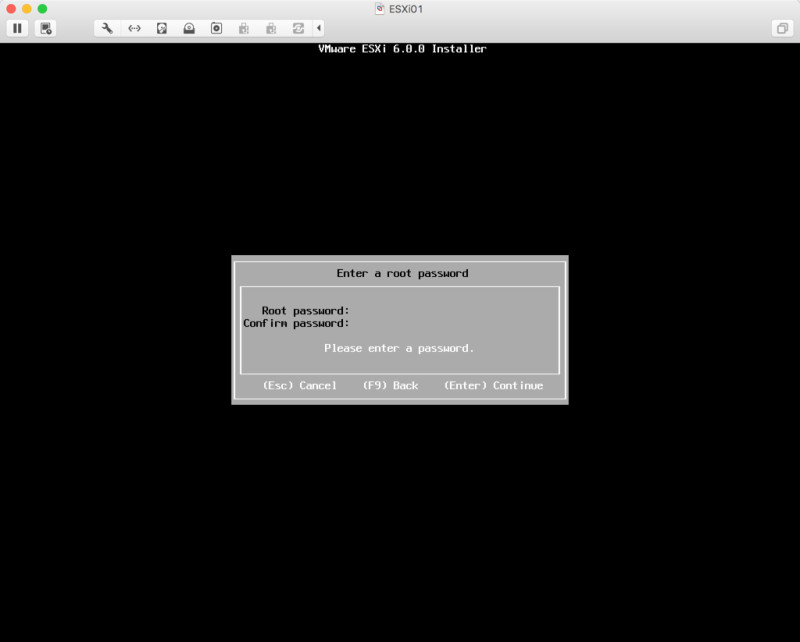
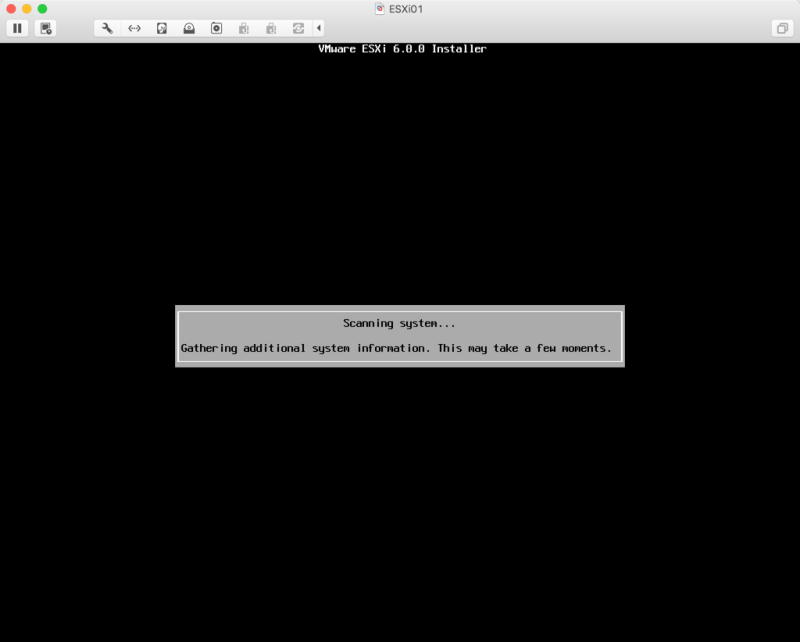
Press F11 to Install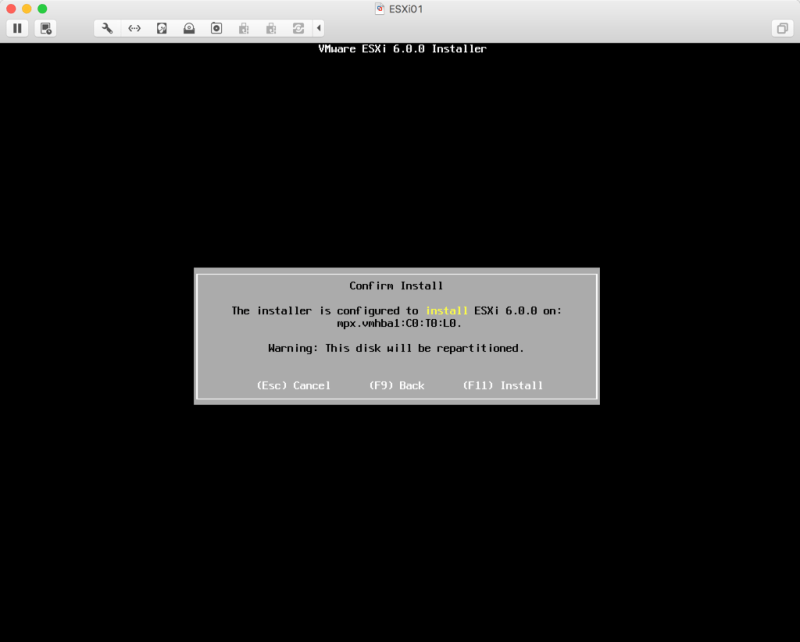
Our installation is complete. Press Enter to reboot the server and we will begin initial configuration.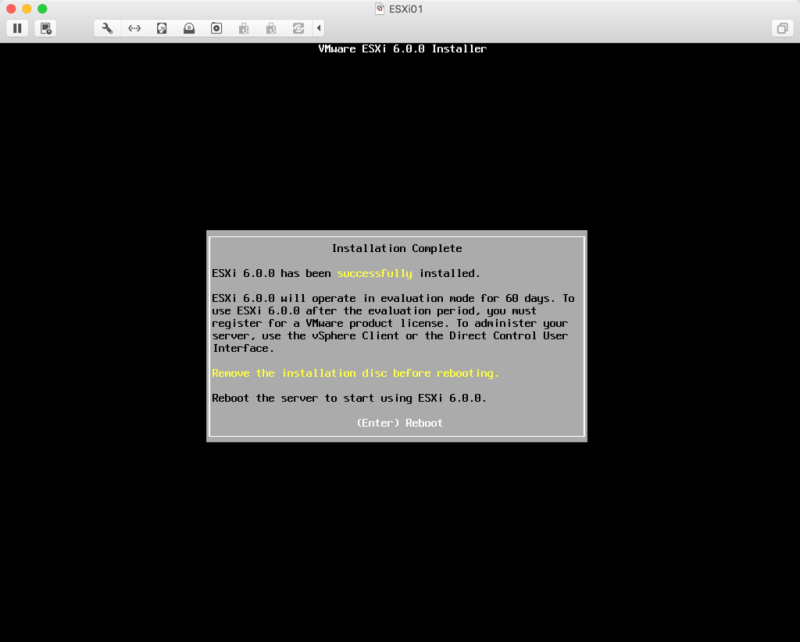
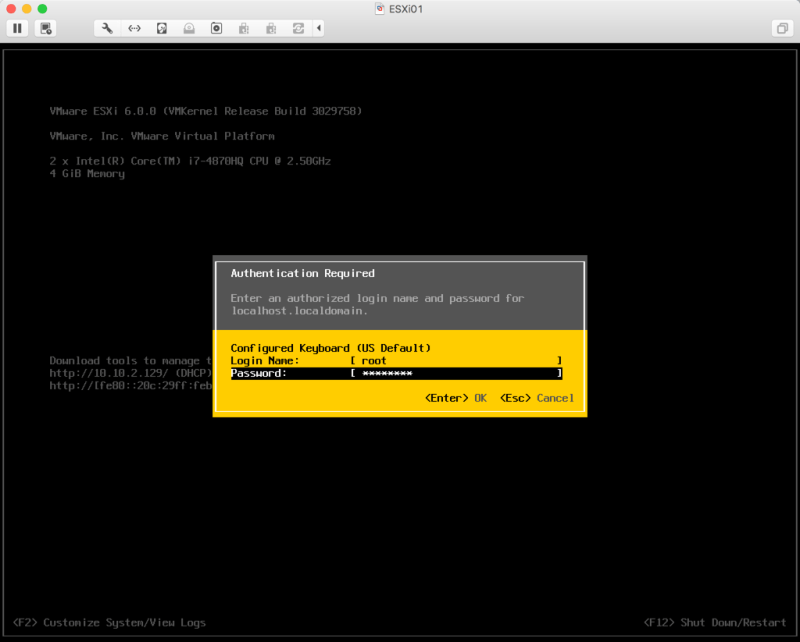
Here we are at the final screen after the server boots up completely. Now press F2 and enter in the root password that we just created
Now we are at the System Customization screen. Let’s configure the IP address and NIC that we are going to use to communicate directly with the host. Select Configure Management Network from the list
Select IPv4 Configuration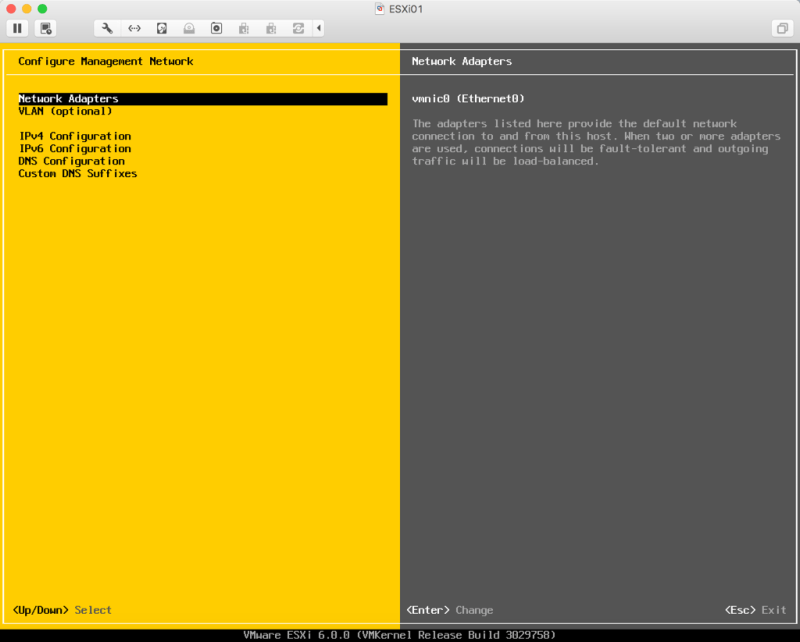
Here, we want to select Set static IPv4 address and network configuration and enter in our IP address. Remember, this is our management network that is on our 10.10.2.0 network. The default gateway in this case is going to be the IP address of our domain controller. We will get to the creation of our domain controller next so for now just take note of the address for the default gateway, as we will assign that same address to the DC.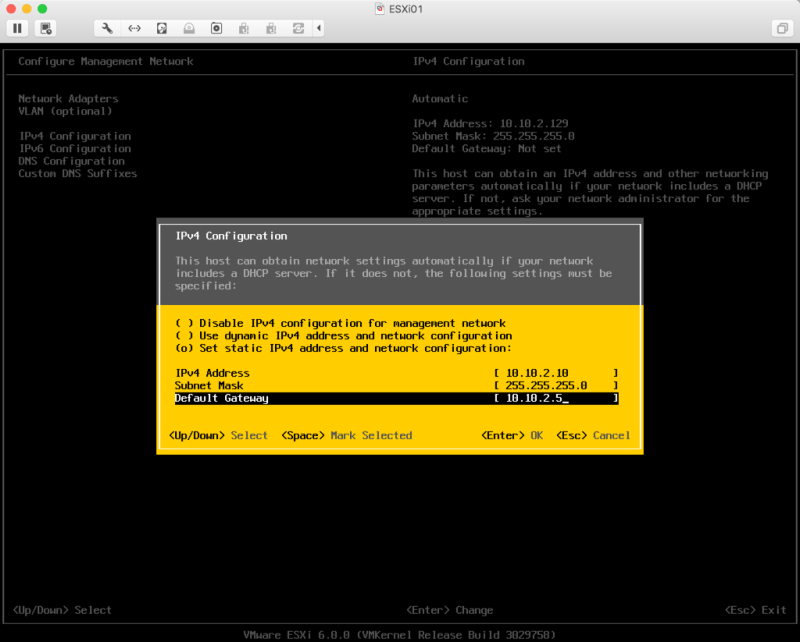
After setting our IP address and pressing enter, let’s change our DNS Hostname. Do this by selecting DNS Configuration from the Configure Management Network menu. Enter in the IP address of the DC for the Primary DNS server and enter in the hostname that you want your host to be identified by.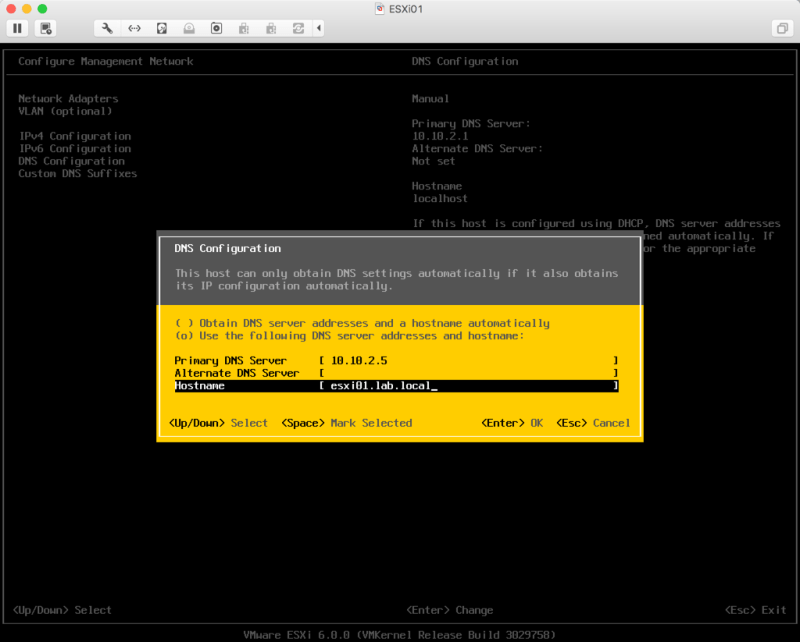
After pressing enter and Esc to return to the main startup screen, we will receive this notice about applying our recent configuration changes. Press Y to accept these changes.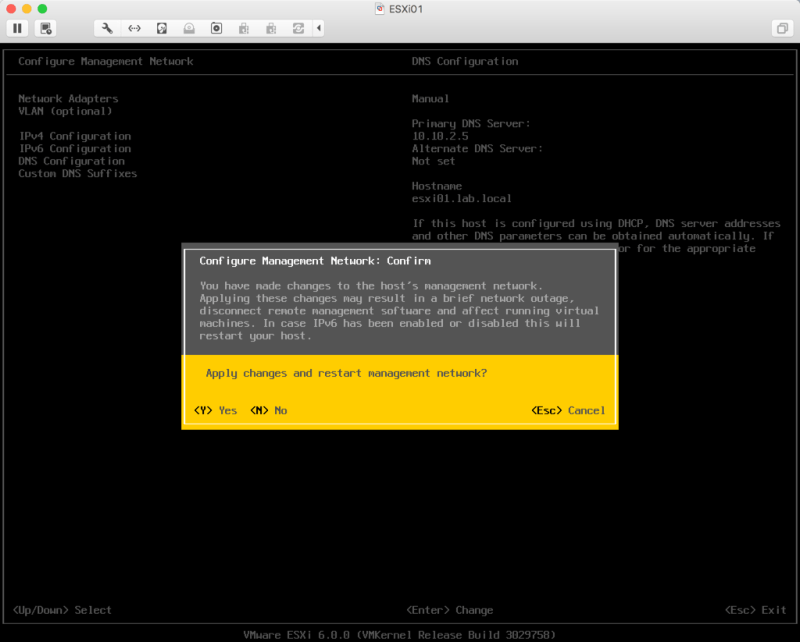
This is just a personal preference for me…but I always disable IPv6 on my hosts
This will require a reboot before the changes take effect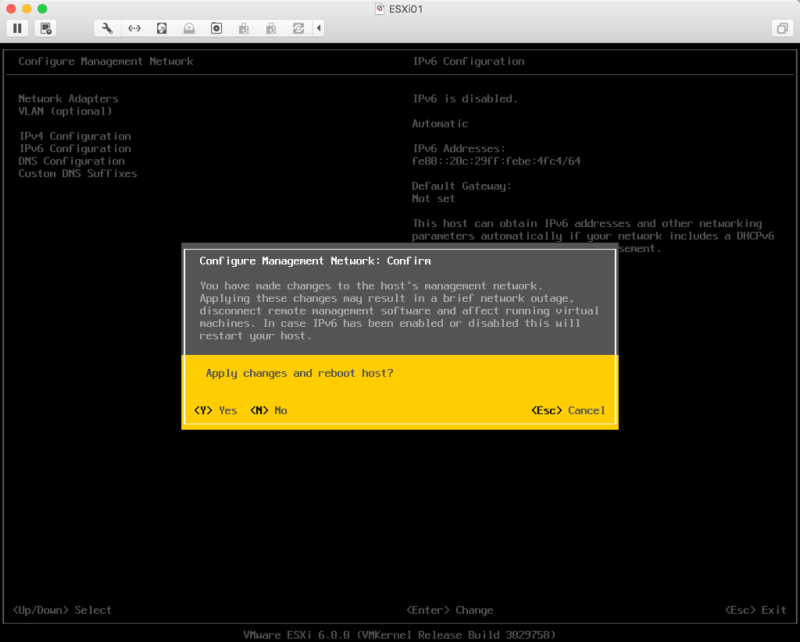
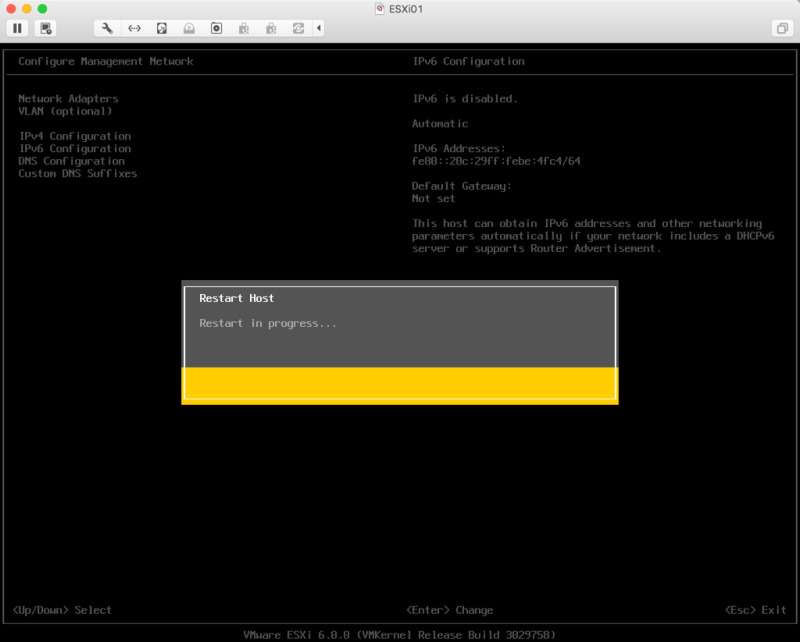
While the restart of our ESXi host is taking place….let’s go and create a Windows 2012 R2 server to be used as our domain controller for our environment. We will also create another 2012 server for our vCenter.
Choose Windows Server 2012. Click Continue.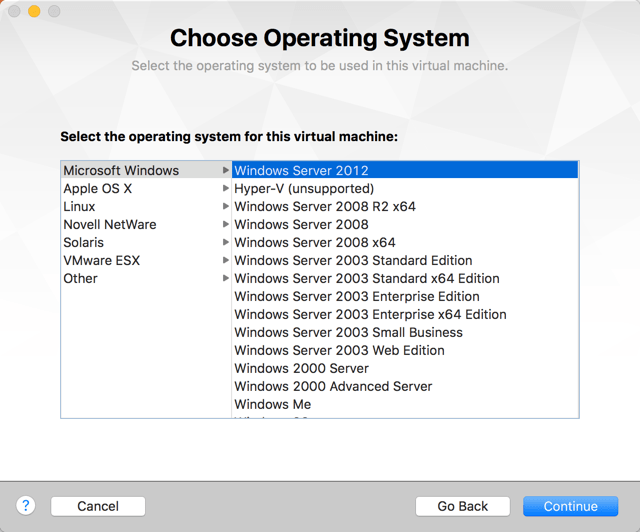
Create a new virtual disk. Click Continue.
Before we finish up, we need to make a change to the network adapter and make it available on our 10.10.2.0 network. Click Customize Settings.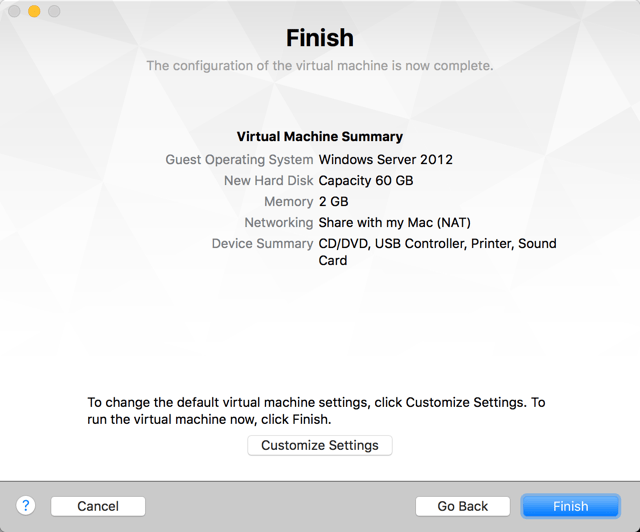
Change the network adapter to vmnet2
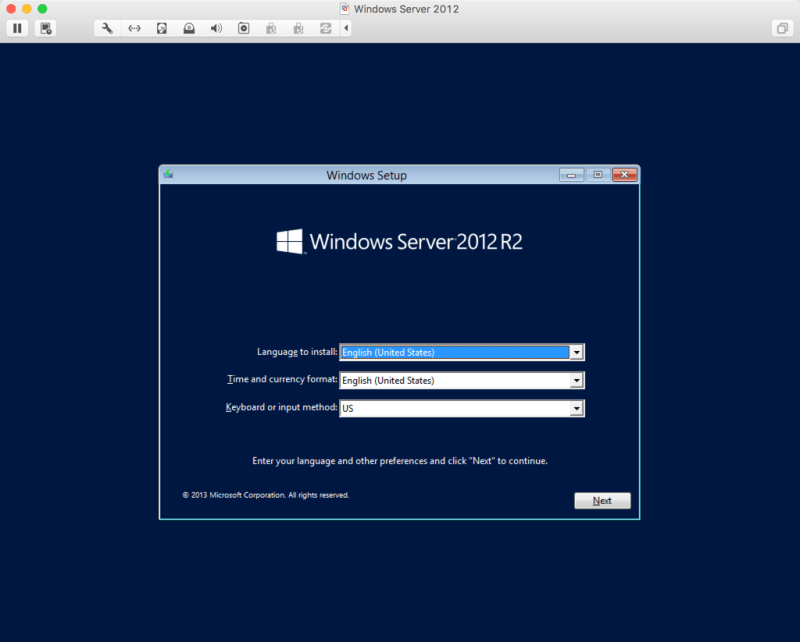
Attach a Windows 2012 R2 ISO to the VM to start the install. Click Next.
Select Windows 2012 R2 Server (Server with a GUI). Click Next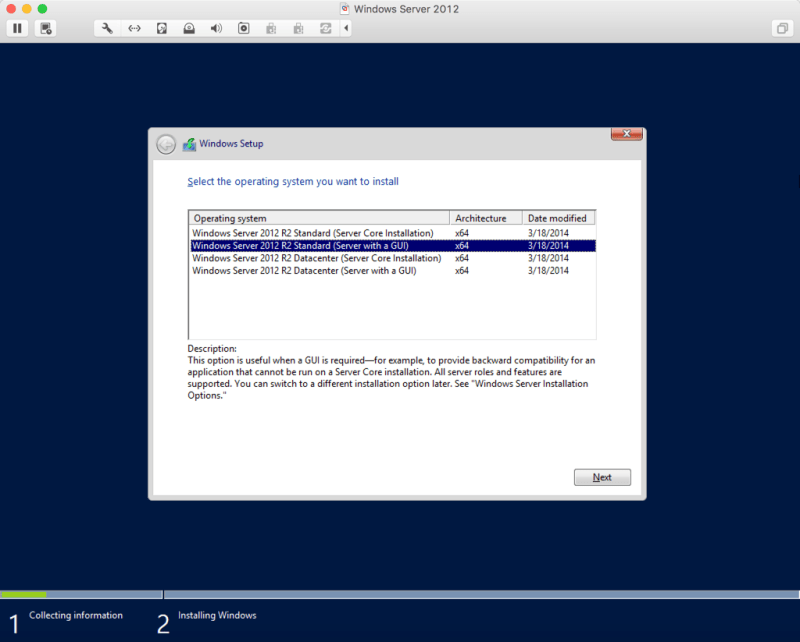
Select Custom and select the blank partition and click next to being the install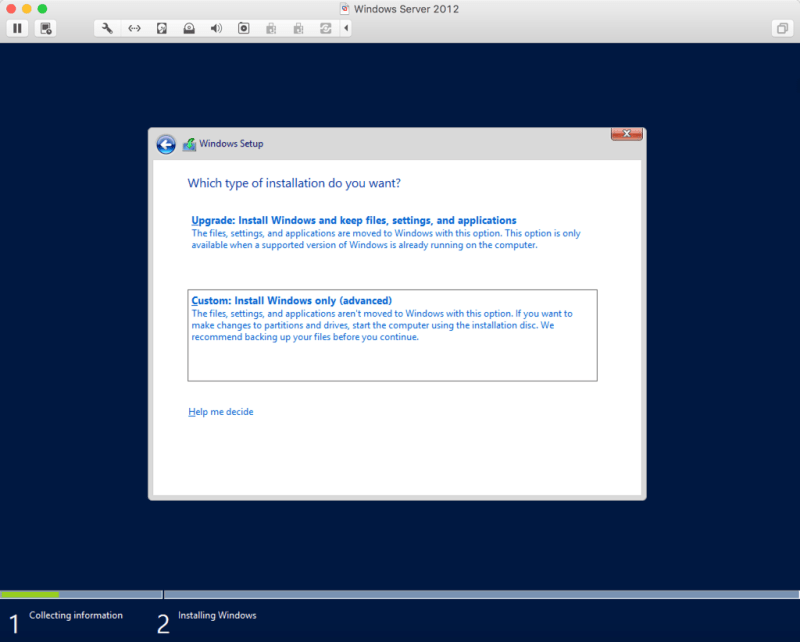
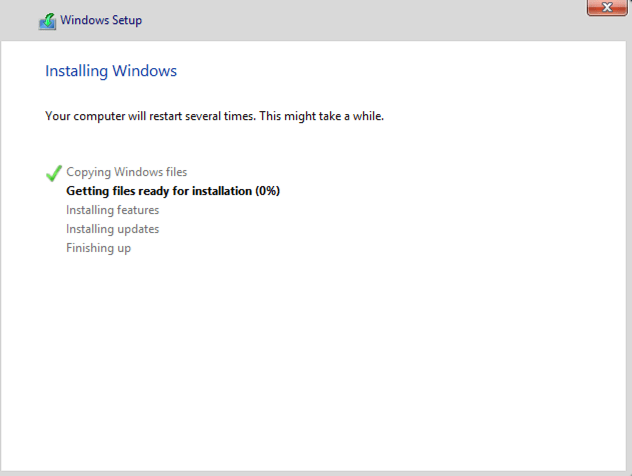
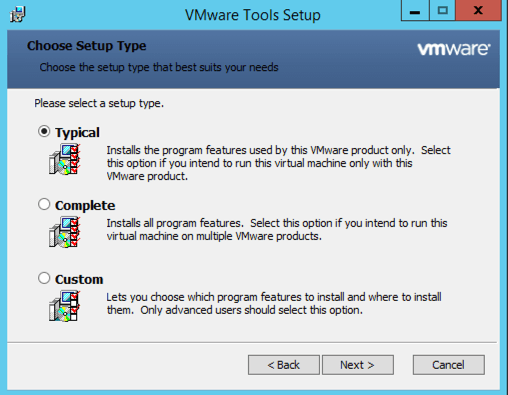
Once the Windows install is complete, the first thing that I like to do is install VMware Tools and save the VM.
Now let’s begin making this server into a domain controller. Under Server Manager > Manage select Add Roles and Features.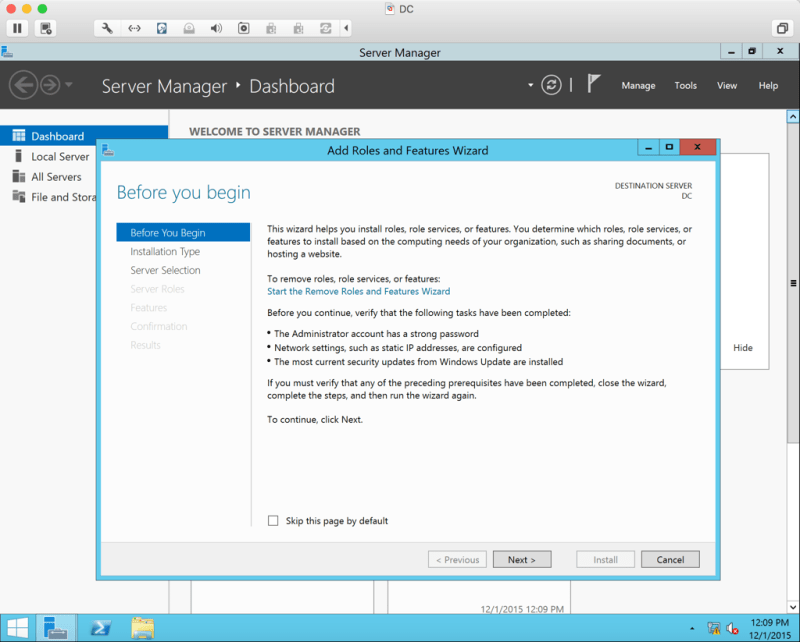
Under Server Roles select Active Directory Domain Services and click Add Feature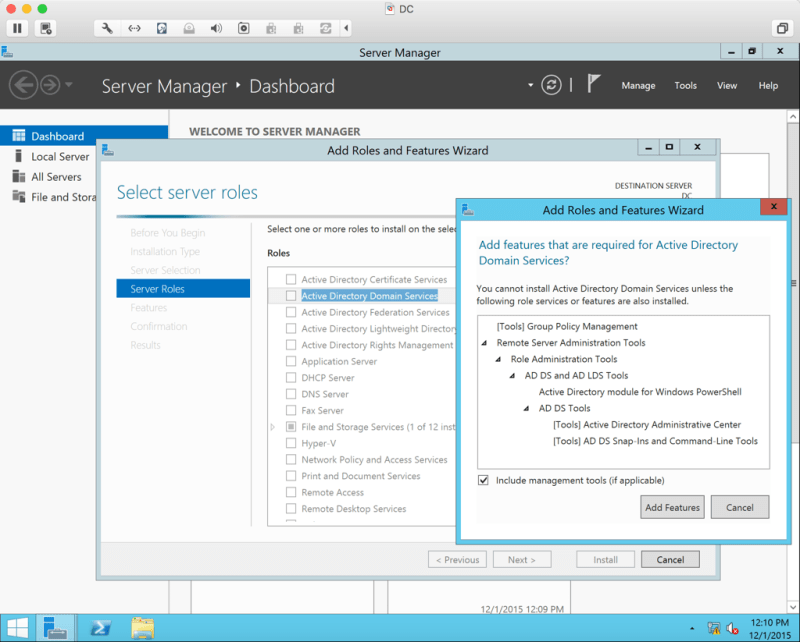
Click Next and let the install begin
After the install completes, we have some post configuration to do. Click the flag marker at the top of the Server Manager panel to reveal the Promote this server to a domain controller option.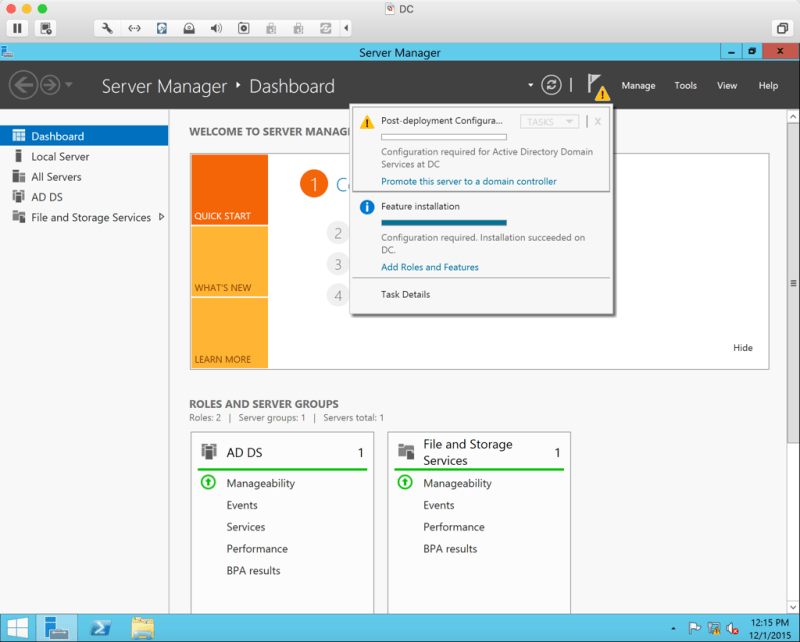
We want to select Add a new forest and name it. For my domain I selected the name lab.local but you can put whatever name you want here. Click Next and continue with the rest of the domain controller setup. I’ll assume that you know how to do the rest. Quite simply just leave everything else as default until the wizard finishes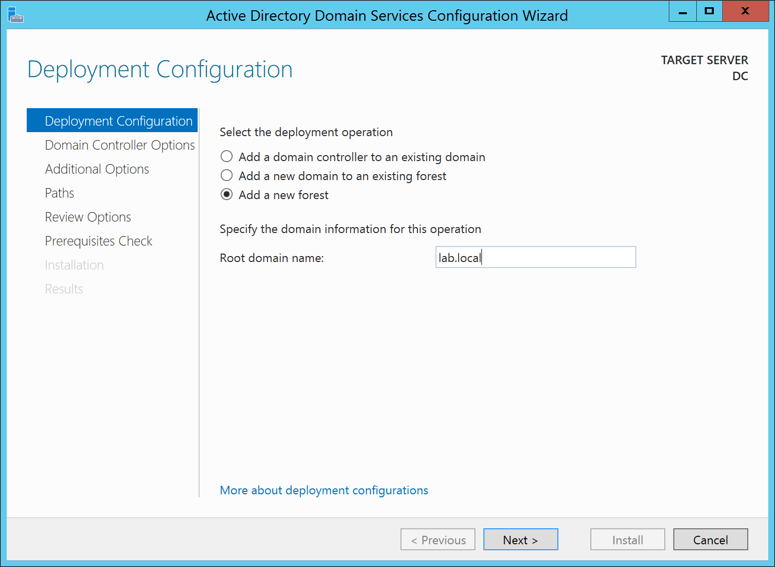
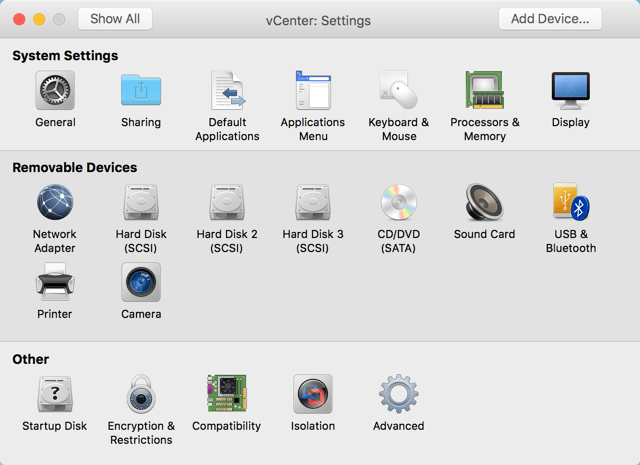
Next, we are going to create our vCenter server. First, create another server just like the one we created for our domain controller except we need to have two processors and 8GB of RAM to meet the system requirements for vCenter to install. Also, we are going to use our vCenter server to provide shared storage to our ESXi hosts. We will go through that after we install vCenter. Mount the vCenter ISO.
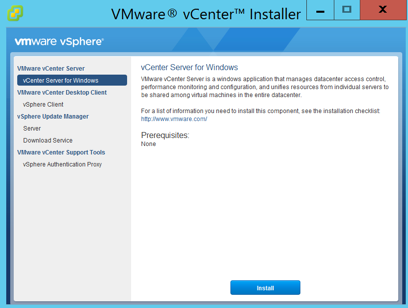
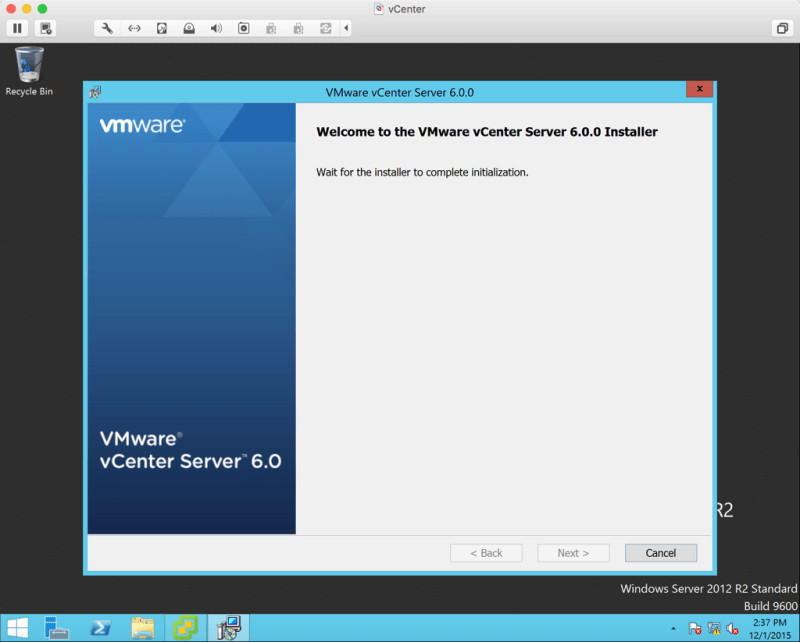
Launch the installer for VMware vCenter and click Install
Accept the EULA and click Next
Select Embedded Deployment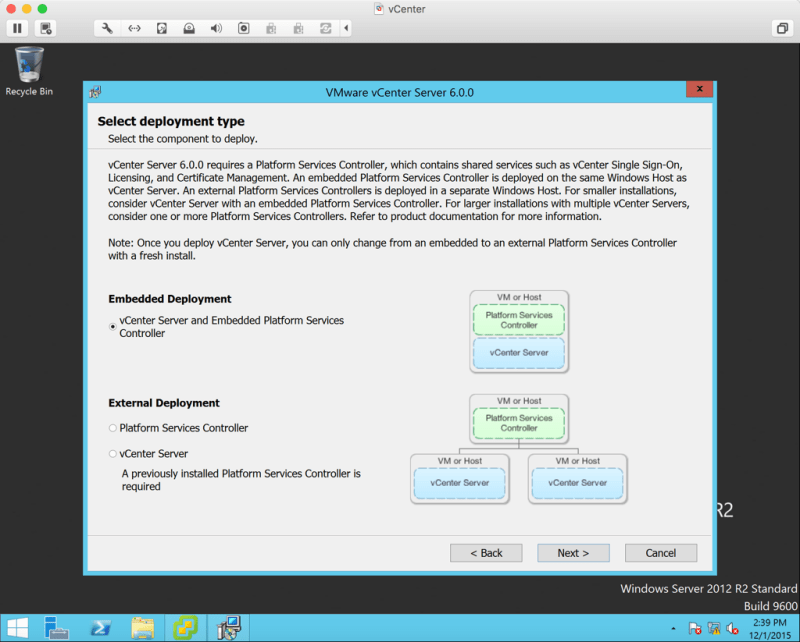
Enter the FQDN or IP of the vCenter server. I added a host record in DNS for vCenter.lab.local so that I can enter the name instead of the IP address. Click Next.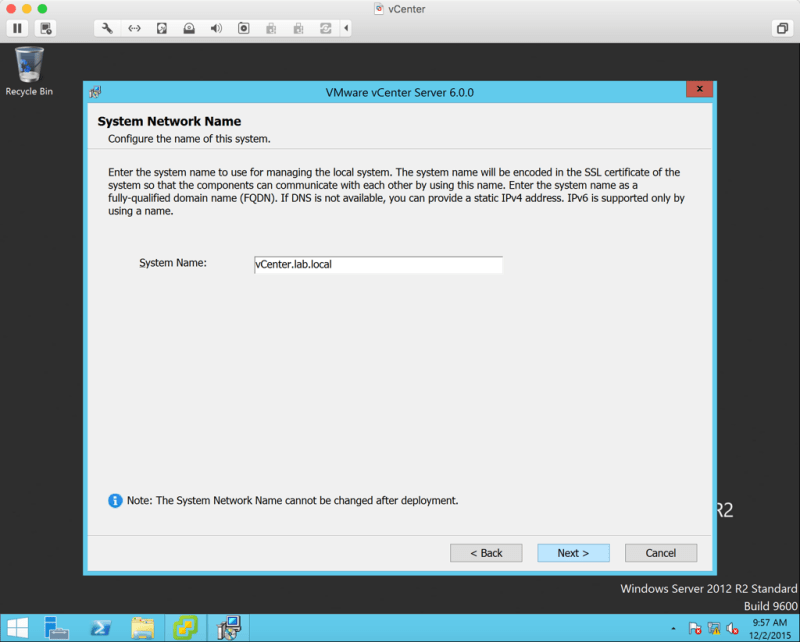
Enter a SSO domain name and site name to your liking and enter a password for the SSO administrator account. Click Next.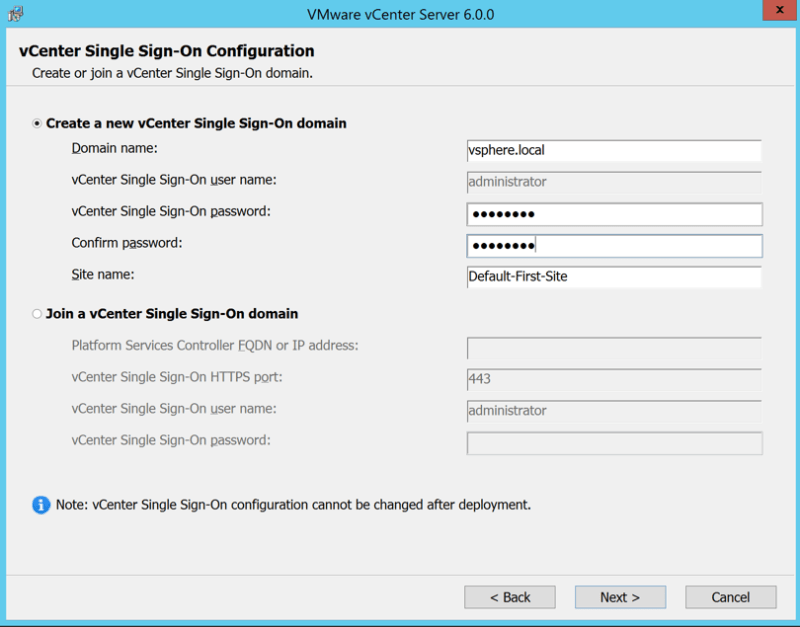
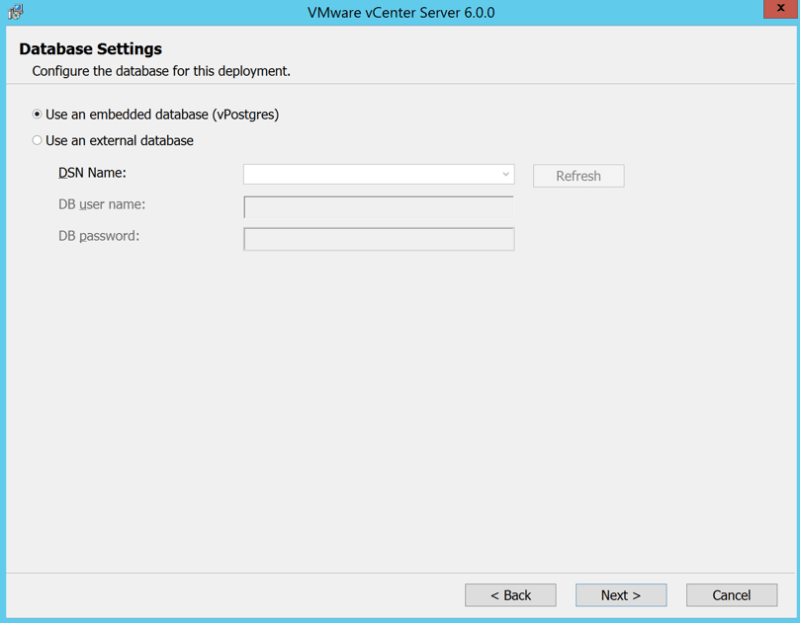
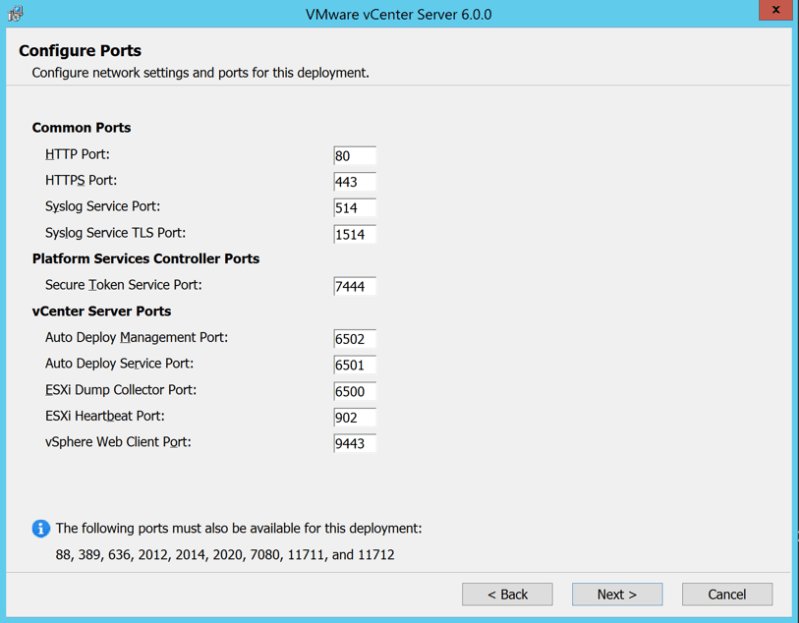
Leave everything else as is for the rest of the install and just keep clicking Next.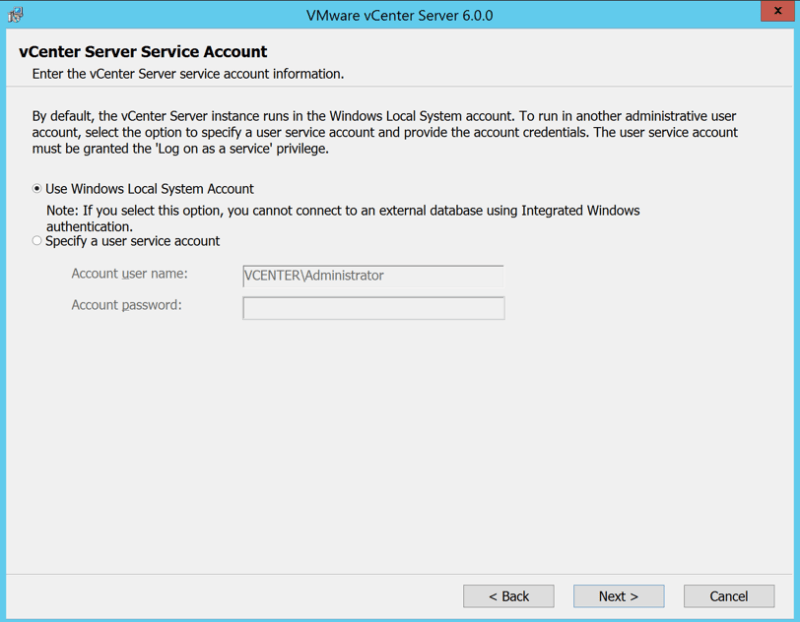

Click Install and get ready to hurry up and wait….and wait….annnnd…yep…wait!!!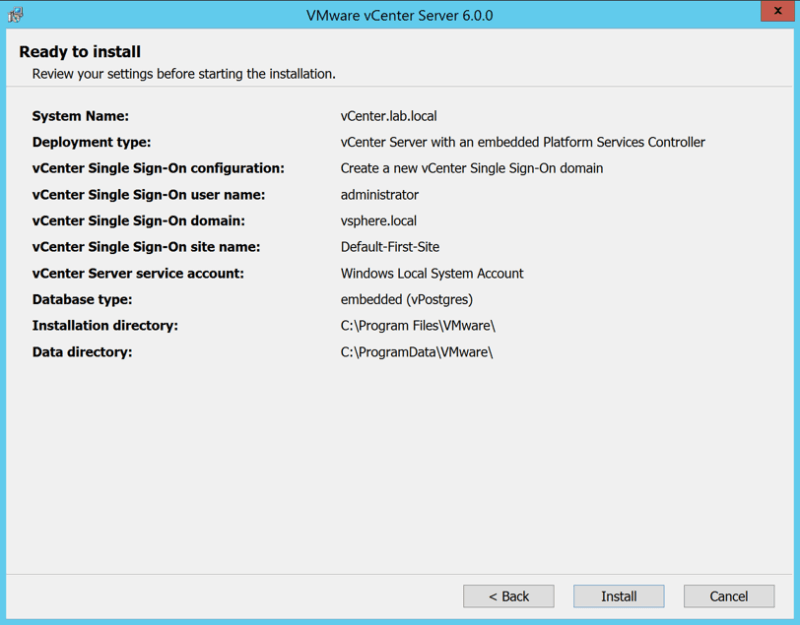
Finally the install is complete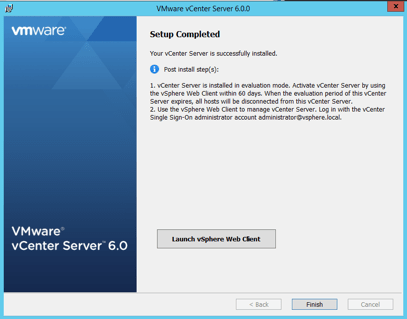
Now let’s being to setup our shared storage for our ESXi. As mentioned earlier, we are going to use the vCenter server to do this. On the vCenter server, go to Server Manager > Manage > Add Roles and Features. Click Next.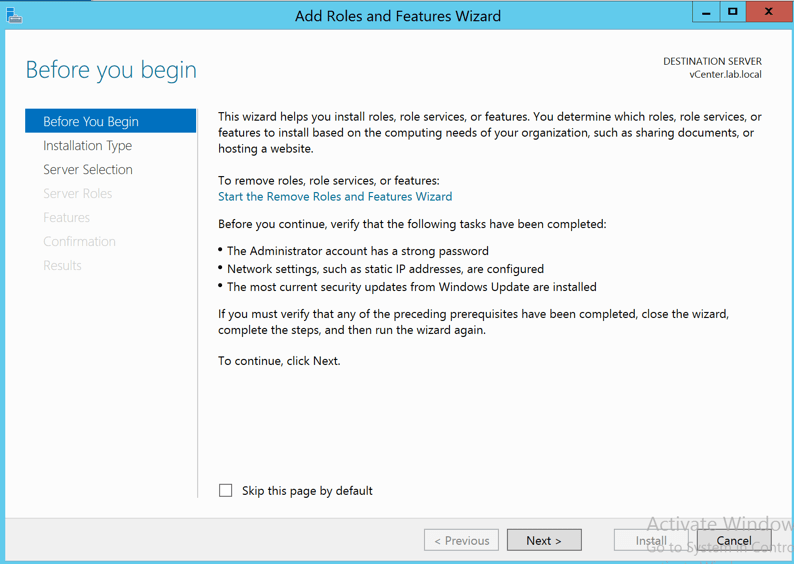
Click Next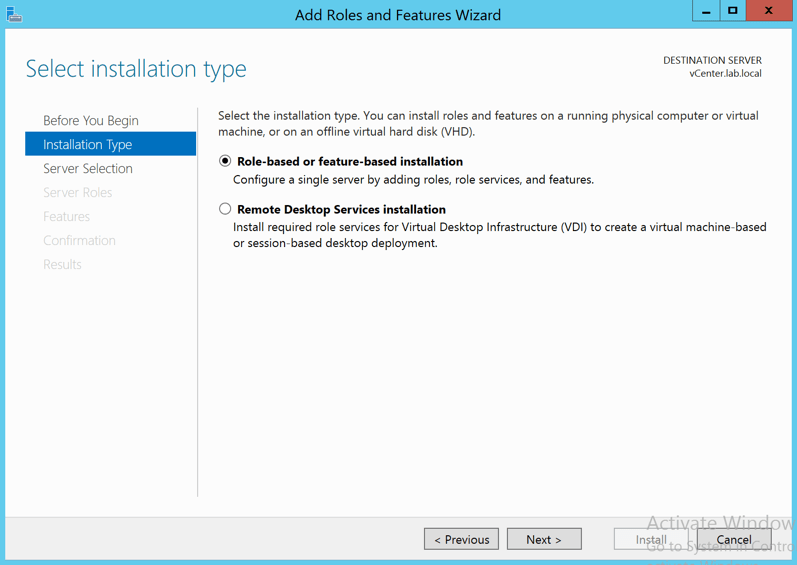
Click Next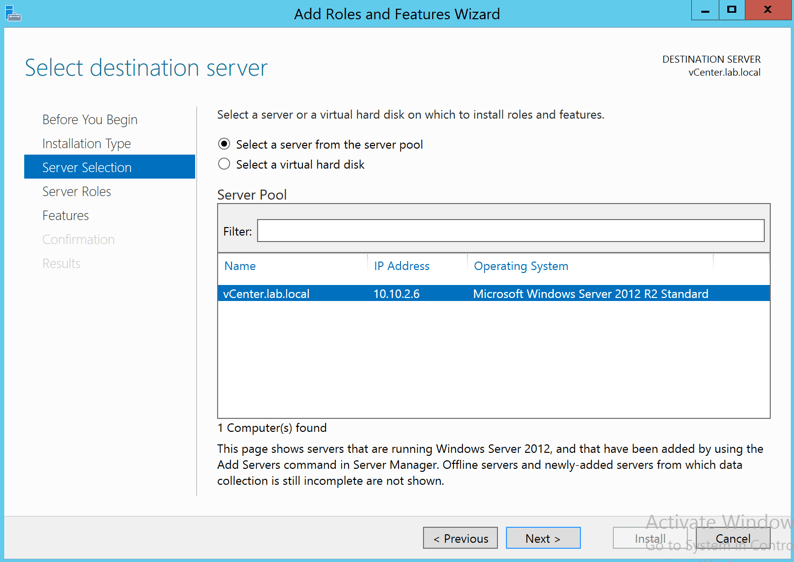
Under File and Storage Services, select iSCSI Target Server and iSCSI Target Storage Provider. Click Next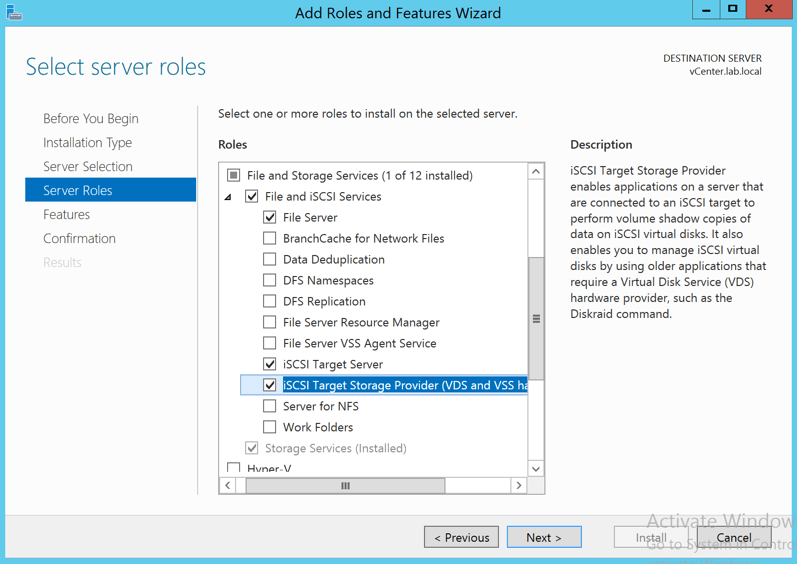
Click Next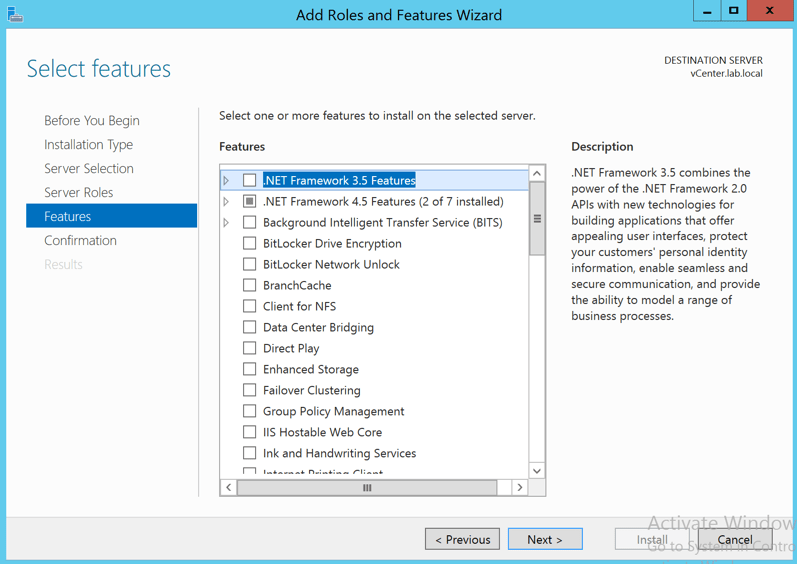
Click Install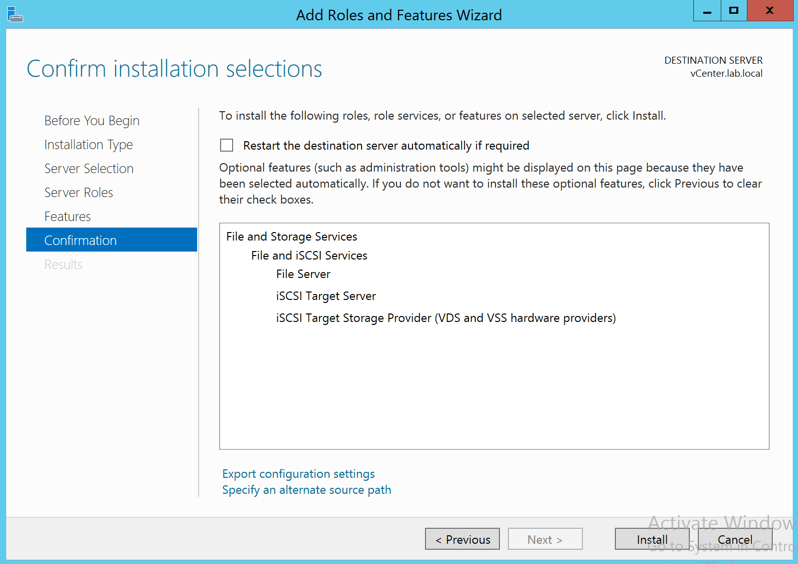
Click Close
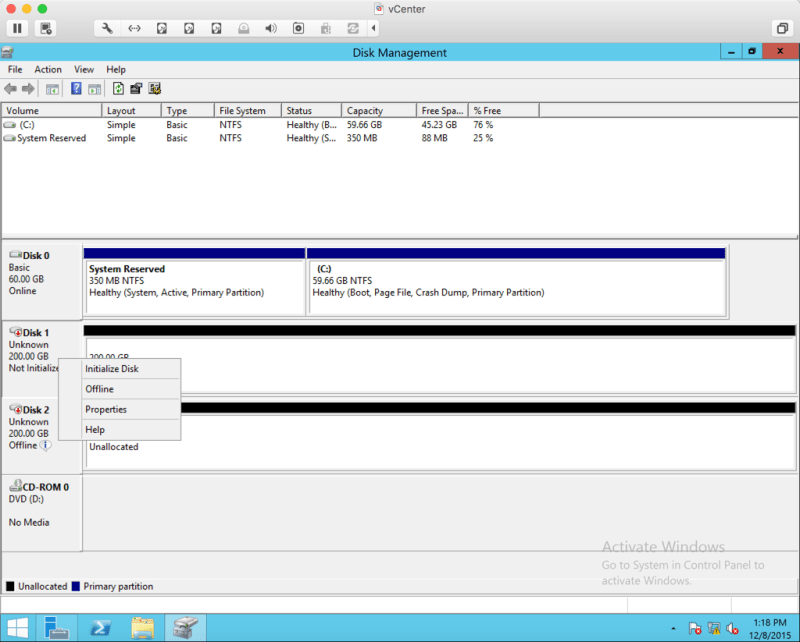
Now we want to add two 200GB disks to our vCenter server to serve as shared storage.
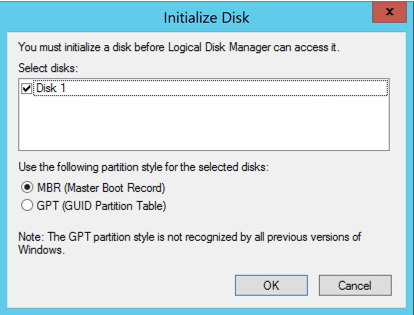
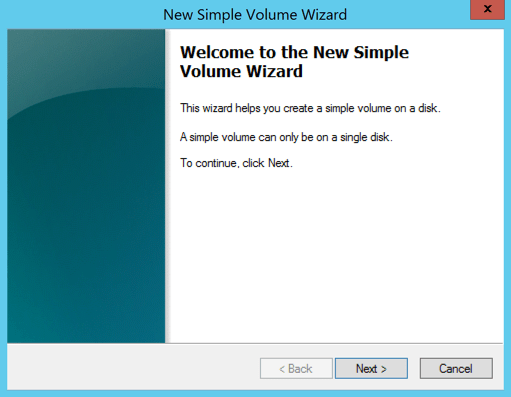
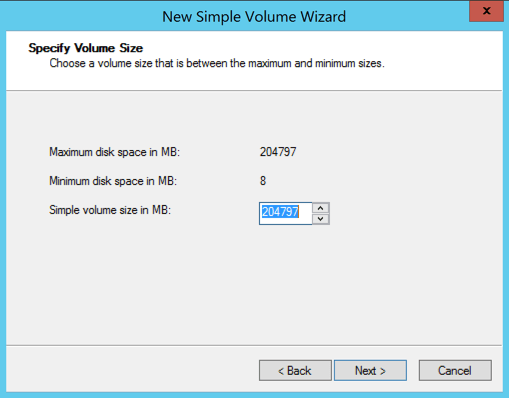
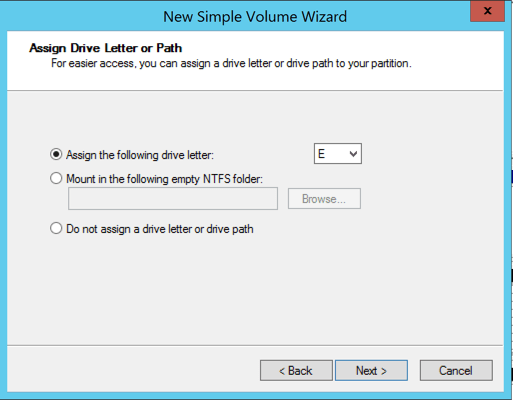
Once you add the two disks, they will appear in Disk Management. Bring them online, initialize them, create two new volumes and format them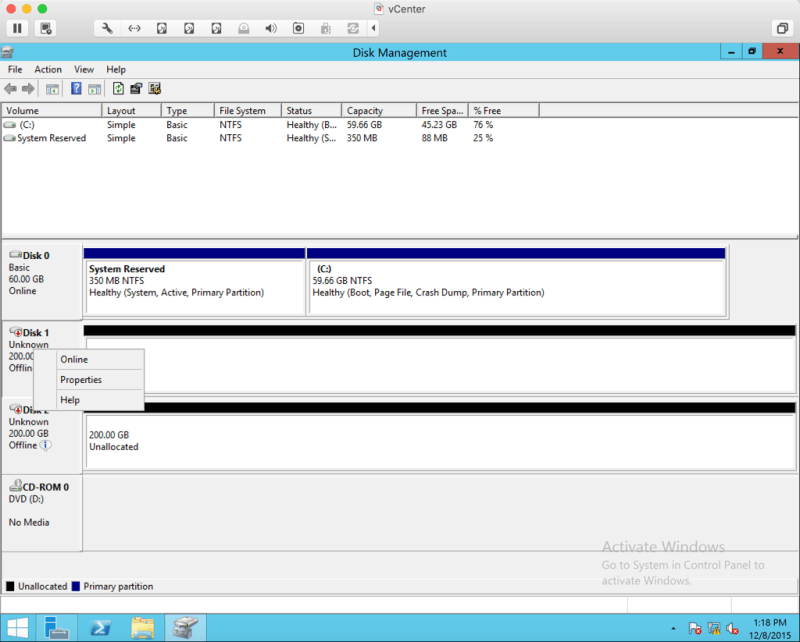


Now go under Server Manger > File and Storage Services > iSCSI. Click To create an iSCSI virtual disk, start the New iSCSI Virtual Disk Wizard
Select one of the 200GB volumes. Click Next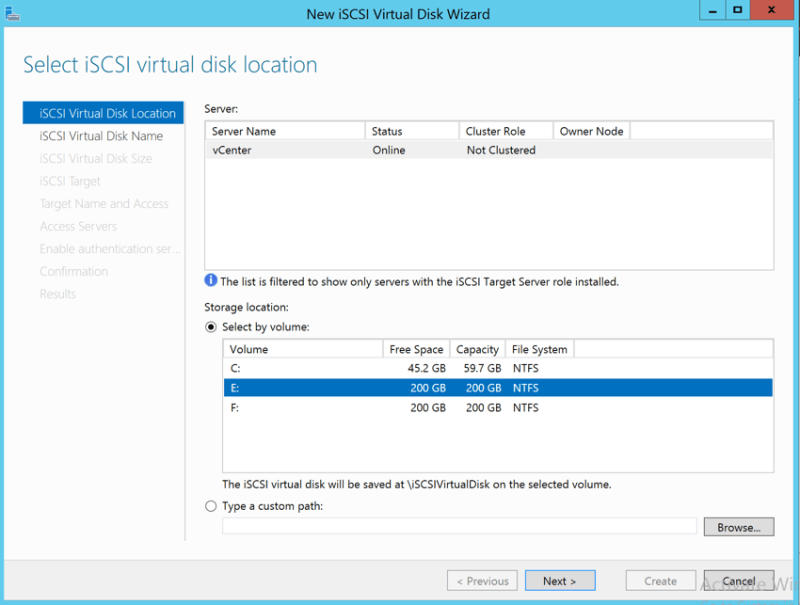
Create a name for the iSCSI disk. Click Next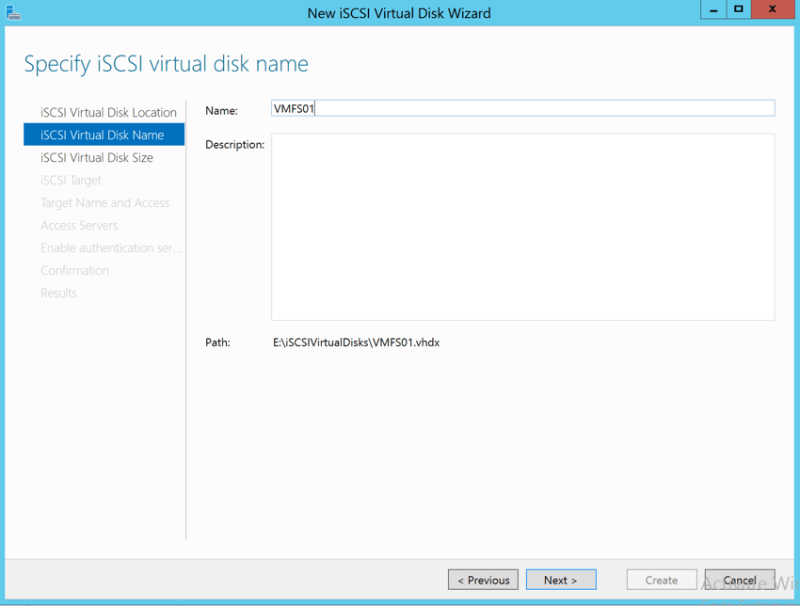
In order to conserve space, select Dynamically expanding. This will thin provision the volume and only use the amount of physical storage as we need it. Click Next.
Now we need to create our iSCSI targets. These will be the IP addresses for the NICs used for iSCSI on our ESXi hosts. Select New iSCSI target. Click Next.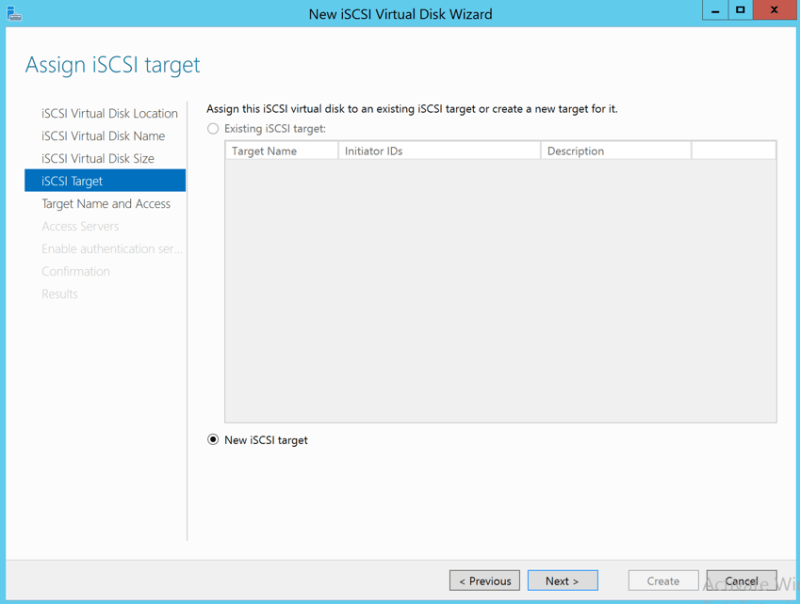
Create a name and click Next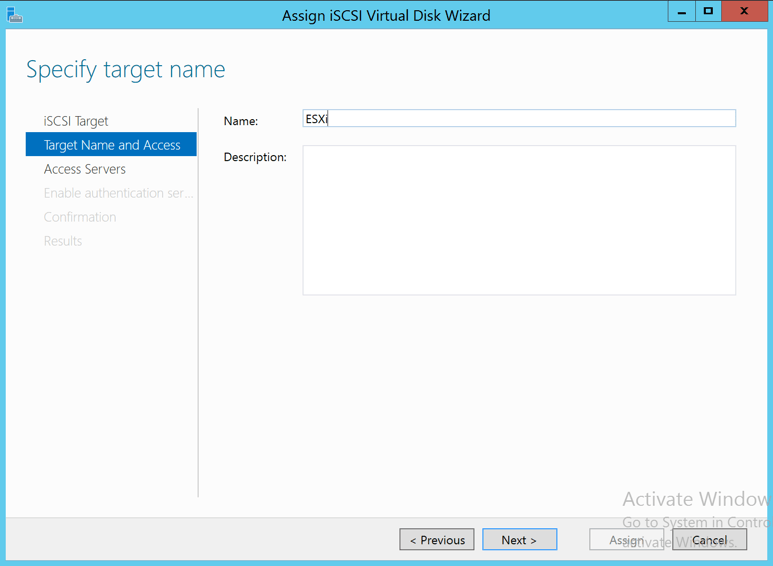
Click Add
Change the type to IP address and enter in all of the IP addresses…you have to do them one at a time… that the ESXi hosts will be using. It will be four since we have two nics on each host that we will use for the storage network 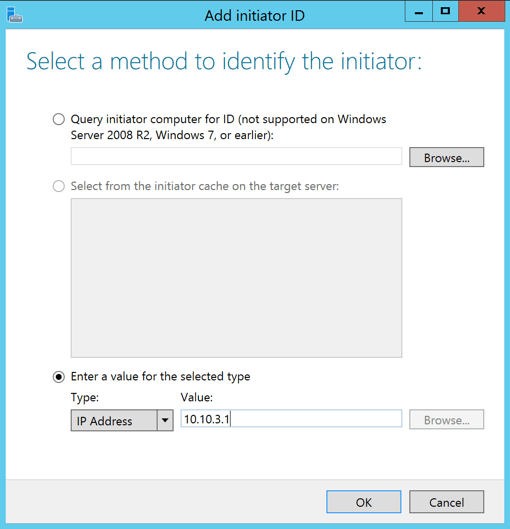
Click Next
Click Next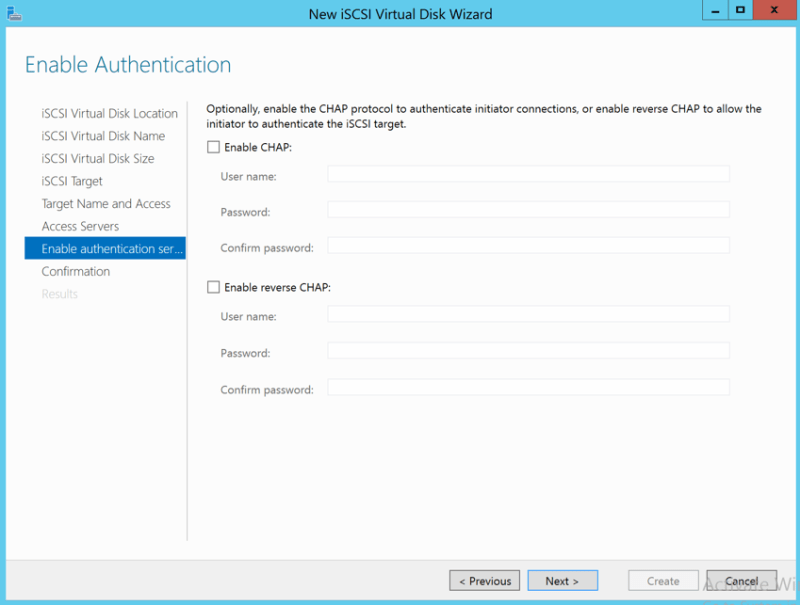
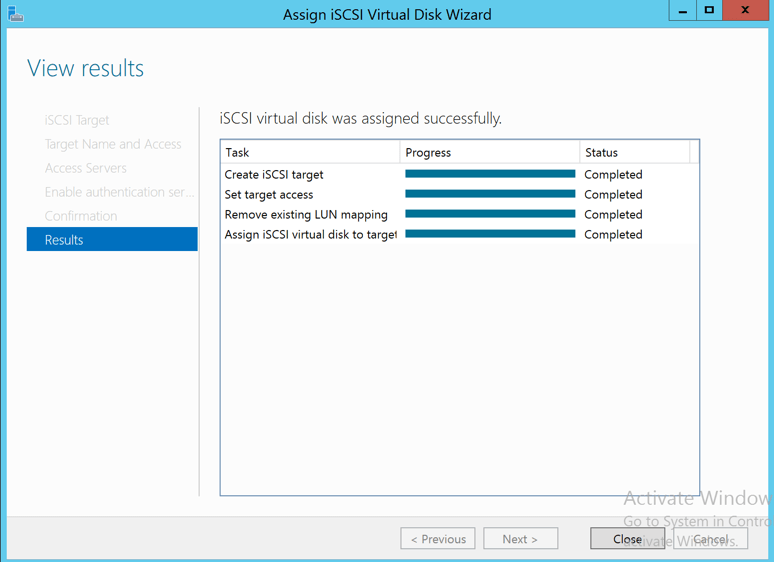
Click Assign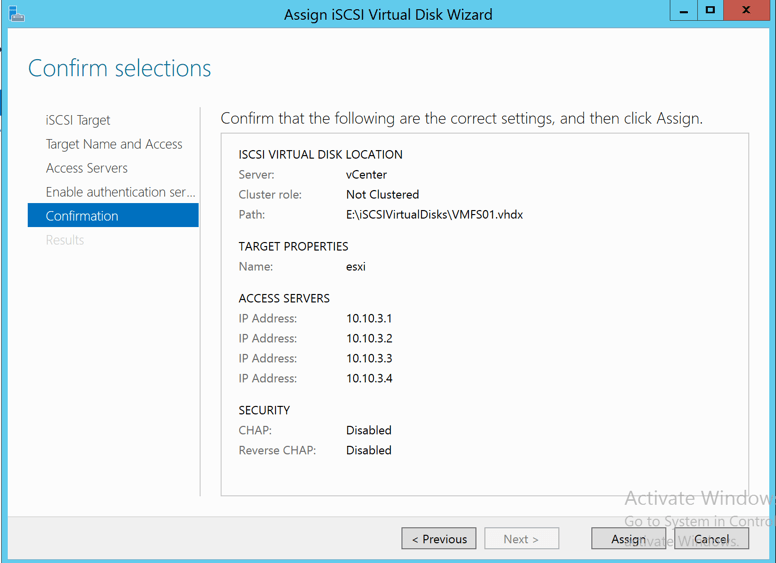
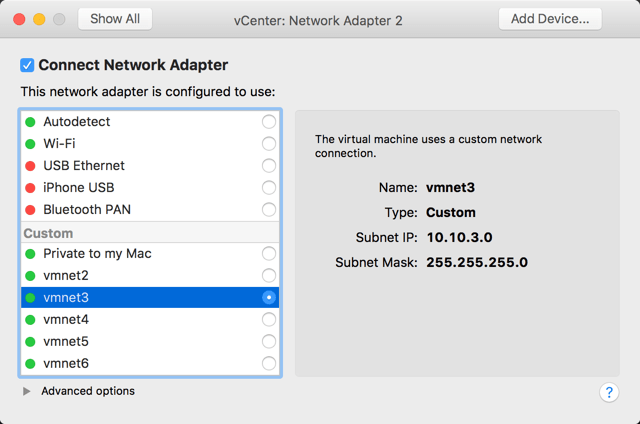
Now we have to shutdown the vCenter VM so that we can add another NIC to it and assign it to the 10.10.3.0 network, which is our storage network
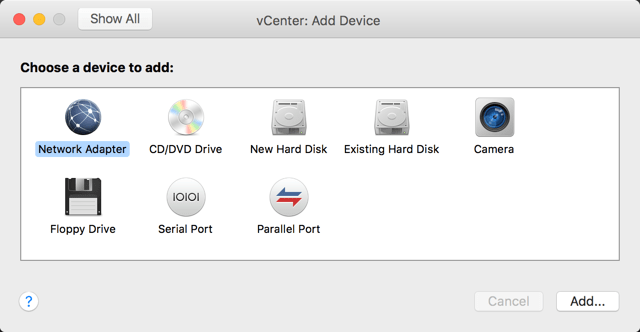
Also, while we are adding NICs, let’s go ahead and all all the rest of the NICs that we need to our ESXi hosts. We will have a total of seven NICs on each host. The config should be as followed:
NIC1 – vmnet2 10.10.2.0 Management
NIC2 – vmnet3 10.10.3.0 Storage
NIC3 – vmnet3 10.10.3.0 Storage
NIC4 – vmnet4 10.10.4.0 Fault Tolerance
NIC5 – vmnet5 10.10.5.0 vMotion
NIC6 – vmnet6 10.10.6.0 VM Network
NIC7 – vmnet2 10.10.2.0 Management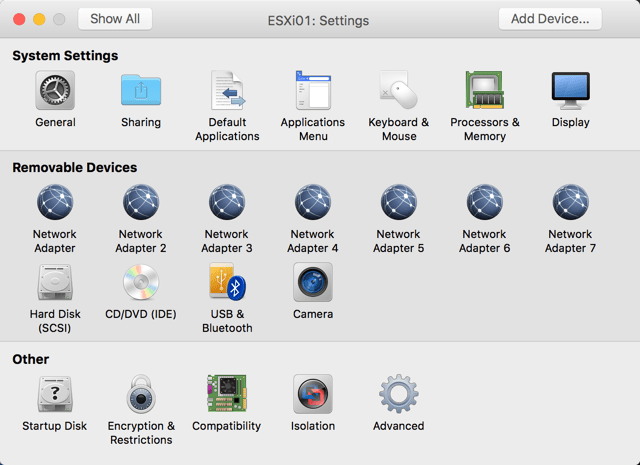
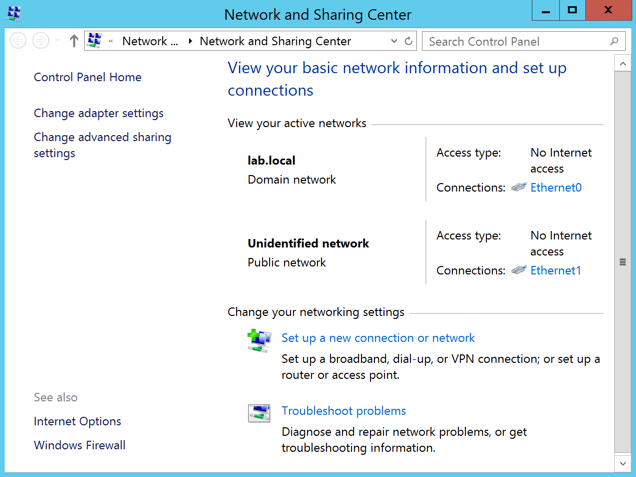
Back on our vCenter server, let’s configure the newly added NIC and give it an IP address on the 10.10.3.0 network
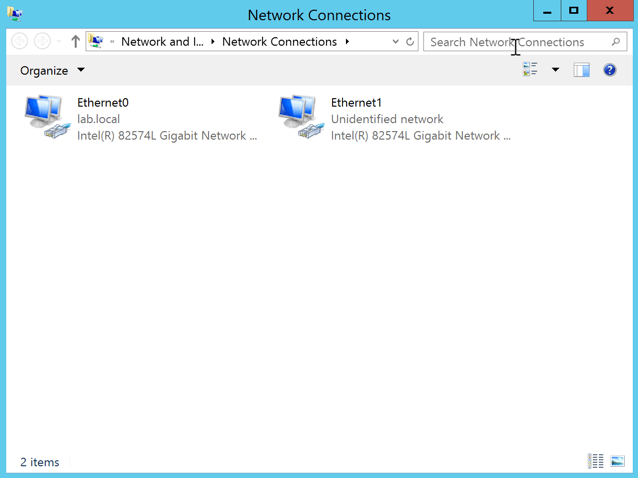
I renamed mine so that it is easily identified 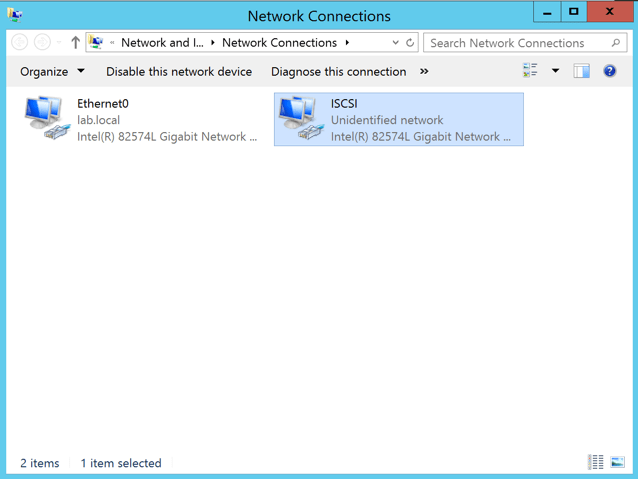
Give it an IP address
Launch the vSphere Web Client and login as administrator@vsphere.local. We are now ready to begin adding our hosts to vCenter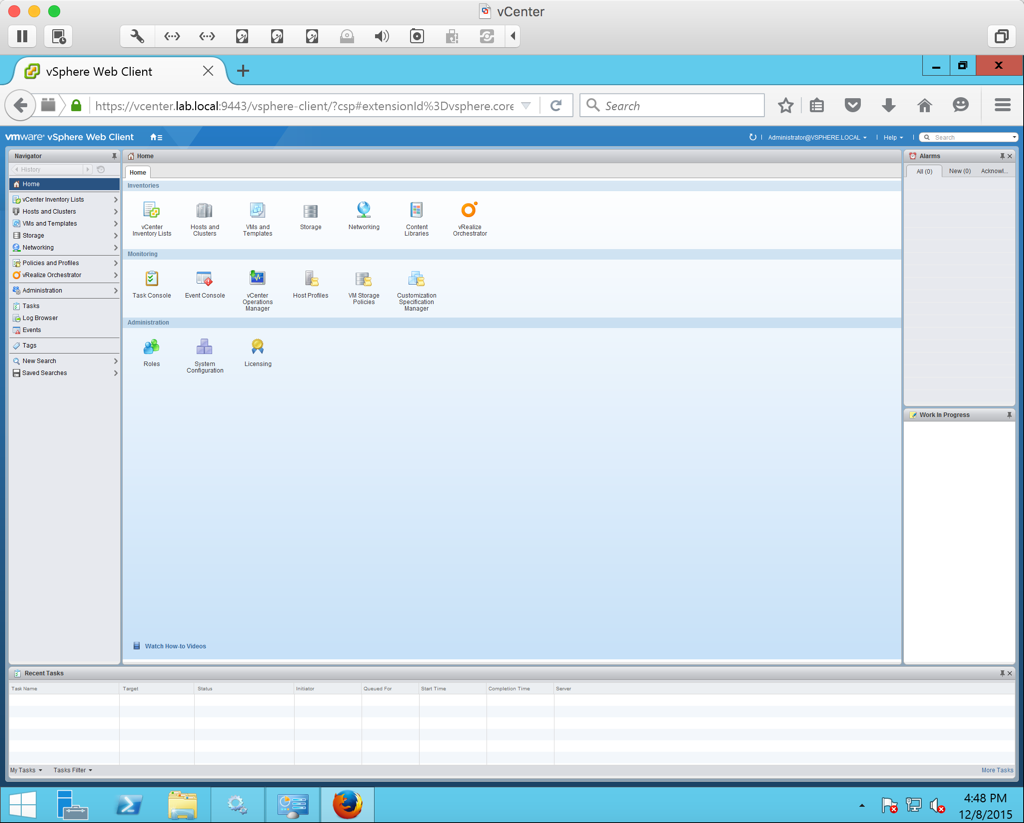
First create a Datacenter by right clicking the vCenter object and selecting New Datacenter.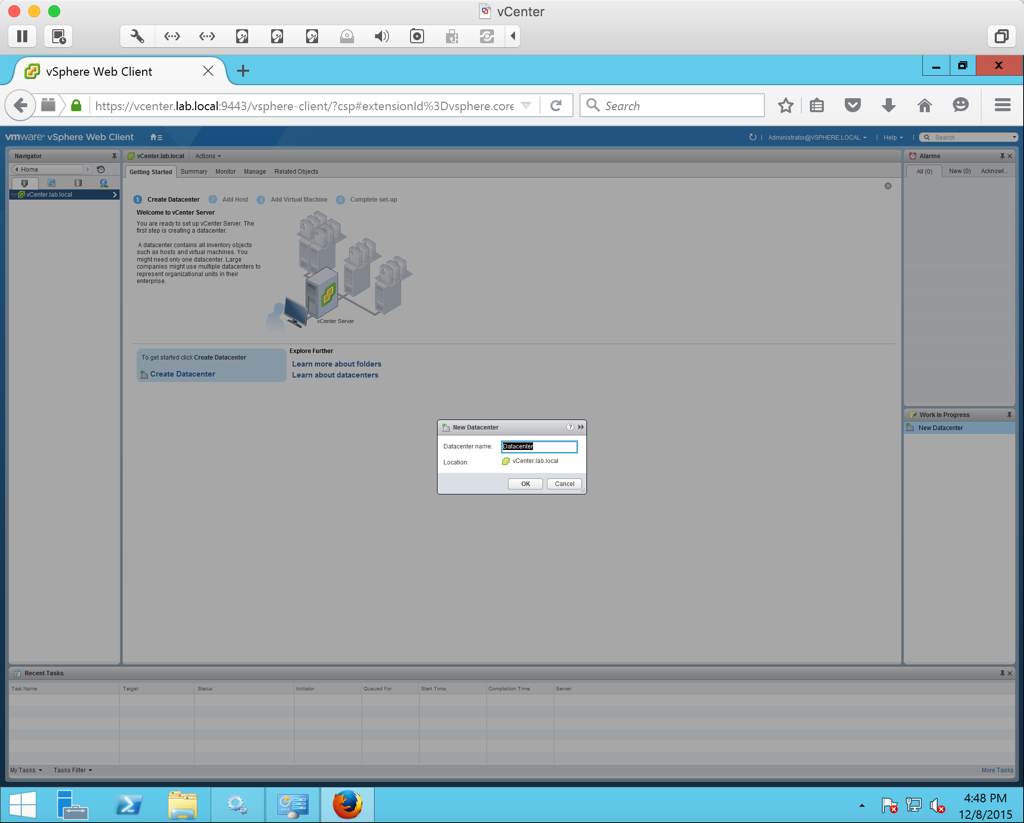
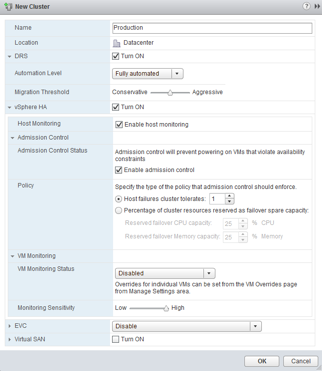
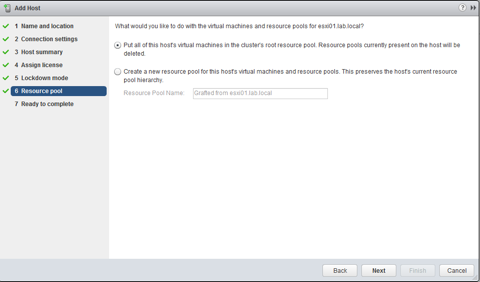
After creating a Datacenter, right click the Datacenter and select New Cluster. Give the cluster a name and turn on HA and DRS by checking the boxes next to the two feature.
After we create the cluster, we will be able to right click it to add a new host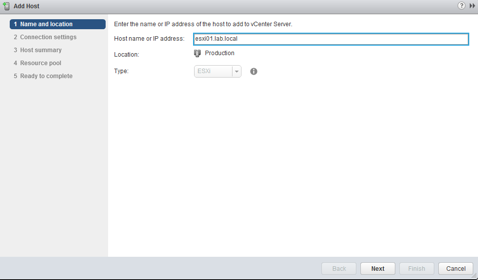
Enter in the root username and password for the ESXi host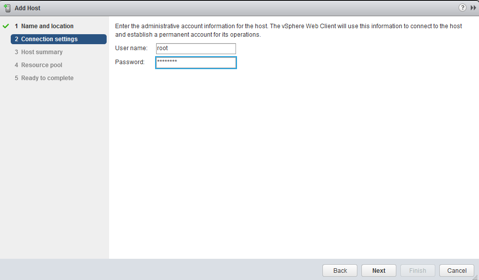
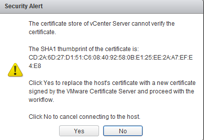
Click Yes on the certificate security alert
Click Next
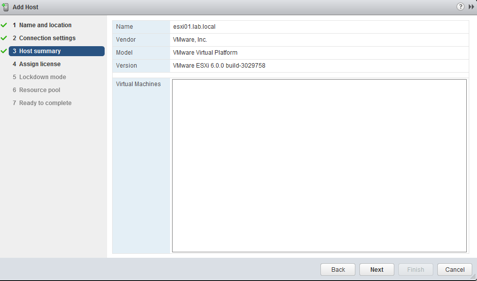
Assign the Evaluation License by clicking Next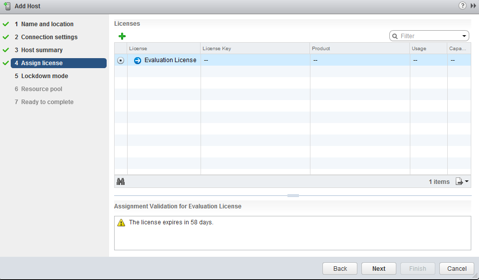
Leave Lockdown mode disabled
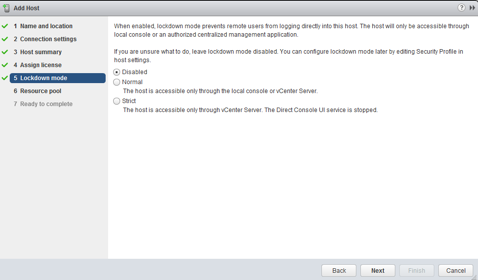
Click Next
Click Finished
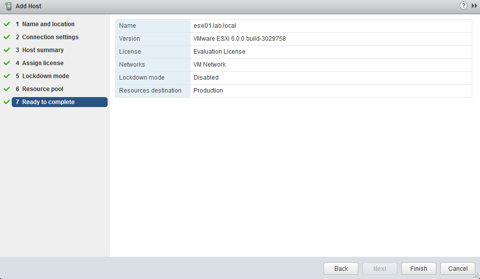
Now the host will be added to the cluster. Note that you will get an error about HA not being able to be configured properly. This is because we do not have our NICs configured yet. 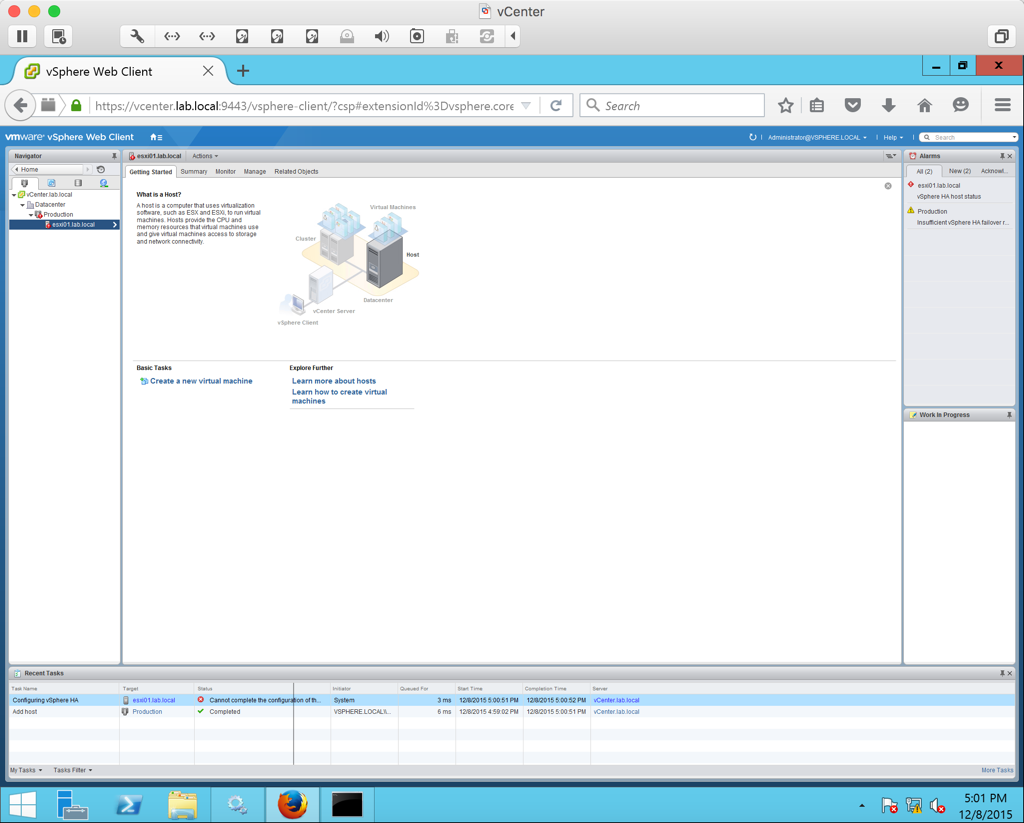
Notice that we only have one NIC associated with our management network. We need to assign an additional one.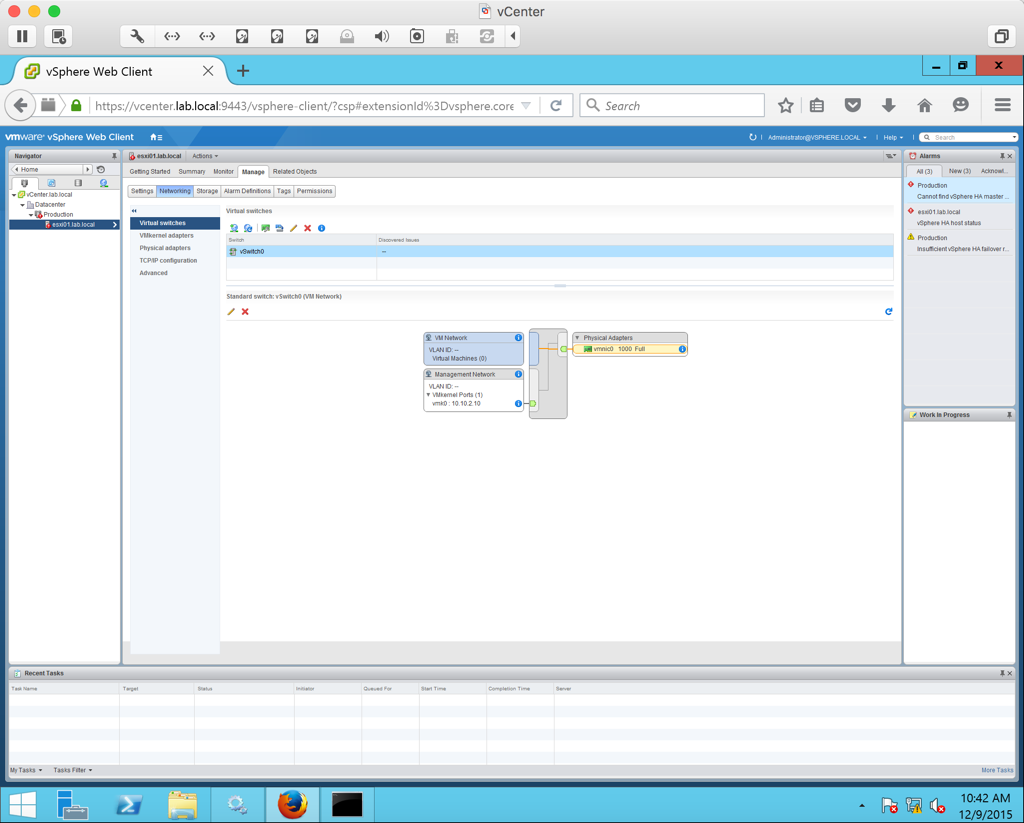
We need to go to the console of our host and login to it and add the second management adapter. Login as root and under System Configuration we will go to Configure Management Network.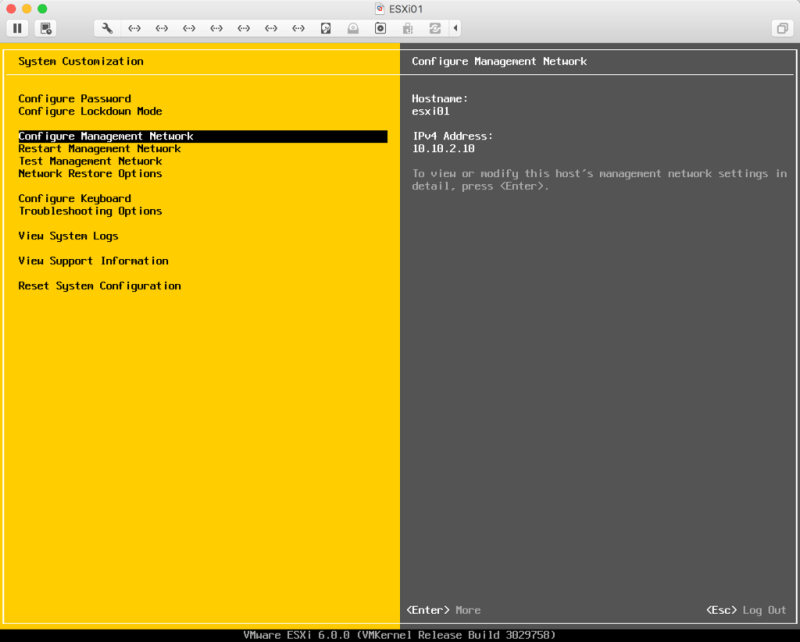
Select Network Adapters. Under Network Adapters we will see vmnic6. Select that NIC to add it as part of the Management adapters. Press Enter.
Press Y to apply the changes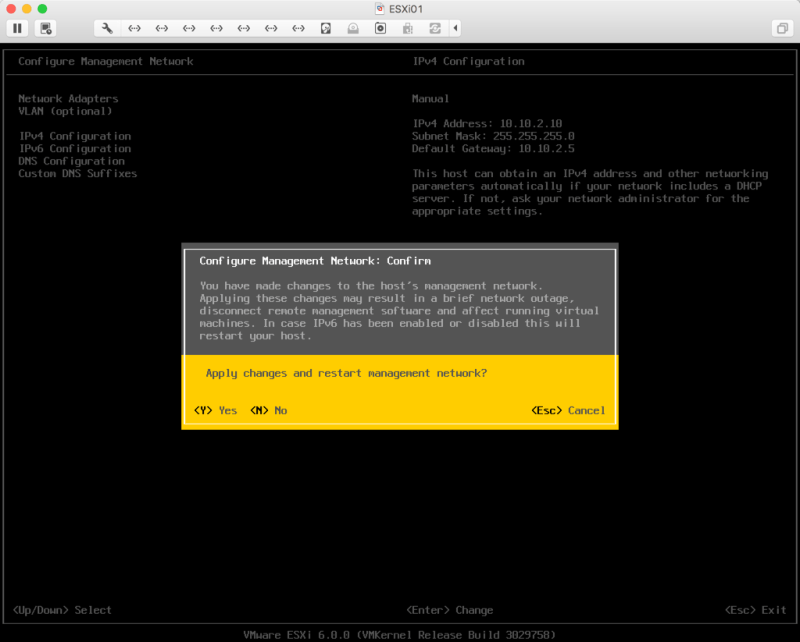
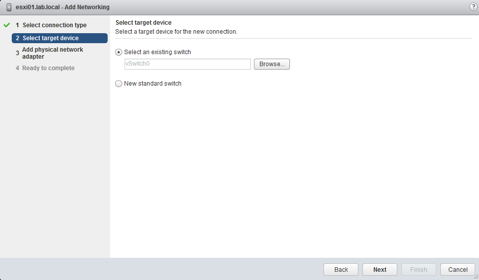
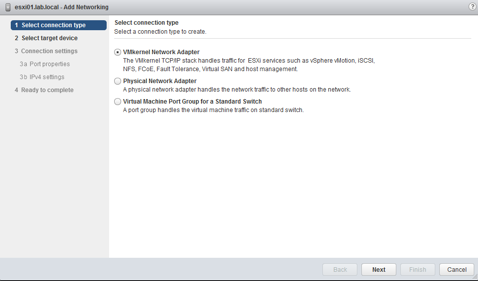
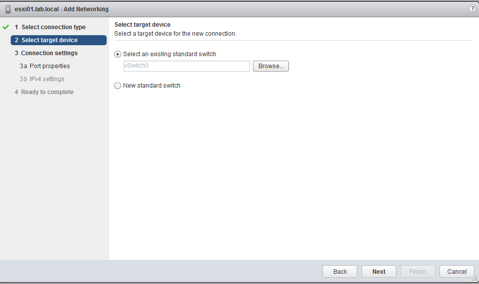
Going back to our web client, let’s add the second NIC to the Management network. Right click the host and select Add Networking. Select Physical Network Adapter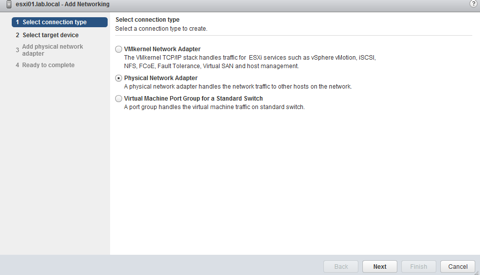
Click Next
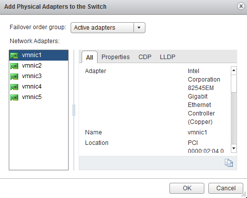
Select vmnic6
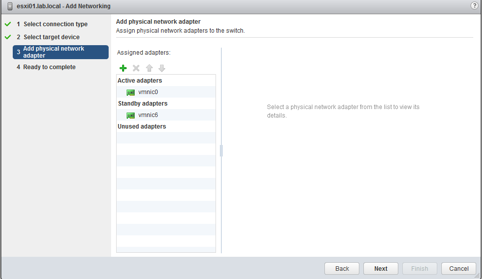
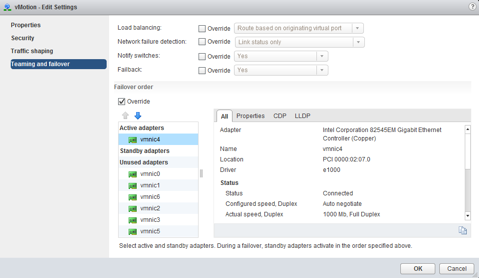
Click Next and Finish. Now Edit the settings of the Management Network port group. Under Teaming and failover, we want to make both adapters active by selecting vmnic6 and using the arrow to move it under Active adapters. Click Ok.

Now let’s add the rest of our NICs to our ESXi host. Right click the host and select Add Networking. Select Physical Network Adapter
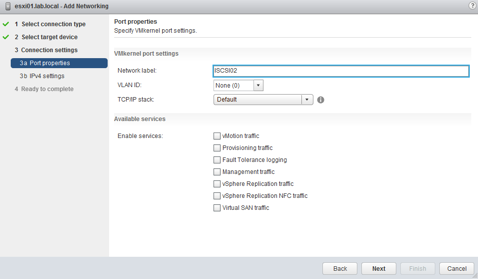
Let’s add our first VMkernel adapter so that we can add the shared storage to our hosts. Right click the host and select Add Networking. Select VMkernal Network Adapter.
Click Next
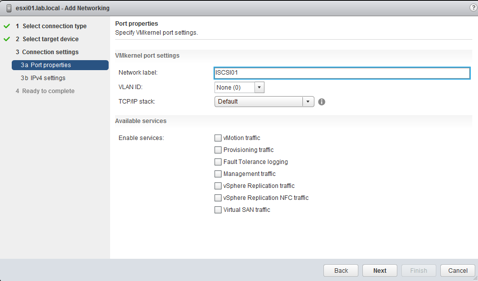
Enter a label for the port. I used ISCSI01. Click Next
Enter a IP address on the 10.10.3.0 network
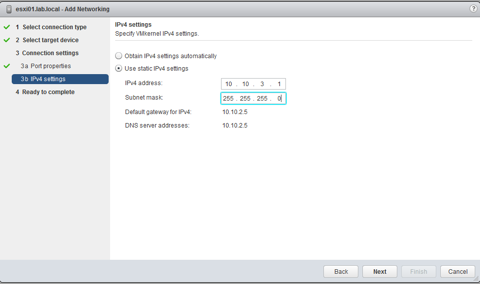
Click Next and Finish. Now go and edit the setting of the ISCSI01 port group

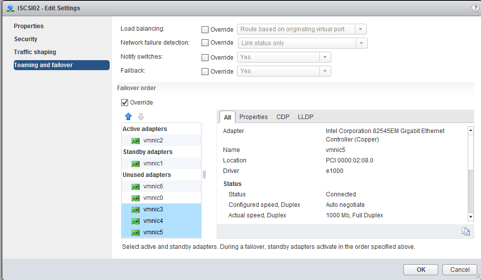
Under Teaming and failover, check the Override box. Make it so that only one of the NICs on the 10.10.3.0 is active and the other NIC on that same network is standby. Make all other nics apart of the unused adapters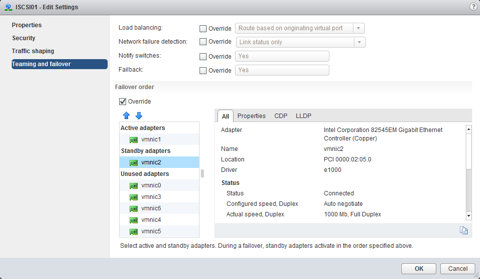
Repeat the same steps again but instead, the NIC that you make active and standby, swap them around. Make vmnic2 active and vmnic1 standby.


Now let’s create a VMkernal adapter for our Fault Tolerance network. The steps for this are pretty much the same except we need to enable a service, Fault Tolerance logging and the IP address that we assign needs to be apart of the 10.10.4.0 network.
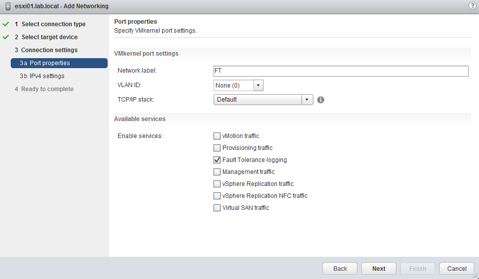

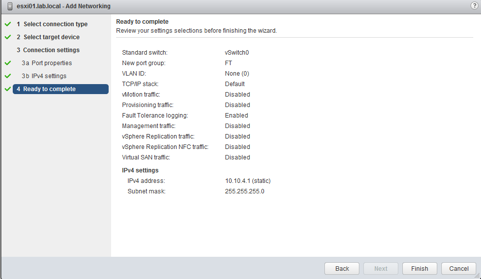
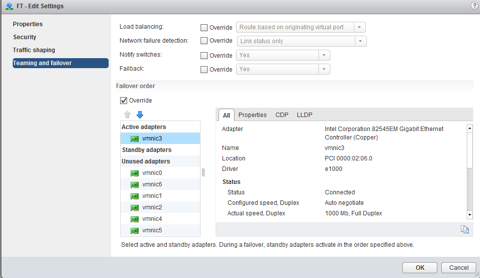
Edit the setting of the FT port group and make only the NIC that is assigned to the 10.10.4.0 network the active adapter. Place all other adapters in the unused adapters section.
Repeat the same steps for the vMotion network, except the enabled service will be vMotion traffic.

Assign an IP address that is on the 10.10.5.0 network
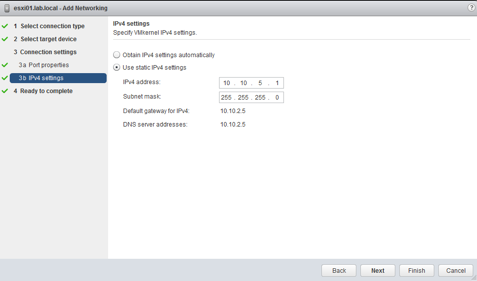
Click Next and Finish

Make only the NIC assigned to the 10.10.5.0 network active. Place all other adapters as unused.
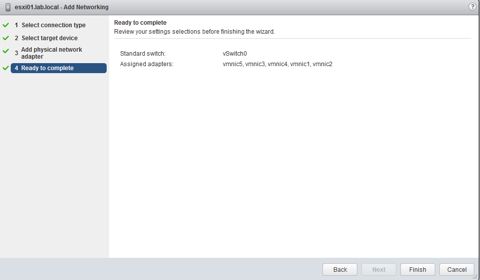
Once we complete this step, all of our networking should be setup properly. The final networking should look like this:

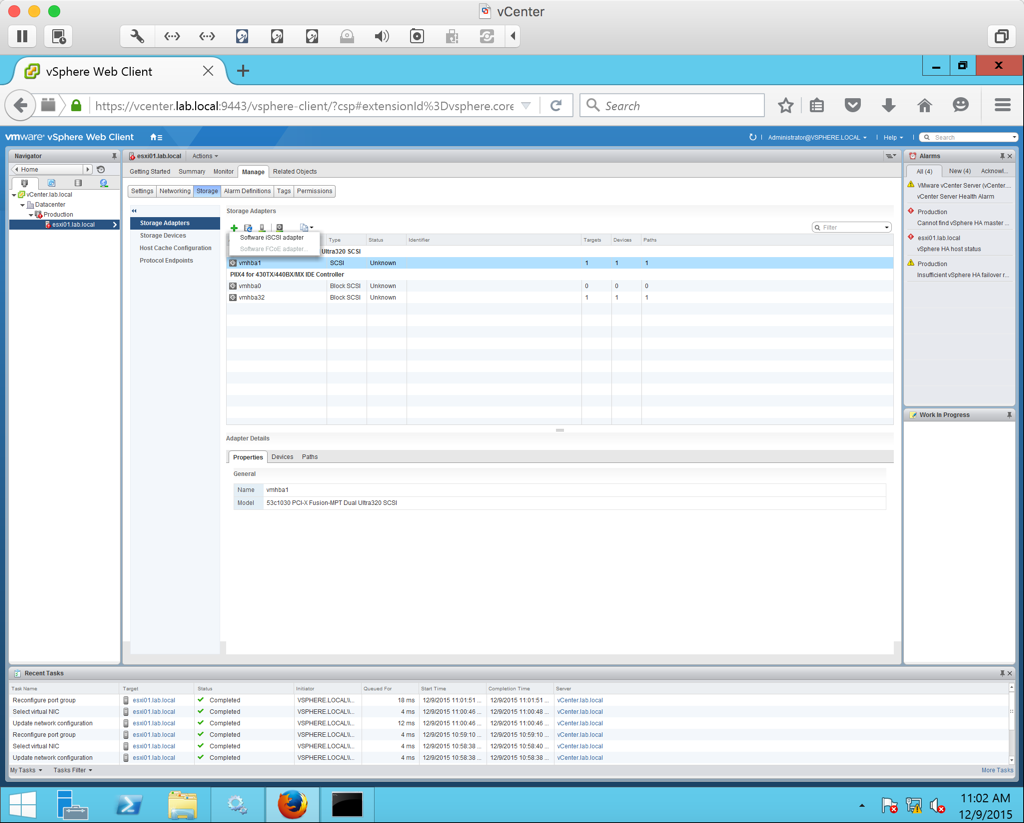
Now we need to add storage to our host. To add our storage, we need to add a Software ISCSI adapter. Do this under the Manage tab of the host. Under Storage > Storage Adapters click the green plus symbol and select software ISCSI adapter
Click Ok

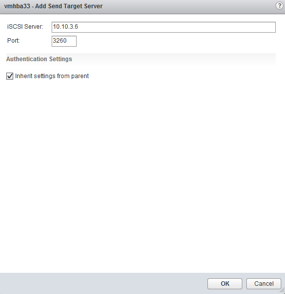
Go to the newly created software adapter and under Targets enter the IP address that we assigned to the ISCSI NIC on our vCenter server.
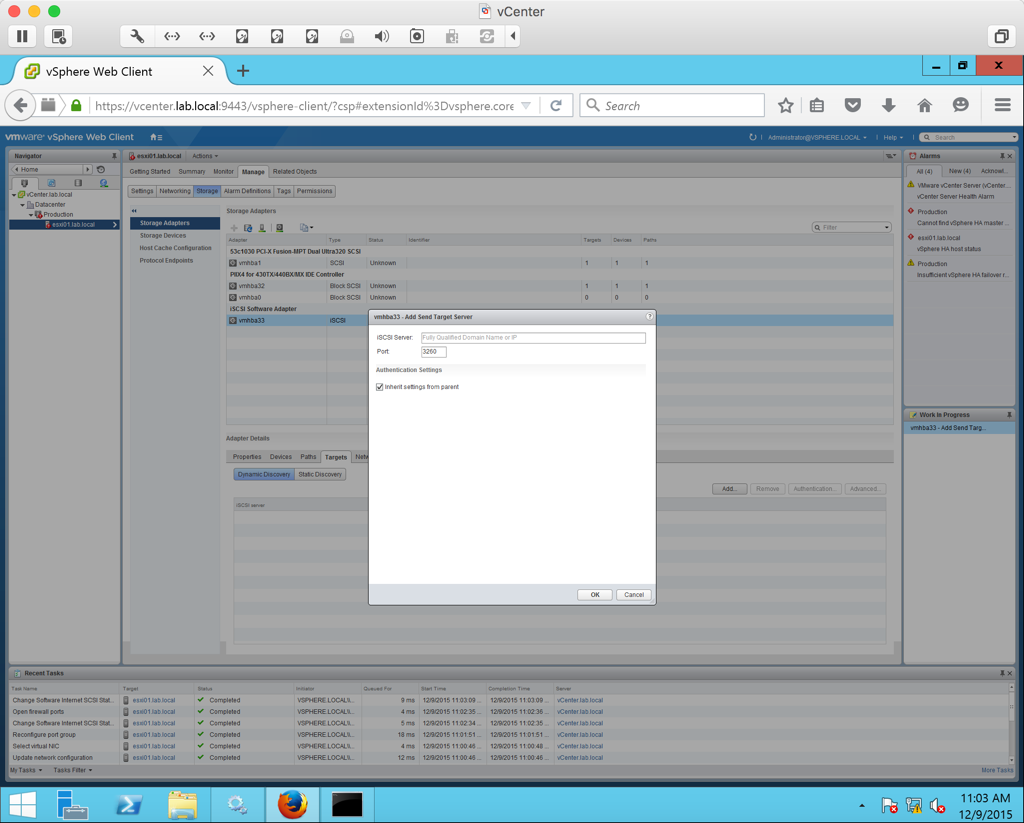
Click Ok
Rescan Storage by right clicking the host and selecting Storage > Rescan Storage…and click Ok

The host should not pick up the two disks that we created
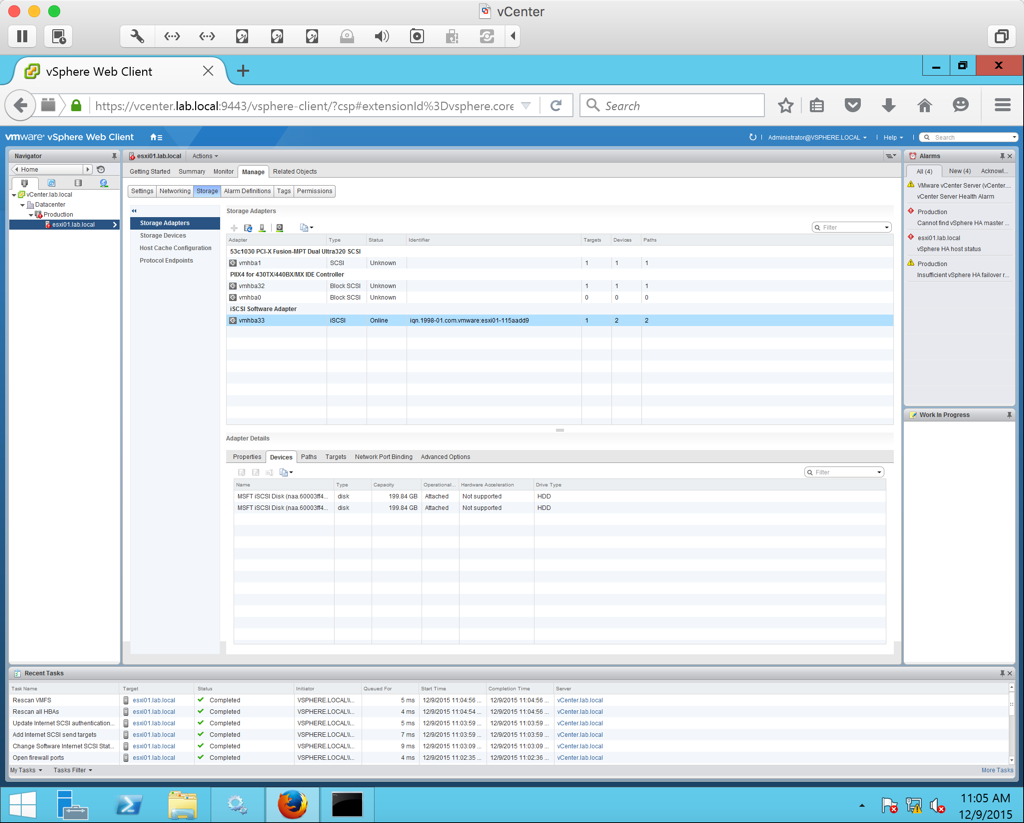
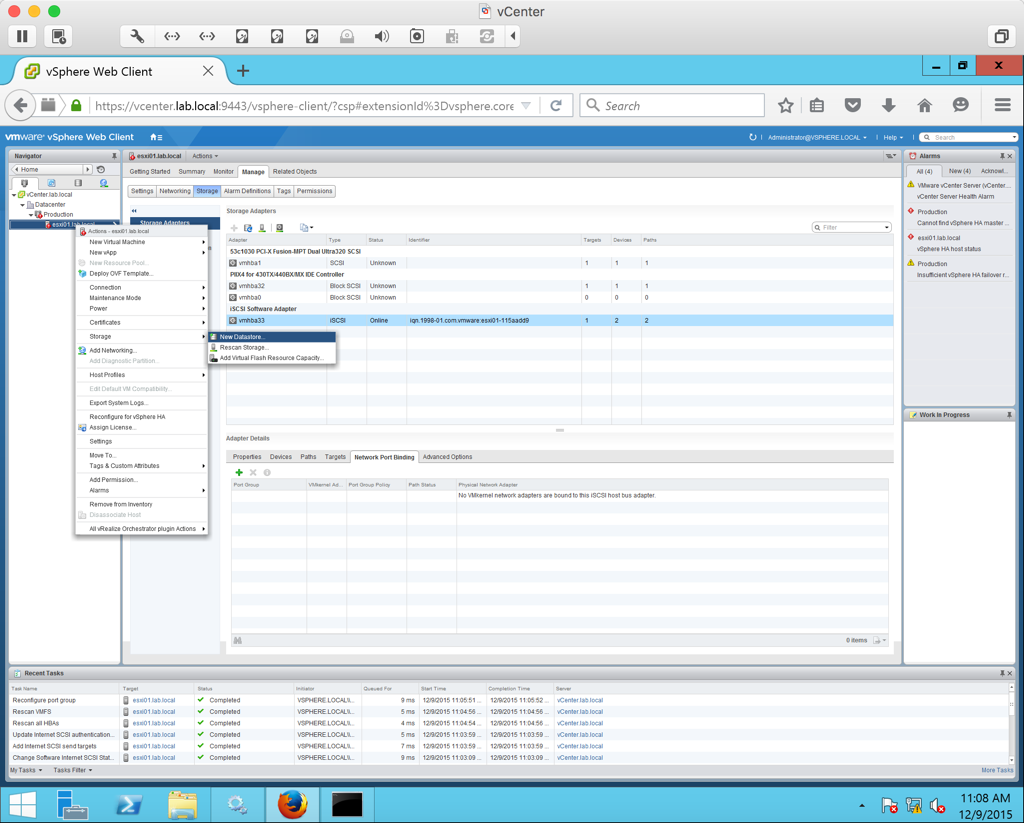
To add the storage to our host, we need to create a new datastore. Right click the host and select Storage > New Datastore
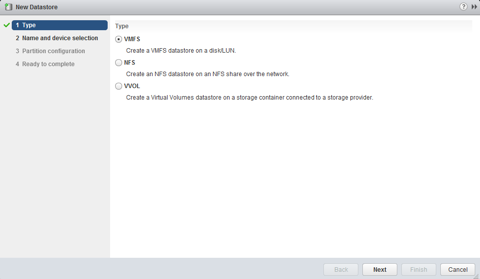
Leave VMFS selected and click Next
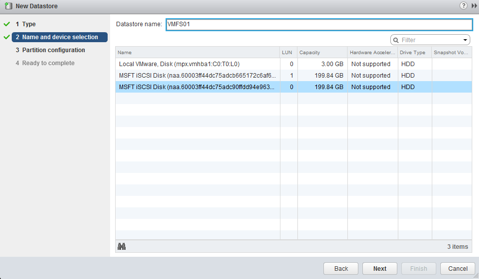
Create a name for the datastore and select the disk in the selection list below. Click Next.
Select how much of the allocated space you want to use. We will use all 200GB in this example. Click Next
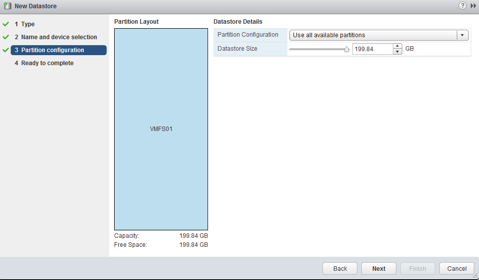
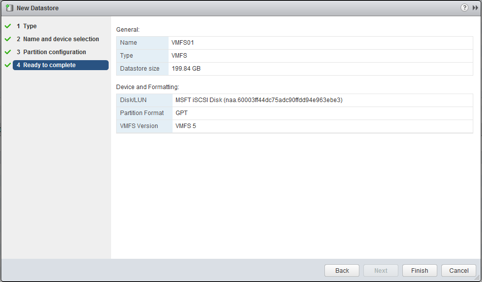
Click Finish
Repeat the same process to add the second 200GB datastore to our host.
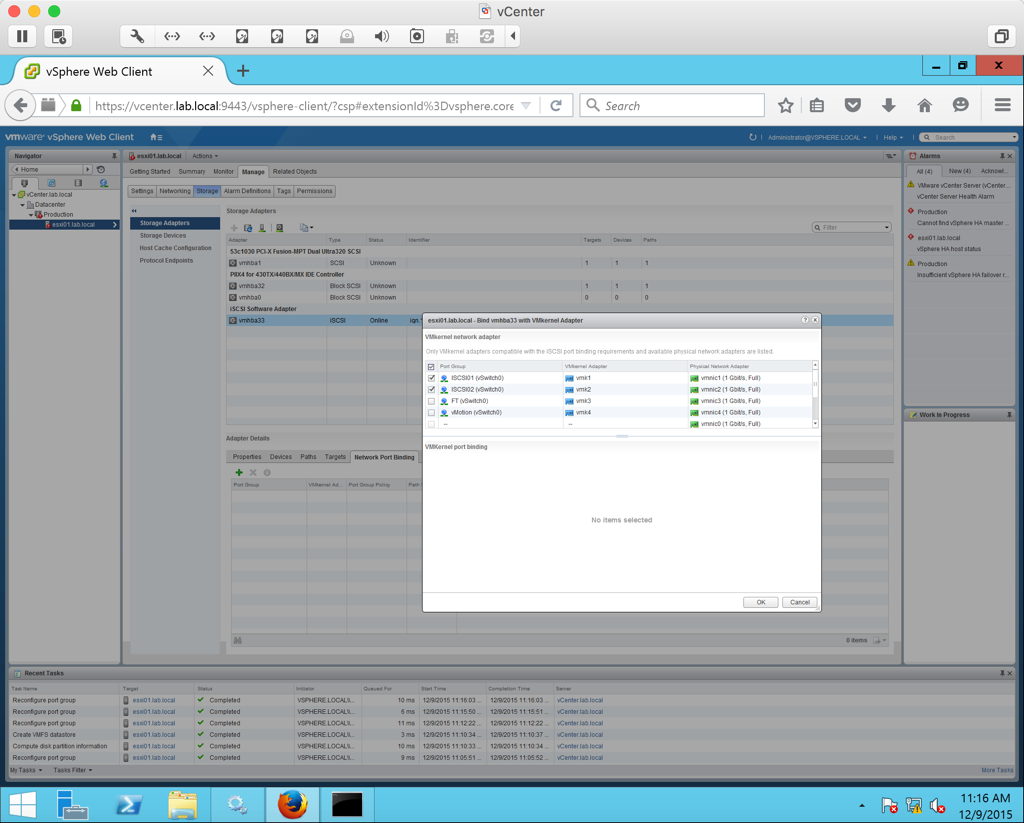
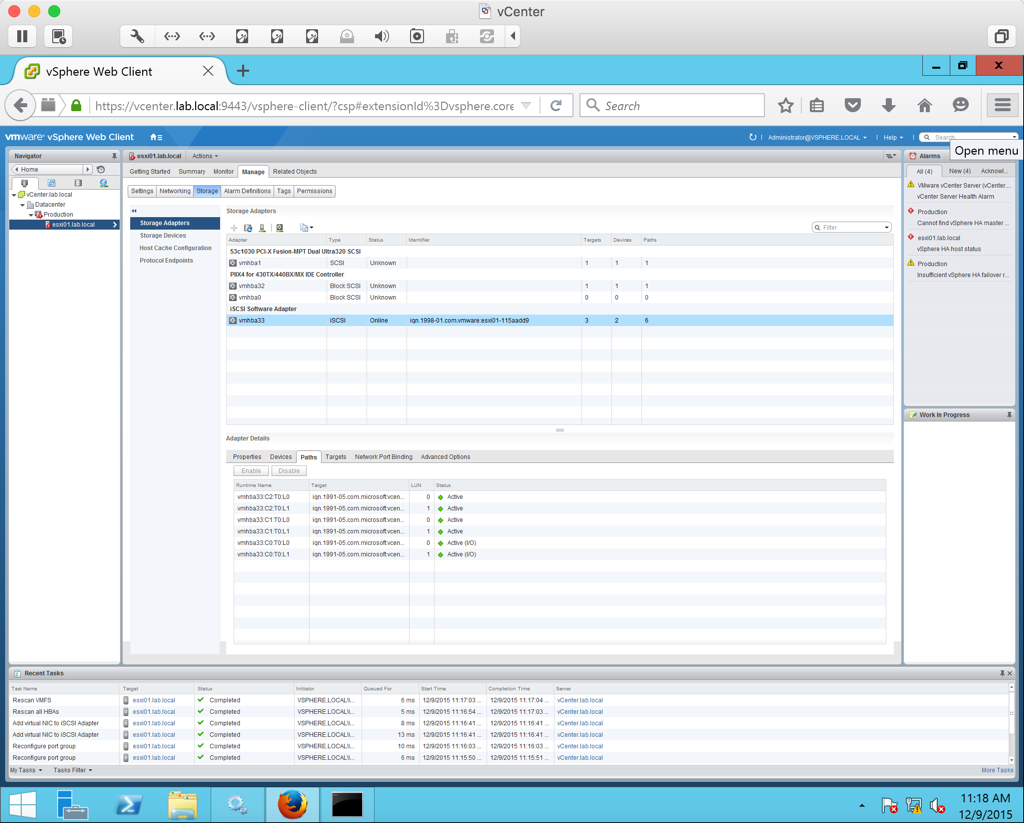
Now we want to create Network Port Bindings so that we can bind the two ISCSI VMkernel port groups (ISCSI01 and ISCSI02) that we created to the software storage adapter. Under the host’s management tab, select Storage >Network Port Binding. Click the green plus symbol. In the list select ISCSI01 and ISCSI02 and click Ok.
We should now see our Network Port Bindings are Active in the Adapter Details panel.
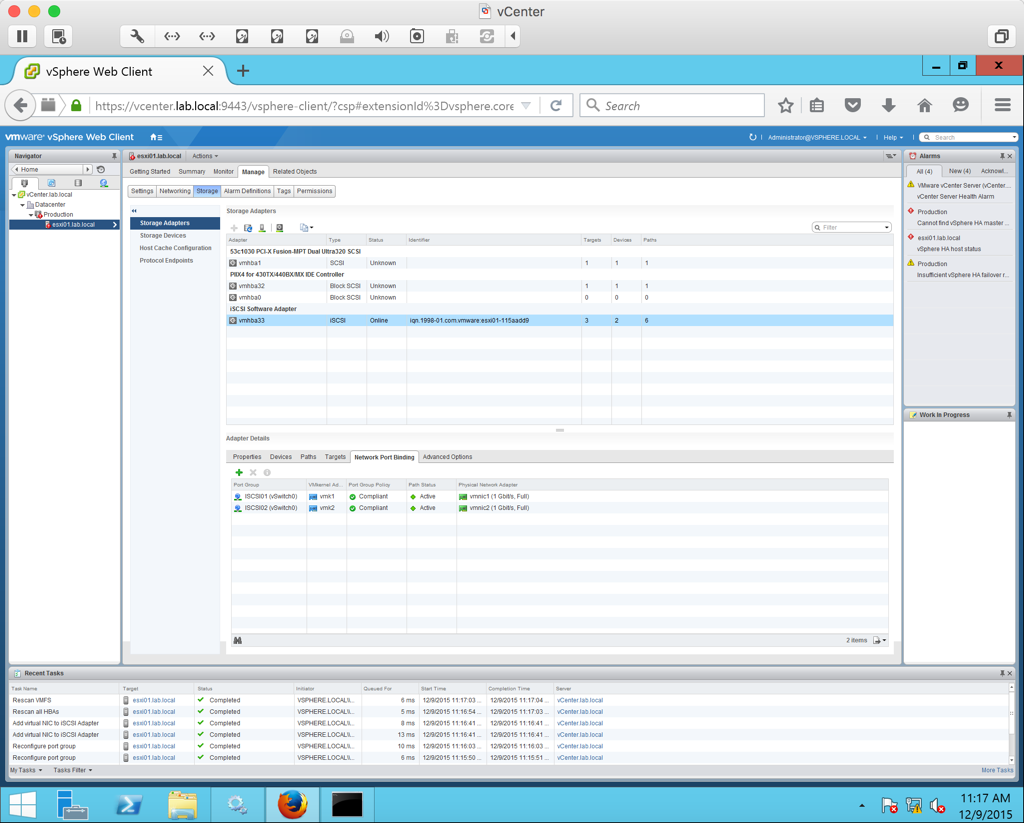
We can also check to see how many paths we have available to the storage that we just connect by going under the Paths tab of Adapter Details.
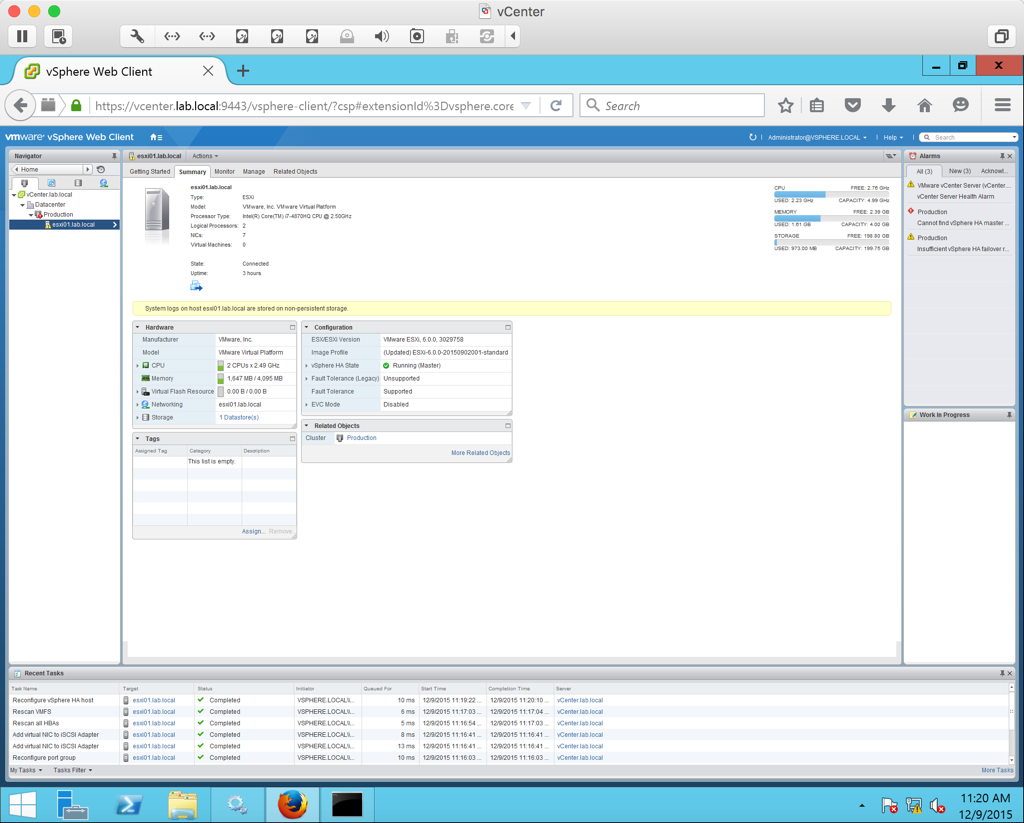
Now that we have all of our networking setup properly, we can go and reconfigure HA. Right click the host and select Reconfigure for vSphere HA
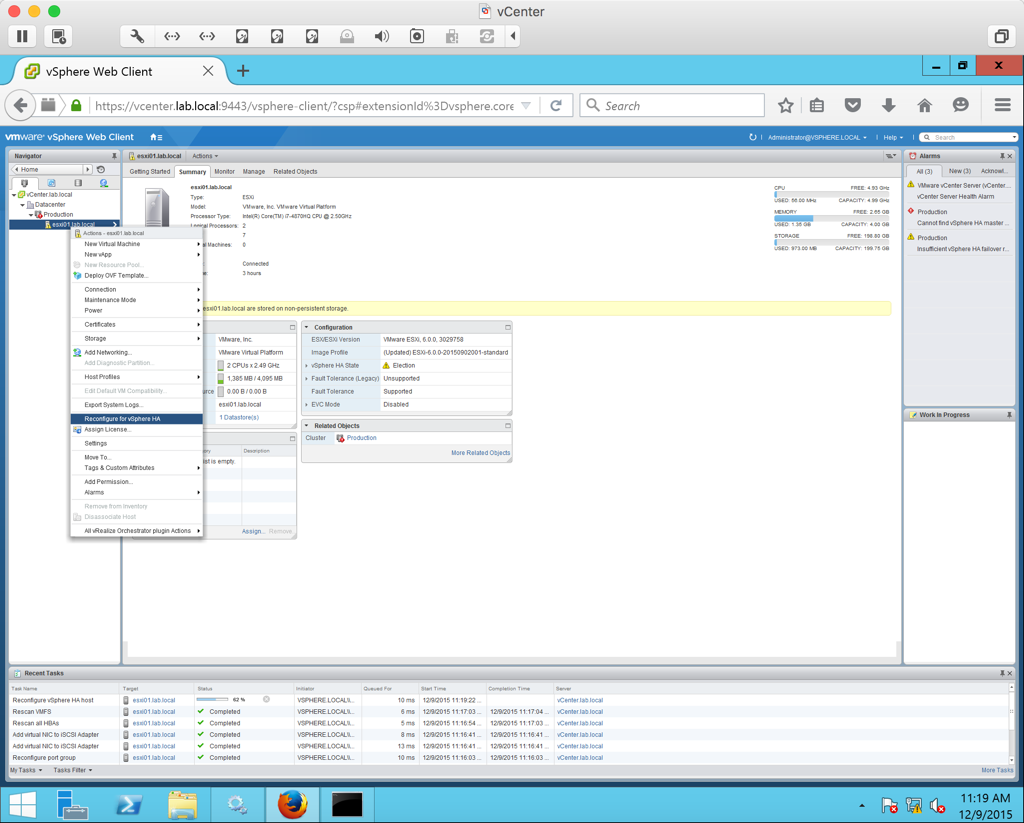
After the election takes place, we will see that we are successfully configured for HA.
Repeat these sames steps for the second host to add it to vCenter, setup the networking, and add shared storage to it.
So that we will be able to login to the vSphere web client using our Active Directory credentials, we need to add an Identity Source to Single Sign On. On the main home screen of the web client, click Administration from the menu on the left side of the page. Under Single Sign On select Configuration. On the SSO Configuration page select the Identity Sources tab at the top of the page. Click the green plus symbol. Select Active Directory (Integrated Windows Authentication). In the Domain name section, enter your domain name. Click Ok.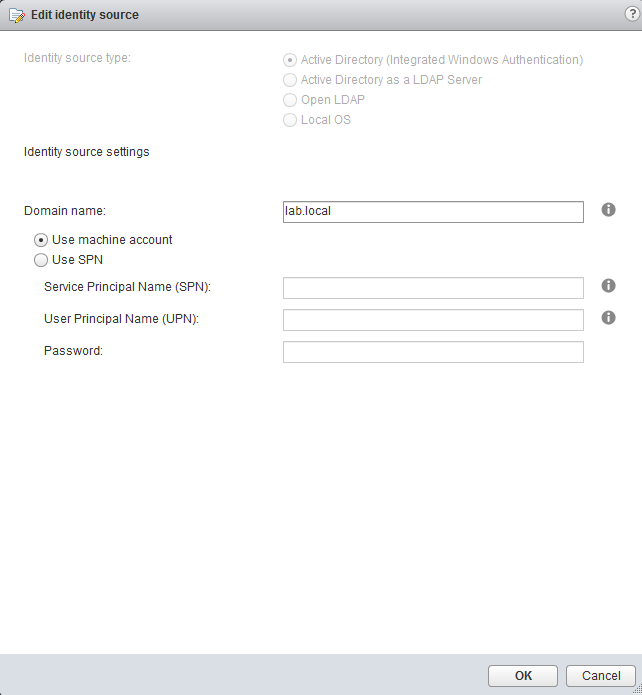
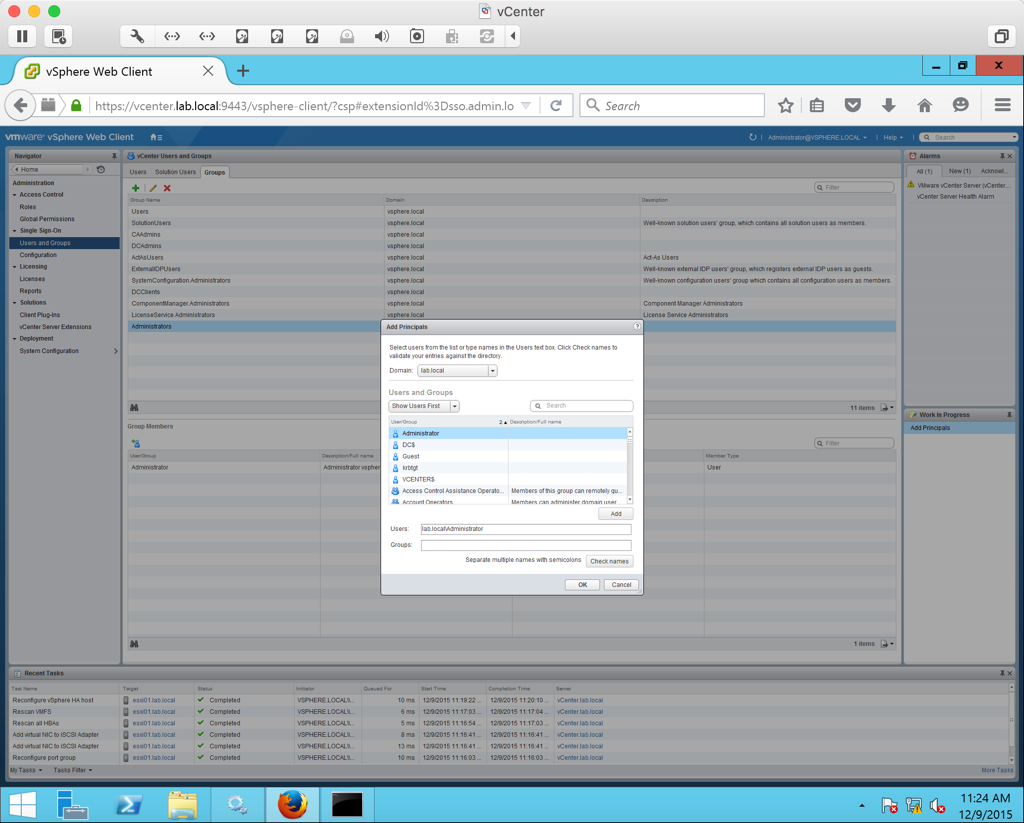
Now go under Single Sign On > Users and Groups > Groups tab. Select Administrators and add your domain administrator account to it.
All done!! Now we should have a fully functioning vSphere 6 environment to do some testing in. Keep in mind that we are running all of this on limited hardware so we won’t have top performance but if you’re just needing a lab to practice in or study for your exam…this will do the trick! 😉

Chestin, how did you configure Fusion to keep VMs on external SSD?
LikeLike
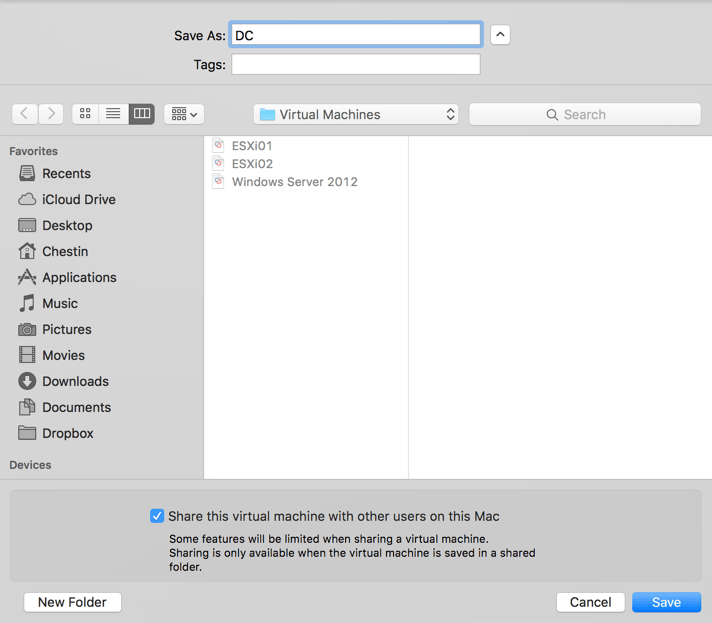
During the initial creation of the VM I just saved the VMDK on the external drive attached to my laptop.
LikeLike
Good Job C.Hay.. from your experiences on this subject I’m using this as a guide for my special project. Like you I’m using a Macbook Pro for portability (Mid 2012 2.6Ghz Quad i7| 16Gb Ram | 4t raid0) with the goal of using this for my CCNA recertification with the end goal of obtaining CCIE and paired with the virtualization of VMWare Fusion 8.5, ESXi 6.5, VCenter 6.5, GNS3 and Cisco vIRL I’m hoping that those sleepless moments pays off in the end. BTW if you have any performance tweak nuggets you’d like to share I’m all ears…:)..
LikeLike
In this test lab scenario, once configured, is it possible to have a VM within the ESXi host communicate with other physical hosts on another network outside of the Fusion environment that the Mac can communicate with? For example.. The Mac is on a traditional /non-vmnet of 10.10.10.0/24 network and can already communicate with 10.10.30.0 , 10.10.40.0 networks. Once this lab environment is created, will the new VM guests on any of the ‘vmnet’ networks be able to communicate with any of the 10.10.30.0 or 10.10.40.0 networks? How could this be configured to make that work?
LikeLike
Great Article – exactly what I was looking for. THANK YOU
LikeLike