Objective 4.1 – Configure and Manage Logical Firewall Services
- Configure Edge and Distributed Firewall rules according to a deployment plan:
-
- Create/configure Firewall rule sections for specific departments
- Create/configure Identity-based firewall (IDFW) for specific users/groups
- Configure SpoofGuard policies to enhance security
- Filter firewall rules to narrow a scope
Configure Edge and Distributed Firewall rules according to a deployment plan
The edge firewall is configured directly on your NSX edge devices. It monitors North-South traffic between your software define network and your physical network.
The distributed firewall monitors East-West traffic. It is embedded in the hypervisor kernel for all hosts that are a part of a cluster that has been prepared for NSX
Create/configure Firewall rule sections for specific departments
Navigate to Networking & Security > Security > Firewall. Click the Add Section icon. It’s the one that is a folder with a green plus on it.

Enter in a name for the new section. Click OK.
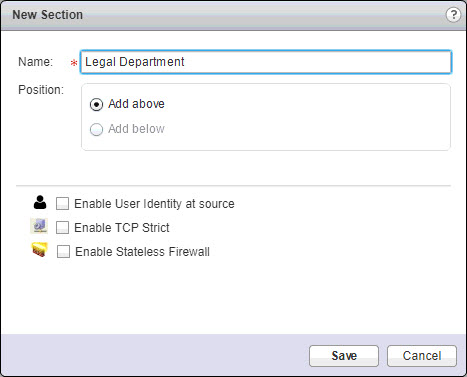
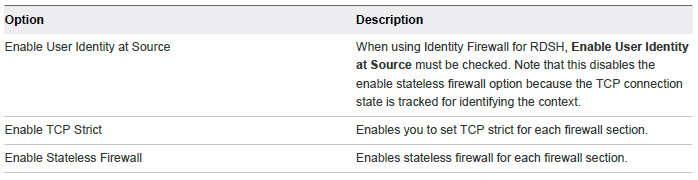
There are additional options you can select here and I’ll list them below from the NSX Admin Guide:
Publish Changes. And now you see the section we created.
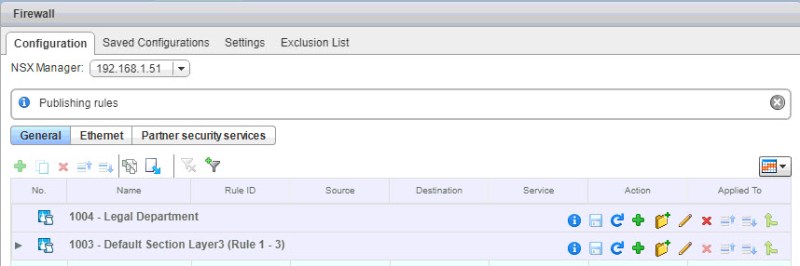
I went ahead and created another section for the “HR Dept”.
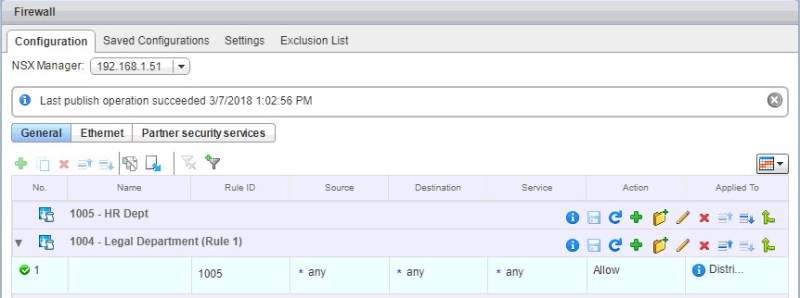
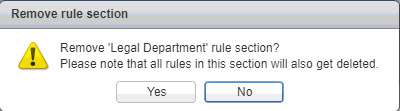
You can remove a section if you click the red X beside that sections name
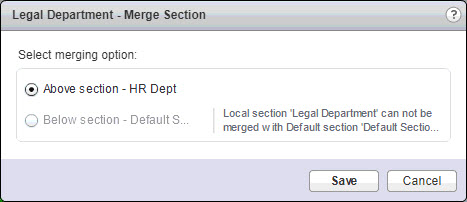
You can also merge a section into another
Create/configure Identity-based firewall (IDFW) for specific users/groups
Identity based firewall allows you to make distributed firewall rules based off Active Directory users and groups. A few things need to be in place for this to work. You must have a cluster that is prepared for NSX. You must setup AD synchronization so that NSX can see the users and groups and you must have Guest Introspection and/or AD Event Log Scraper in place. Guest Introspection must be deployed on the clusters where IDFW VMs are running. When network events are created, a guest agent installed on the VM (VMware Tools full installation) forward the information through guest introspection on to the NSX manager. With Active Directory event log scraper, you must point the NSX manager to a AD domain controller. The NSX manager then pulls the events from the AD security event log and filter through the firewall rules accordingly. IDFW monitors where AD users log in, maps the login to a IP address, and that is used by the DFW to apply rules.
To configure the NSX manager to sync with Active Directory:
Navigate to Networking & Security > System > Users and Domains.
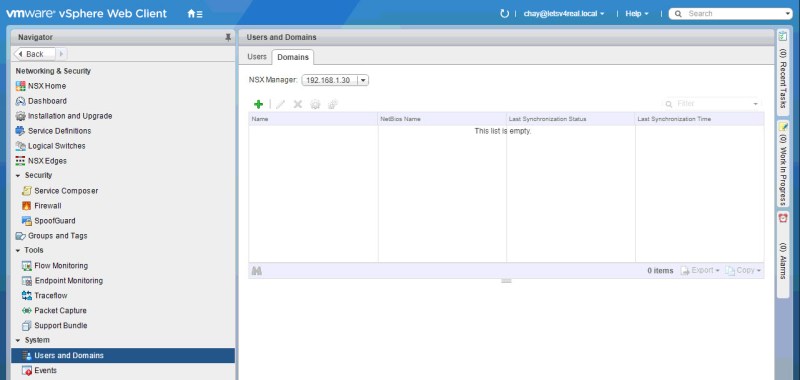
Click the green + and enter in the needed info. Click Next.
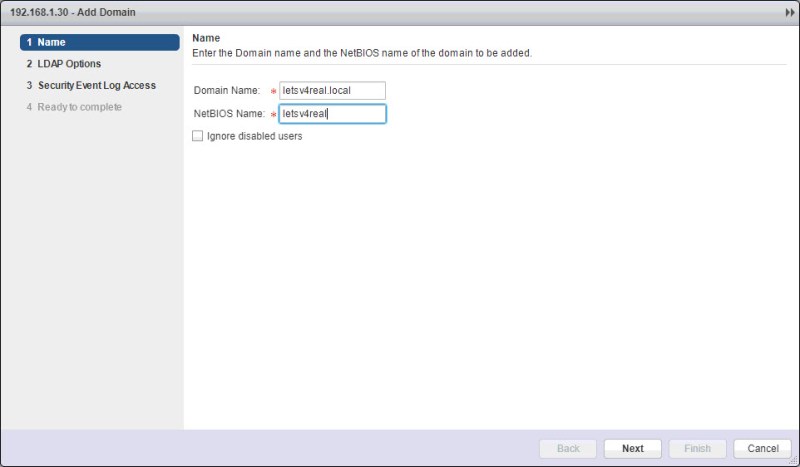
Enter in the IP or FQDN of your domain controller. Also, enter in credentials that has sufficient privileges to access the directory tree in active directory.

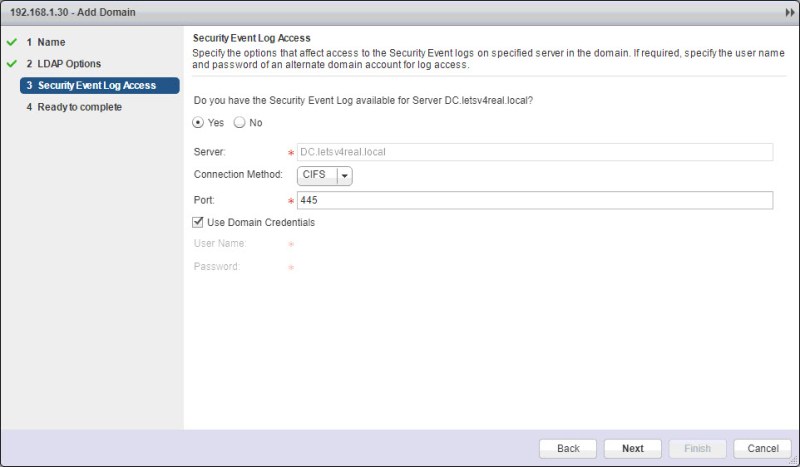
Select either CIFS or WMI for the connection method to access the security event logs. You can use the same domain credentials as the LDAP option or you can de-select this box and use another account. Click Next.
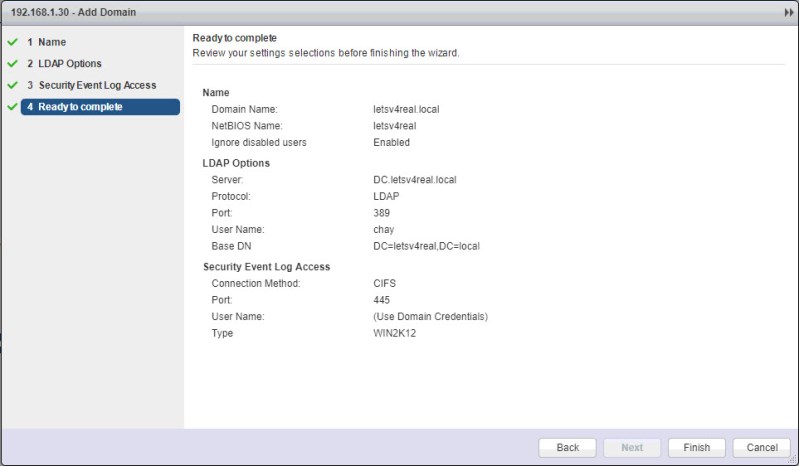
Review the settings and click Finish
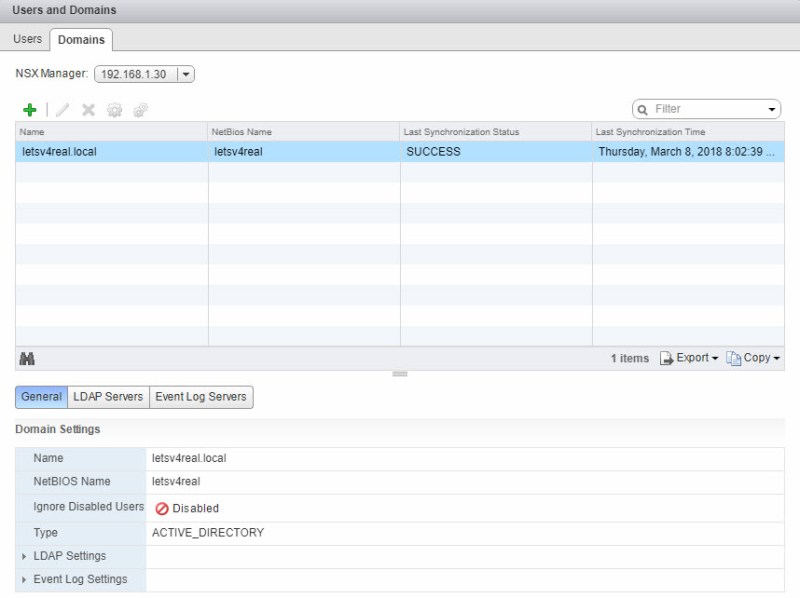
After some time, you’ll notice that the sync was successful with Active Directory
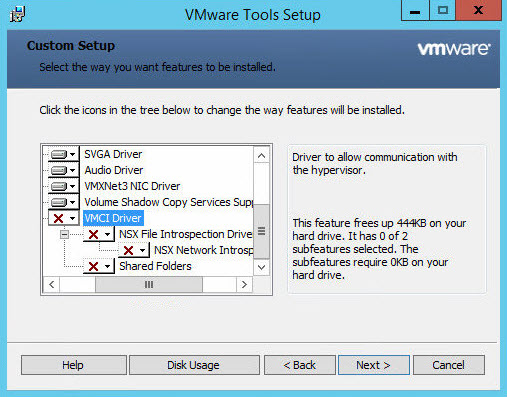
We want to make sure that the NSX File Introspection Drivers are installed on our VMs. This is done using the complete install of VMware tools. I had to go back and install this on the VMs I am testing with.
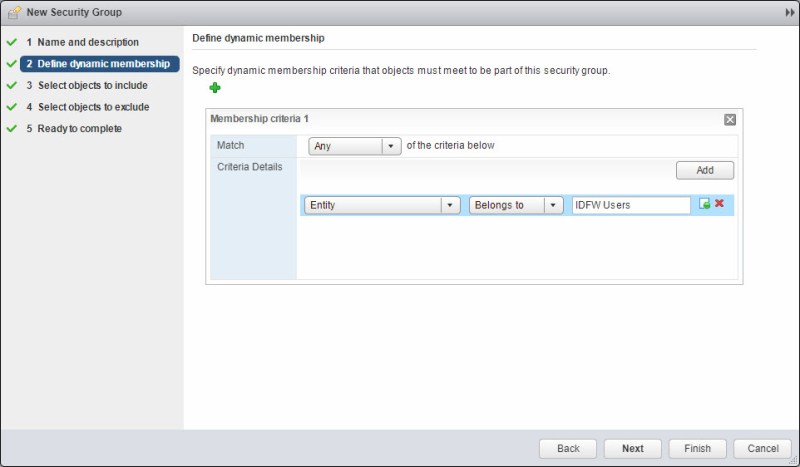
Now I went to create a new security group to include a user to do the IDFW test
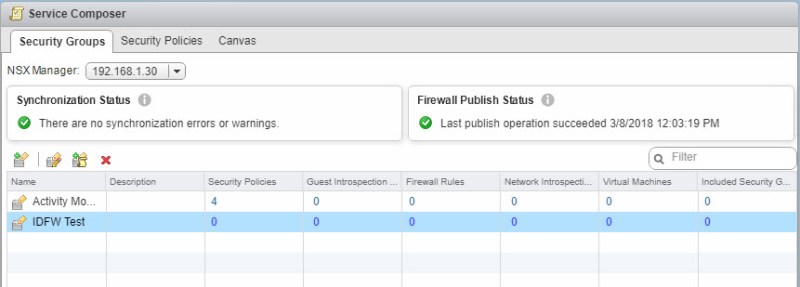
Now we see our security group
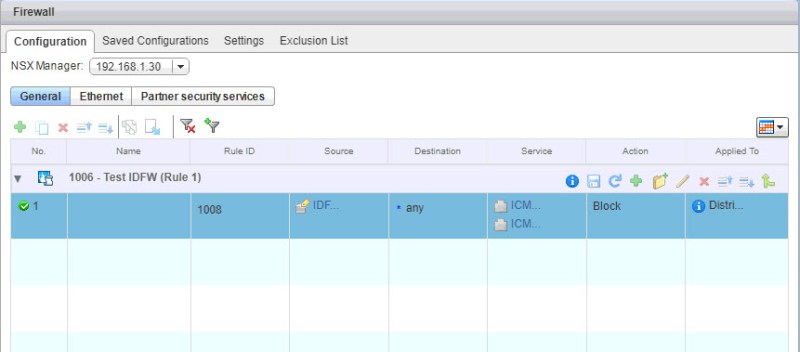
To test, I’m going to make a DFW rule including the new security group that I just created.

Now to test the rule I tried pinging Google’s DNS and the VMs default gateway….both were working before implementing the rule.

That’s it! The IDFW worked.
Configure SpoofGuard policies to enhance security
NSX allows you to create SpoofGuard policies for legacy portgroups, distributed portgroups, and logical switches that allow you to authorize the IP addresses reported by VMware Tools and alter them if necessary to prevent spoofing. The SpoofGuard policy supports multiple IP addresses assigned to a vNIC with using VMware Tools and DHCP snooping but if you use ARP snooping as a IP detection method then it’s not supported.
To create a SpoofGuard policy, navigate to Networking & Security > Security > SpoofGuard.

Click the green + and enter a name for the policy. You can allow the policy to automatically trust the first IP address on its first use or you can manually define and approve the IP addresses. Click Next.

Click the green + to select the networks to monitor.

I chose my Tenant A logical switch. Click OK.

Publish Changes

Now you can see the policy in place. You can see the IP addresses of the two VMs that are on my Tenant A logical switch
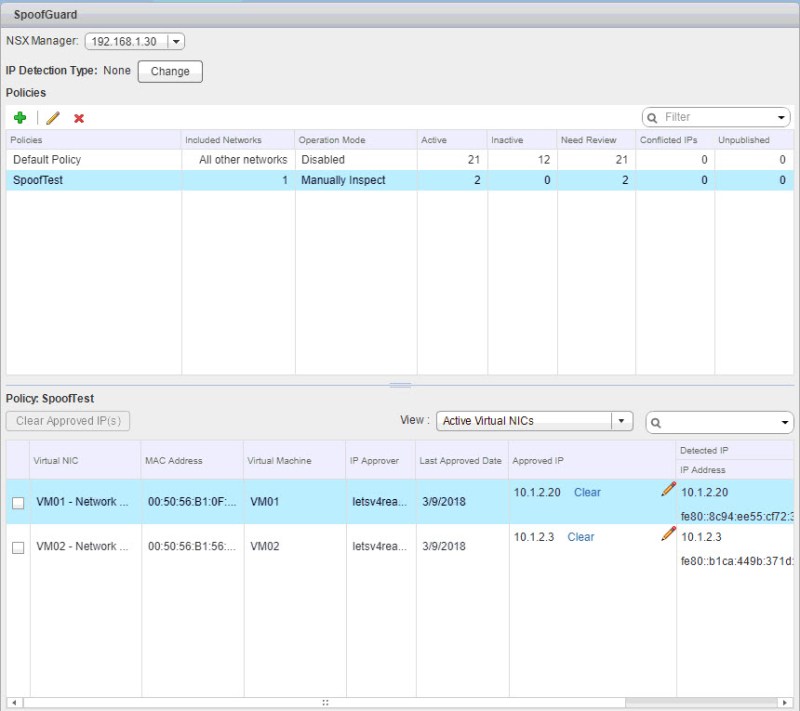
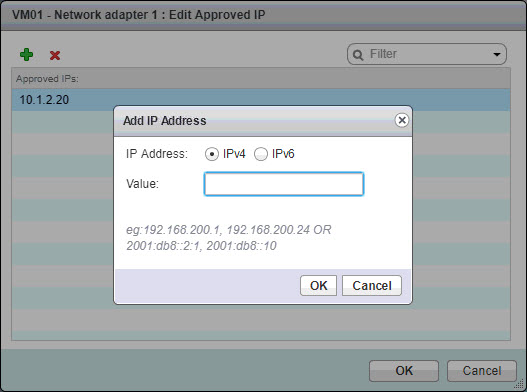
You can click the pencil under the Approved IP section to edit the IP address, remove a IP address or add an additional approved IP address.
Filter firewall rules to narrow a scope
This is pretty self explanatory. Under the firewall section you can filter your rules list to only display rules that meet a certain criteria.

Click the filter icon and apply the filter based off what you are looking for. Click Apply.

This is my rules list after applying the filter to only show rules that have a action of Block