
Recently, VMware released its latest version of NSX, 6.3.3. With it came a number of bug fixes and some new features. One of the main new features to come along has to do with the NSX controllers. Starting with 6.3.3, the OS for the NSX controllers will be powered by Photon OS. Because a new OS is used, that means that your current NSX controllers will not be upgraded, but rather they will be deleted and recreated as part of the install process. There are also some other new features, that I will not dive too deep into, but just list:
Guest Introspection supports Windows Server 2016
New NSX API to retrieve a list of all unresolved alarms on NSX Manager
Crypto Module Changes Affecting FIPS Compliance
- NSS and OpenSwan: The NSX Edge IPsec VPN uses the Mozilla NSS crypto module. Due to critical security issues, NSX 6.3.3 moved to a newer version of NSS that has not been FIPS certified. VMware affirms that the module works correctly, but it is no longer formally validated.
- NSS and Password Entry: The NSX Edge password hashing use the Mozilla NSS crypto module. Due to critical security issues, NSX 6.3.3 moved to a newer version of NSS that has not been FIPS certified. VMware affirms that the module works correctly, but it is no longer formally validated.
- Controller and Clustering VPN: The NSX Controller uses IPsec VPN to connect Controller clusters. The IPsec VPN uses the VMware Linux kernel crypto module (Photon 1 environment), which is in the process of being CMVP validated.
Upgrade Process
In this blog post, I will take your through the steps to upgrade your current NSX environment to 6.3.3
First check compatibility with your current NSX environment. That can easily be done here.
The NSX components have to be upgraded in a certain order:
- NSX Manager
- NSX Controller Cluster
- VIBs on the host clusters
- NSX edges
- Guest Introspection (If enabled)
To begin our upgrade process, navigate to your NSX Manager and log in as the admin.

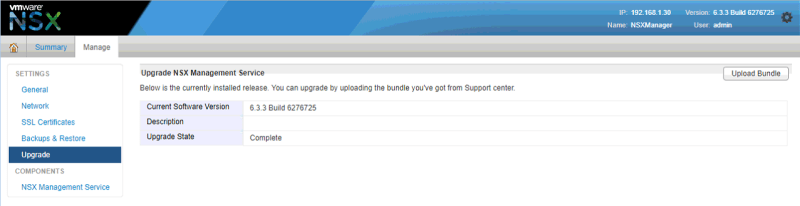
Click Upgrade

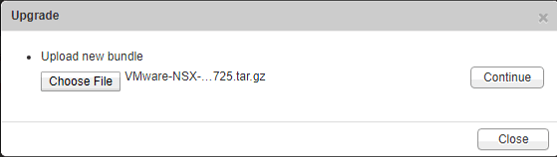
Click Upload Bundle

Now navigate to and choose your NSX upgrade bundle file that you downloaded. Click Continue.
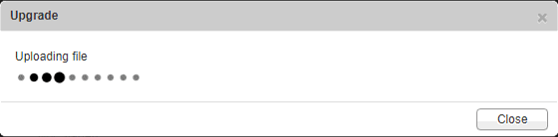
The file will start to upload to the NSX manager
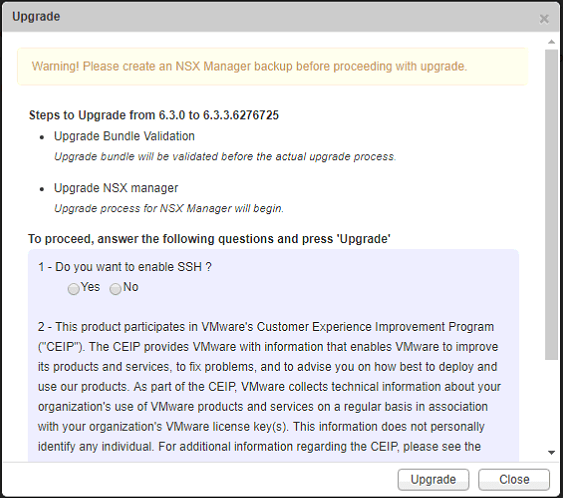
Once the upgrade bundle is finished uploading, you will receive this warning about making sure that your NSX manager has a backup before proceeding. This is a good time to go do just that if you have not. Click Upgrade.
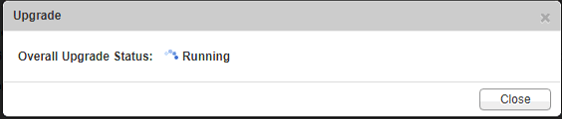
You will see a status of the upgrade process
Once the NSX manager is finished upgrading, you will have to sign back in and you should now see that your NSX manager is running on 6.3.3
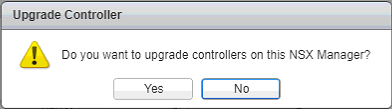
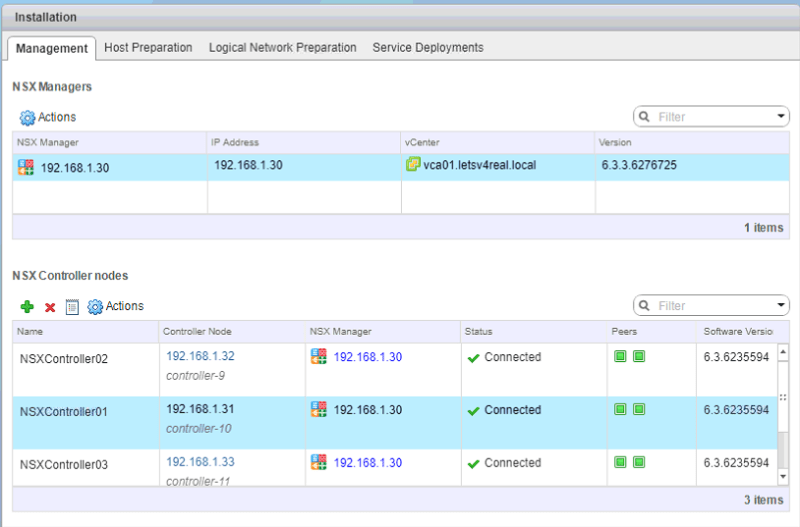
Now in the vSphere web client, navigate to Networking & Security. You will see that a upgrade is available for the controller cluster. Click Upgrade Available to begin the “upgrade” of the NSX controllers.

This is a note directly from the VMware NSX Upgrade document about the new controllers in 6.3.3:
Note In NSX 6.3.3 the underlying operating system of the NSX Controller changes. This means that when you upgrade to NSX 6.3.3, instead of an in-place software upgrade, the existing controllers are deleted one at a time, and new Photon OS based controllers are deployed using the same IP addresses.
Click Yes
The NSX controller replacement will commence.
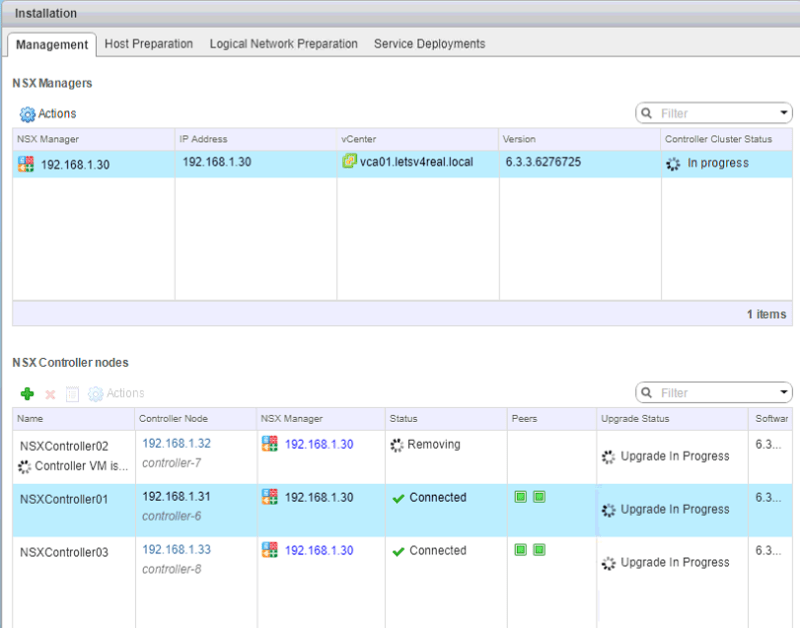
Once the controllers have been replaced, make sure that everything is showing a Connected status and that both Peers are showing online before moving on to upgrading the host VIBs.
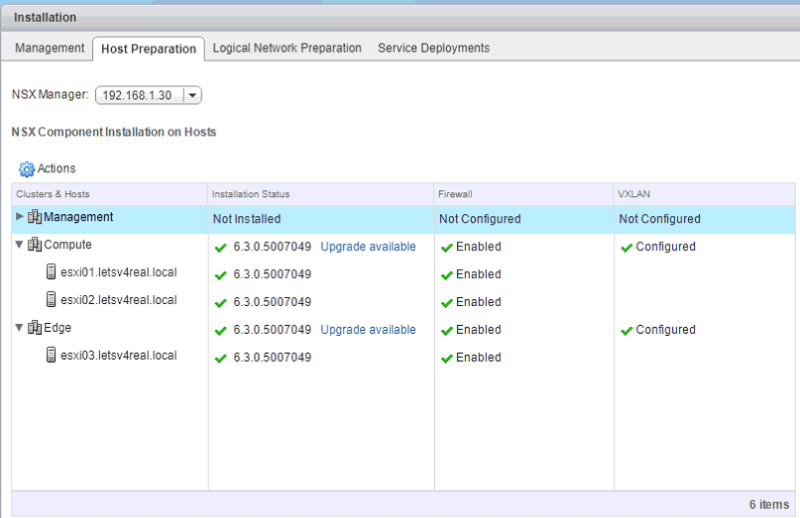
Under the Host Preparation tab, click Upgrade Available to begin upgrading the VIBs on the host. If you’re upgrading from NSX 6.2.x or earlier, or if you are upgrading from NSX 6.3.0 or later with ESXi 5.5, hosts must be rebooted to complete the upgrade. If DRS is enabled, the process will attempt to vMotion any running VMs off to another host and put each host into maintenance mode one at a time to upgrade the VIBs. Also, you will have to manually vMotion VMs off of a host and place a host into maintenance mode if DRS is not enabled.
Click Yes
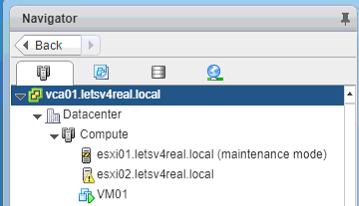
As you can see, the upgrade process placed the host in maintenance mode to begin the upgrade.
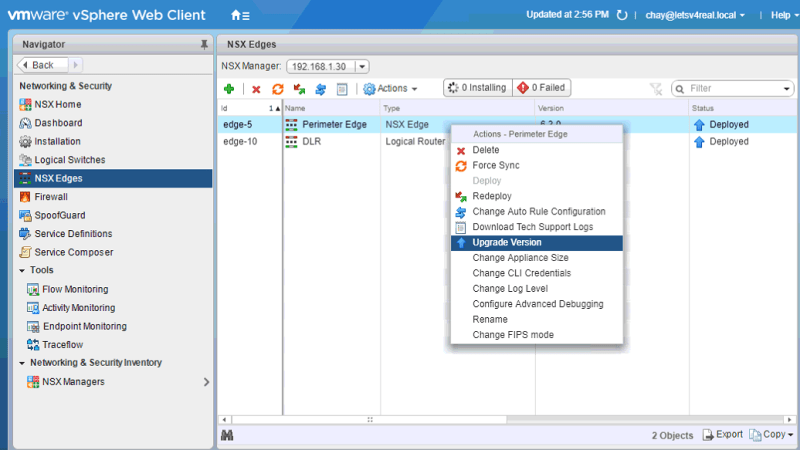
Once the hosts have been upgraded, we can move on the upgrading the NSX edges. Navigate to Networking & Security > NSX Edges. For the NSX edge upgrades, a new NSX edge appliance is deployed along side the current one. Once the new appliance is deployed, the old edge vNics are disconnected and the new edge vNics are connected. If HA is setup on your current edge devices, this process is done twice. This process can interrupt traffic flow, so make sure to do this during a maintenance window. Right click each NSX edge and click Upgrade Version.
Once the NSX edge devices are upgraded, you can move on to upgrading Guest Introspection as well. In my lab, I don’t have it running so there’s nothing to upgrade.
