
There are many products out there that people use to backup their VMware environment. One of the more popular products is Veeam. In my opinion, Veeam is simple, effective, and user friendly and that’s why its the backup solution for so many. With the release of Veeam Availability Suite v9, many of you will be upgrading to take advantage of all the new features that are now available. Here are just a few of the many new features to the two products:
Veeam Backup & Replication:
- Backup from Storage Snapshots (EMC, HP, and NetApp)
- Veeam Cloud Connect Replication
- Veeam Explorer for Oracle
- Scale-out Backup Repository
- Veeam Explorer for Storage Snapshots (EMC, HP, and NetApp)
Veeam One Monitor:
- Support for Veeam Backup & Replication v9
- Veeam Cloud Connect Monitoring and Reporting
- Performance and configuration assessment for Microsoft Hyper-V
- Capacity planning for Microsoft Hyper-V
- Enhanced multi-tenant monitoring and reporting
- New reporting on over-sized/under-sized VMs and idle VMs
First I am going to walk you through the upgrade process of Veeam One monitor and then we will go through upgrading Veeam Backup & Replication.
Before we upgrade check that:
- If you are running Veeam Availability Suite, upgrade Veeam One first, Veeam Backup & Replication must be upgraded after Veeam One
- You are running Veeam One 7.0 or 8.0
- You have a backup of your VeeamOne server (Anything can go wrong)
Let’s begin our upgrade!
- Download and mount your Veeam One media to your server and start the setup. Click Veeam One Server upgrade

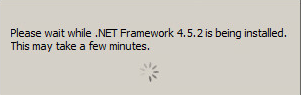
- If you do not have .NET Framework 4.5.2 installed, it will be installed first

- Click Reboot after the installation

- When the server comes back online, the installation of Veeam One will continue. Click Next.

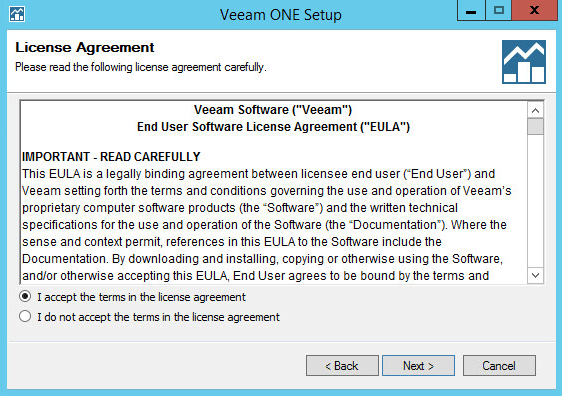
- Accept the EULA
- Click Next on the Upgrade screen

- Browse to your license file for Veeam One and select it. Click Next

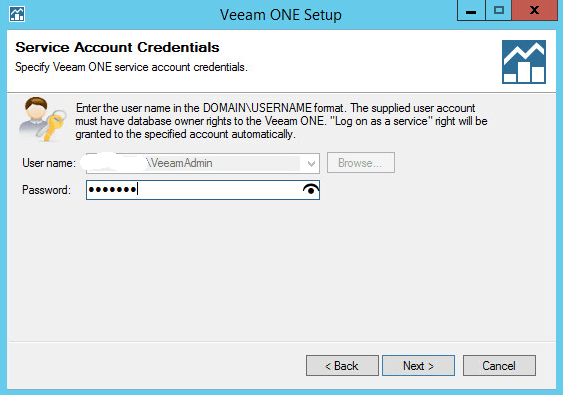
- Enter in the password for the Veeam One service account
- Click Next on SQL Server Instance screen

- Select your Installation type based off the size of your environment. Click Next

- Click Install

- Once the install is complete, click Finish

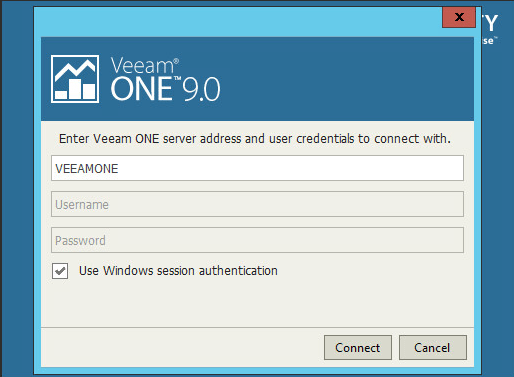
- Launch the Veeam One monitor client and enter in your credentials
The console will now launch and you will see that everything is in place.
Now, we can move to upgrading the Backup & Replication product.
Before we upgrade check that:
- You are running version 7.0 patch #4 or version 8.0
- No active processes are running, such as backup or restore jobs. It would be a good idea to disable all backup jobs so that they don’t kick off during our upgrade
- Take a backup of the SQL configuration databases for Enterprise Manager and Backup & Replication (Once again…anything can go wrong!)
- If you have Enterprise Manager installed, start the upgrade from there first
Let’s begin our upgrade!
- Mount your Veeam media and start the setup. We need to upgrade Backup Enterprise Manager first. Click Backup Enterprise Manager Install

- Click Next

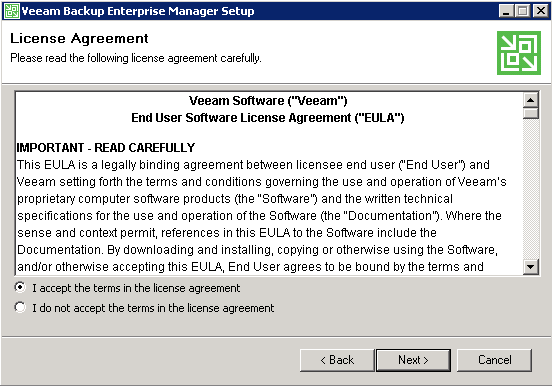
- Accept the EULA. Click Next
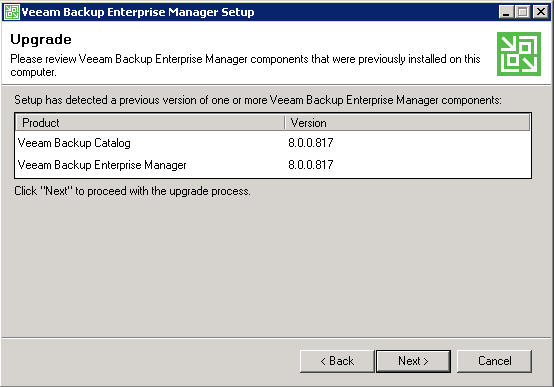
- Click Next on the Upgrade screen
- Browse to your license file and select it. Click Next.

- Enter in the password for your Veeam service account. Click Next

- Click Next

- Click Yes

- Click Install

- Click Finish once the install completes

Now that we are finished with the upgrade of Enterprise Manager, let’s reboot the server and then start on upgrading the Backup & Replication portion of Veeam.
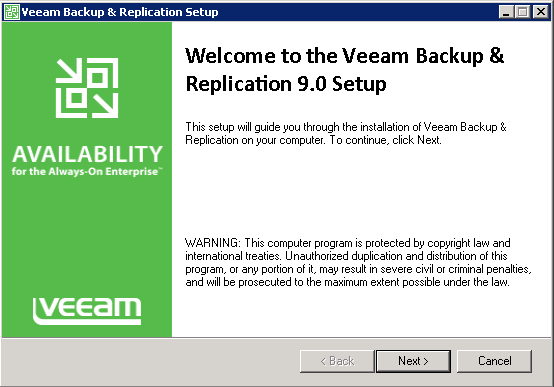
Once the system is back up, the installer should restart itself. If not, then start the installer again and let’s begin
- Click Backup & Replication upgrade
- Click Next
- Accept the EULA
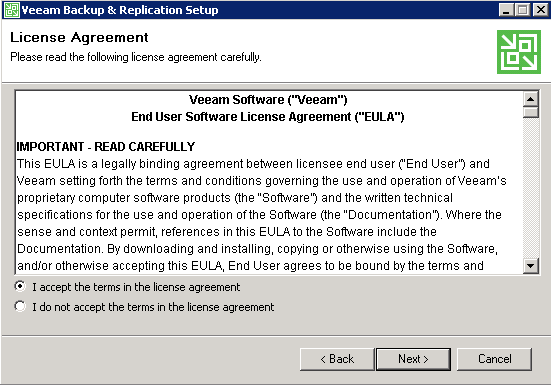
- Click Next

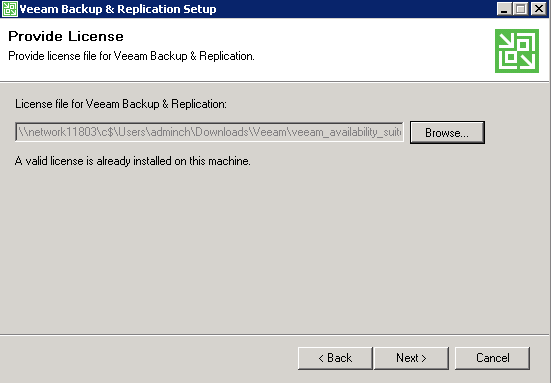
- Browse to your license file and select it. Click Next
- Enter the password for your Veeam Service account
- Click Next

- Click Yes

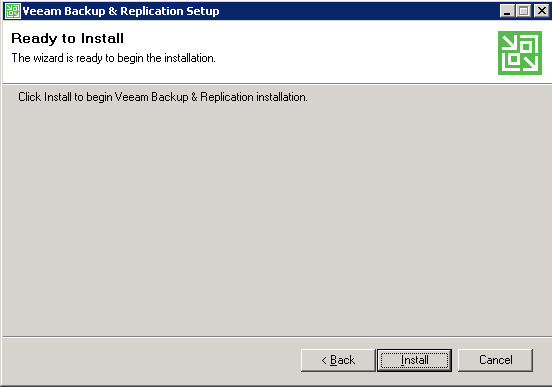
- Click Install
- Once the install is complete click Finish

- Reboot your server

- Launch the Veeam Backup & Replication console

- When you first login, you will be prompted to upgrade the components of the other servers that are a part of your Veeam backup infrastructure. Click Next to have these components upgraded

- Once the components are upgraded, you’re all done! Click Finish

I must say…Veeam makes upgrading their products pretty fool proof. You won’t be able to upgrade Backup & Replication first if you have Enterprise Manager installed on the system. The installer detects it and makes you upgrade Enterprise Manager before allowing you to even click upgrade for Backup & Replication. Installation time is relatively quick. I upgraded a Veeam One server and three Backup & Replication servers in about 1 hr, including backups of the configuration databases.
