
So, I finally decided to take advantage of my VMUG advantage subscription and create a vCloud Air account. When you sign up for VMUG Advantage, there are a lot of perks that come with it. One of the many benefits is the EVALExperience, which gives you a 1 year evaluation license to quite a few VMware products.
One of those products is vCloud Air. They give you a $600 credit ($300 every 6 months) towards vCloud Air.
I wanted to try out William Lam’s ESXi appliance and see if I could deploy it there. Here’s a run down of what it takes to do it:
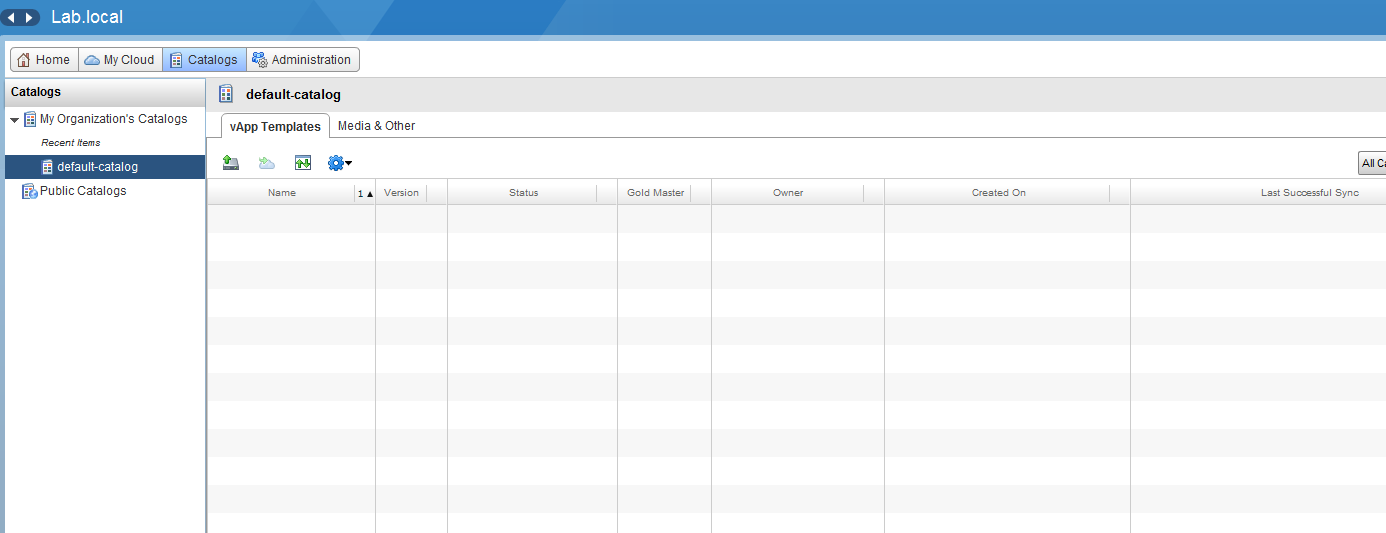
After logging into vCloud Air, I thought it was going to be a simple upload of the OVA file and deploy….wrong!
Enter a caption
I got smacked in the face with this!!

So off to download OVF Tools. Once you run through the quick install, you’ll ready for the next step

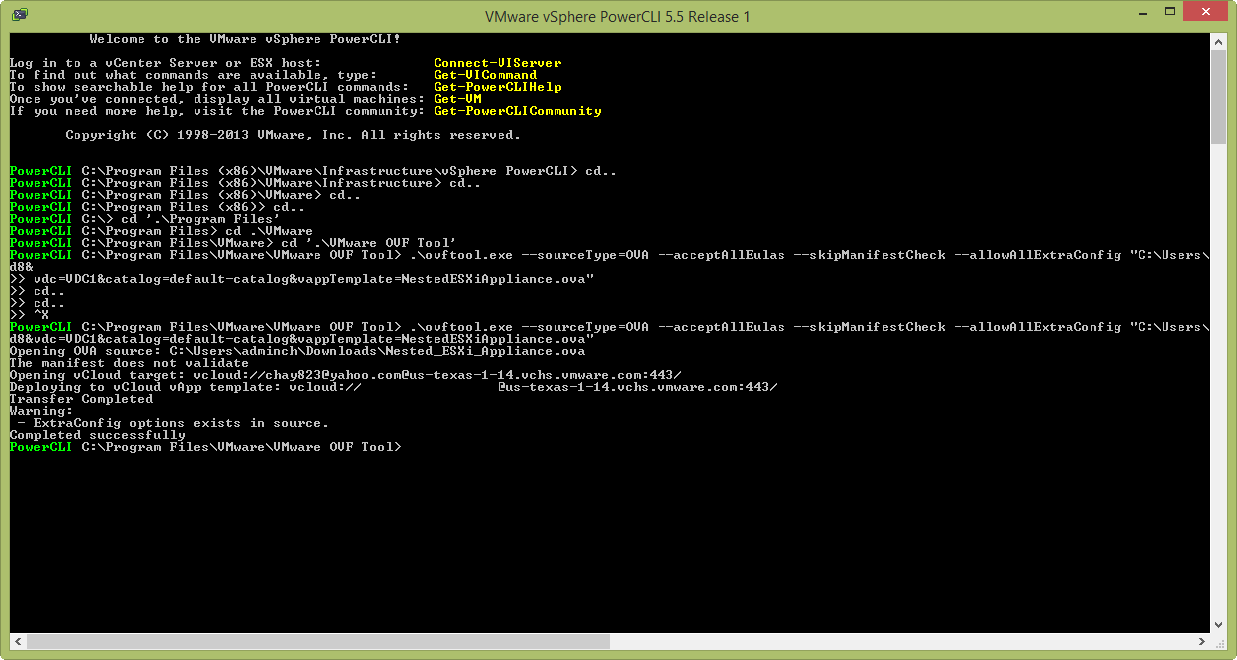
We have to upload our OVA file into vCA using ovftools and the correct command and parameters. The command we will use is as followed:
ovftool –sourceType=[SourceType] “[SourceUrl]” “[DestinationUrl]”
[SourceType] can have any of the following values: OVF, OVA, VMX, VI, vCloud, ISO, FLP, vApprun
[SourceURL] will be the location of the file you wish to upload. Ex: “C:\Users\adminch\Downloads\Nested_ESXi_Appliance.ova”
[DestinationUrl] will be the destination on vCloud Air. Ex: “vcloud://[Account username]:[Password]@[vCALocation]?org=[OrgGuid]&vdc=[Virtual Data Center Name]&catalog=[CatalogName]&[MediaType=NameofMedia]”
Our complete command should look something like this: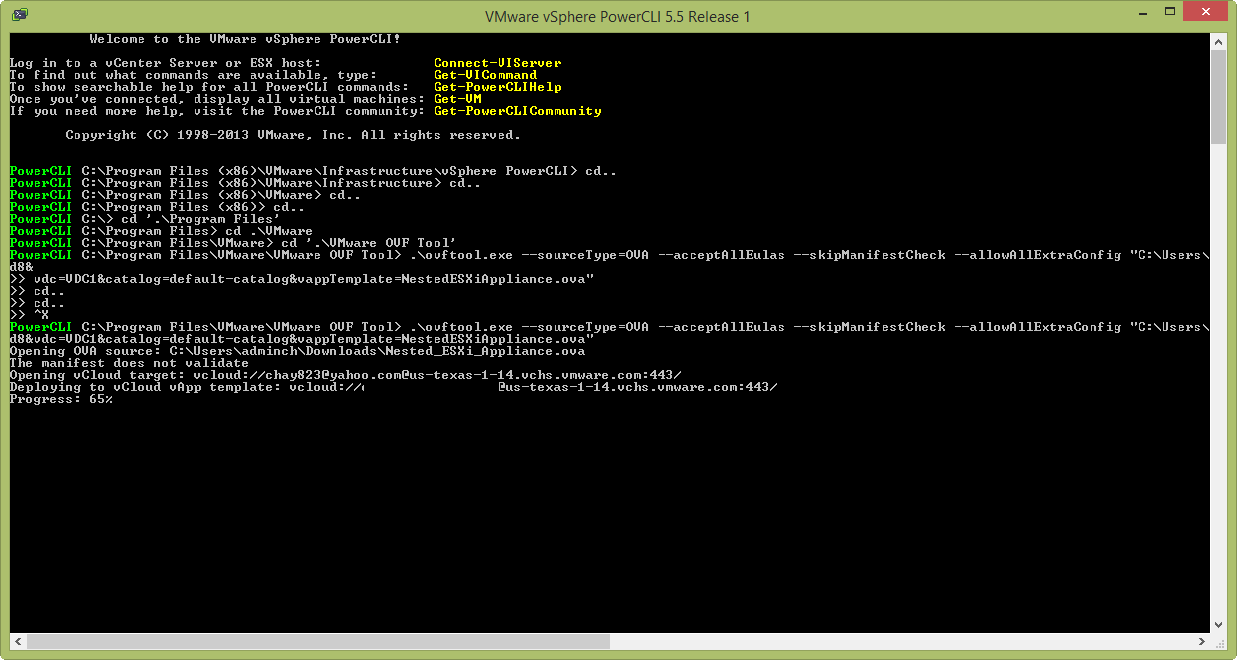
ovftool –sourceType=OVA –acceptAllEulas –skipManifestCheck –allowAllExtraConfig “C:\Users\adminch\Downloads\Nested_ESXi_Appliance.ova” “vcloud://johndoe@yahoo.com:$3cret123@us-texas-1-12.vchs.vmware.com?org=e6e037d0-6bd4-4925-a8ef-bdc8b418c7d8&vdc=VDC1&catalog=default-catalog&vappTemplate=NestedESXiAppliance.ova”
Of course, johndoe@yahoo.com:$3cret123 would be replaced with your vCloud Air username and password. The parameter –allowAllExtraConfig is going to allow the config of the appliance to pass through, otherwise vCloud Air will skip those settings when importing. Since we are importing a OVA, our MediaType needs to be vappTemplate. If we were uploading a ISO you would use the parameter, media=filename.iso.
While the upload progresses, you can look over in vCA and see that the import has begun for the OVA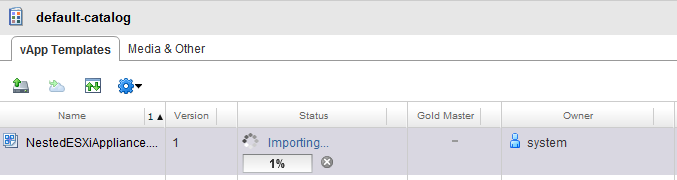
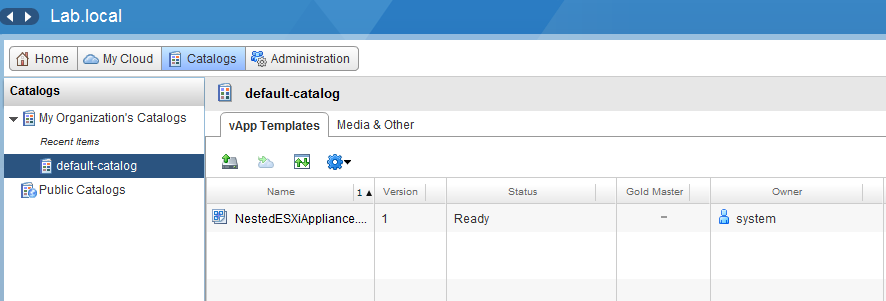
Now the upload completed successfully
We can check this in vCA
Now we can begin deployment. Add a vApp from Catalog

Accept the Licenses

Select Name and Location

Configure Resources

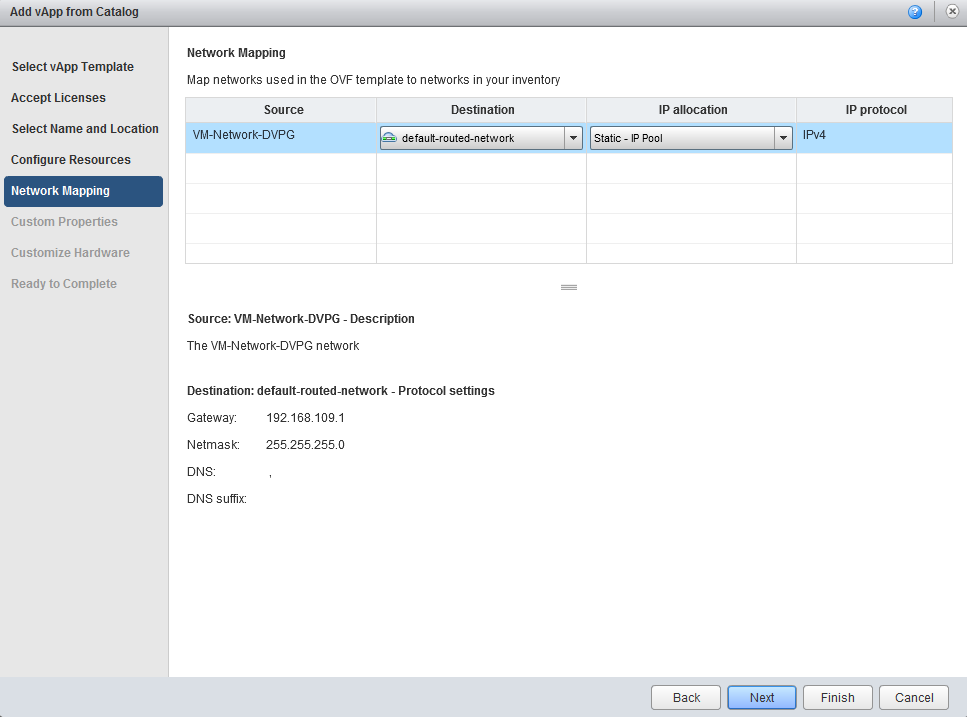
Select your Network Mappings
Now we will set our Custom Properties, like IP Address, DNS, Hostname, etc.

Set CPU, Memory, and Disks properties

Verify the your settings are correct and click Finish

Notice the VM in your Quick Access catalog
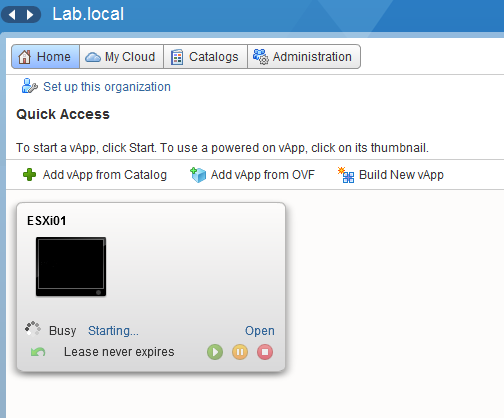
Power on the VM and check the settings

Now you have a fully functioning ESXi host running in vCloud Air!
